
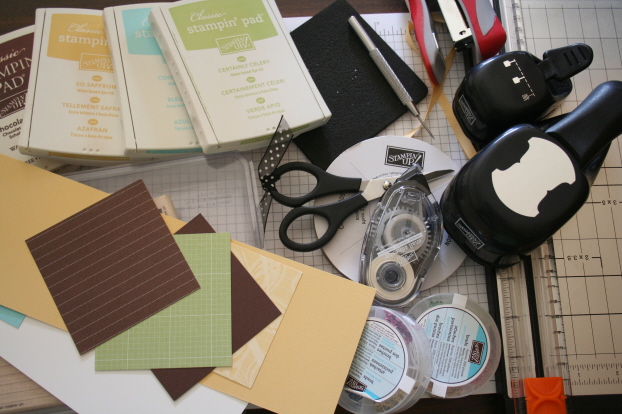
- Paper cutter with cutting and scoring blade
- 3 1/2″ x 10 1/2″ piece of cardstock for card base (here So Saffron)
- one 3 1/4″ square of designer paper….or two if you want different colors on each triangle
- Stamps
- Ink
- Scissors and adhesive
- Ribbon to close the card
- Embellishments
 Step one: Score your card base at 3 1/2″ and 7″.
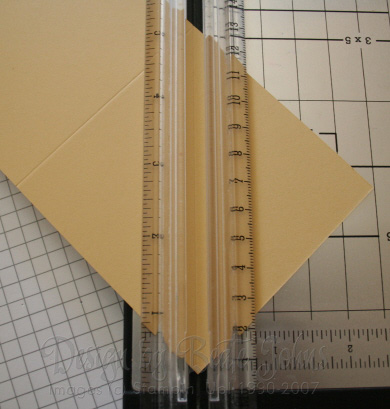
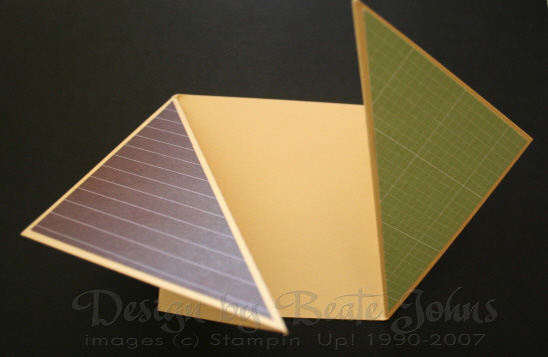
Step two:
Score the right of the three panels diagonal from inside bottom to the outside top corner.
Then score the left side of the three panels diagonal from the inside top to the outside bottom corner.

Step three: Fold and unfold all your scores.
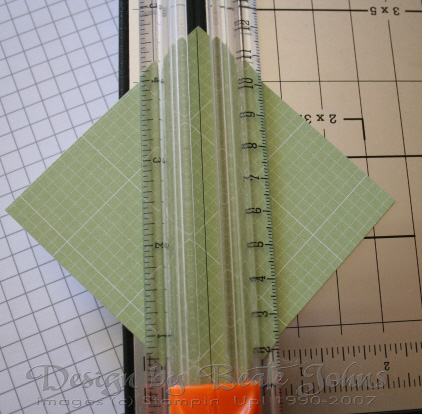
Step four:
Take your 3 1/4″ piece of designer paper and cut it in half diagonally.
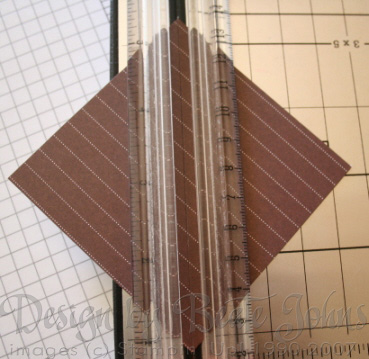
Step five (optional):
If you want two different designer paper, take another 3 1/4″ square and cut it in half diagonally as well. Be careful in planning the diagonal cut when you have directional pattern on your paper.
Step Six:
Tape your designer paper triangles on your outer card base triangles.
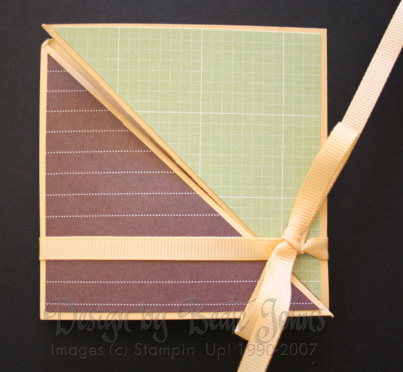
Step seven:
Tie your card shut by running a ribbon all around it and tying a bow.
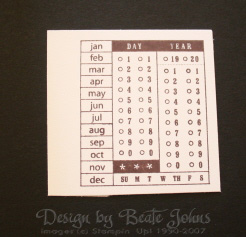
Step eight:
Stamp your center image.
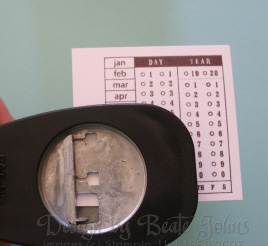
Step nine (mini tutorial on the spiral punch):
Take your spiral punch and turn it upside down. Slide your cardstock all the way in and punch.
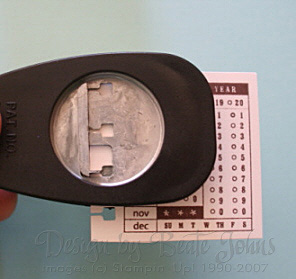
Step ten (mini tutorial on the spiral punch):
Slide your cardstock over until the last punched slit slides into the little guide on the right hand side. Punch again. (I love this punch!!!)

Step eleven:
Add extra layers to the main image if needed! Like Jami says….More is More. LOL
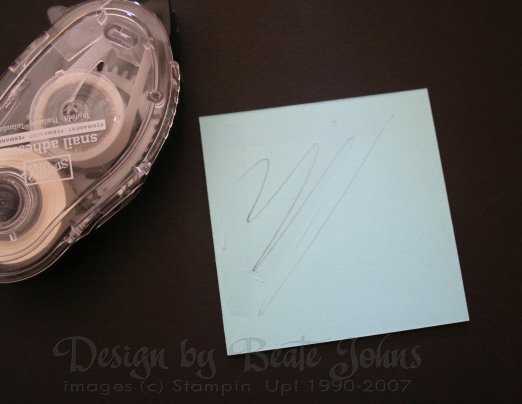
Step twelve:
Add adhesive only on one diagonal half of the back of your main image. If you add adhesive on the entire back, your card won’t open later.

Step thirteen:
Tape your main image on your closed card front.

Step fourteen:
Add embellishments to finish the card.
I am sorry about the different sized pictures. I will have to work on that in my future tutorials.
Beate
27 Responses to “Triangle Trifold Tutorial”
Sorry, the comment form is closed at this time.


Wow, great tutorial! Thanks so much. This is just awesome! 🙂
Great work Beate…this must have taken a lot of work to write up…good for you!
I was just going to try and figure this out myself. You have saved me some paper and frustration!! Thank you sooooo much!
What a great card. Thank you.
I was so excited when I found your blog. You have always been so inspiring to me on SCS. Love your triangle card. Can’t wait to try it.
I love your tutorials, Beate! Thanks so much for sharing!
Thanks so much for sharing this with all of us! LOve your blog!!!!
Janet in NC http://www.janetwmarks.typepad.com
Hallo Beate,
wie geht es dir und deiner Familie?
Du, ich habe schon vor Wochen deinen Blog abboniert. Ich habe auch die Mail in meinem Email Account bestaetigt.
Leider bekomme ich immer noch keine updates zugeschickt sobald du etwas neues postest.
kannst du dir denken was das Problem ist?
Herzlichen Dank
Claudia
Great card! I’ve never tried this fold, but you’ve inspired me. TFS
Very interesting , I have to try it. Thanks so much as always for your tutorials
Beate – This is AWESOME!!! Exactly what I was looking for… I needed a masculine bithday card. You’re on it, as usual! Thanks soooo much for ALL of your inspiration!!
Thank you so much for the fabulous tutorial, Beate!!! You are awesome!!!
I just saw this card this a.m. on SCS and put it into my favs to try to figure it out. Then I head over to check out your blog and lo and behold, you’ve done my “figuring” for me! Thank you SO MUCH for doing this tutorial. I am always trying to find a new way to send invitations out to my hostesses for my annual Hostess Appreciation party in the spring, and here you’ve made a magnificent sample for me. You truly are a JEWEL!
Another great tutorial Beate! Thanks for your willingness to share with us non-creative folks.
Beate, Another wonderful tutorial. I have been wanting to try this so now the inspiration is in place. Thanks!! Barb
I love this idea! I tried one the other night, and I have to say, your directions are fabulous. Thanks for the inspiration.
Great instructions and I hadn’t noticed the pics being different sizes! LOL….I guess that’s because your instructions are so good I wasn’t paying attention to the little details! thanks for sharing. I can’t wait to give this a go today!
This idea is awesome!! Can’t wait to go make one. Thanks for the inspiration. I love learning new techniques and layouts.
You rock! Thanks so much!
Thank you so much for this tutorial! I love your work, you are truly an inspiration. Thanks again.
Ahhh I was looking at this design when I first popped on your blog… Glad I looked here for the tutorial!
Thanks Beate!!!! Love it…
http://inkinwithval.blogspot.com
Hi Beate,
I just made a triangle fold card using your tutorial from Splitcoast. It was so easy using your directions and I just wanted to thank you for such a fun card!
Nancy
Beate, I love your instructions. They are always so consise and easy to follow. I saw a journal somewhere that had a pen holder on the back spine. Do you know how that was done, if so I would love to know. I can’t remember where I saw it but thought it was on SCS but can’t go back to it.
Wow, I am so amazed at all the work you do so we can enjoy & make beautiful items for our families & friends. You make us look so good! Thanks for all your hard work & especially the time you put into everything associated with stamping. I am so gratful to you for all of it!
Hi Beate, Thanks so much for your tutorial regarding Triangle Trifold, I’ve always wanted to do one….Thanks to you, I did !! As you can tell, I’m a novice with all this….I’ll be checking back for more awesome tips//
Ooh I just discovered this, it looks awesome, I’ll have to try it!!
Thanks so much! 🙂
Hello Beate! thanks so much for this tutorial, I’ve made a few of these now but wanted to show you this one:
Sassy Trifold
Hugs, Marlene x