
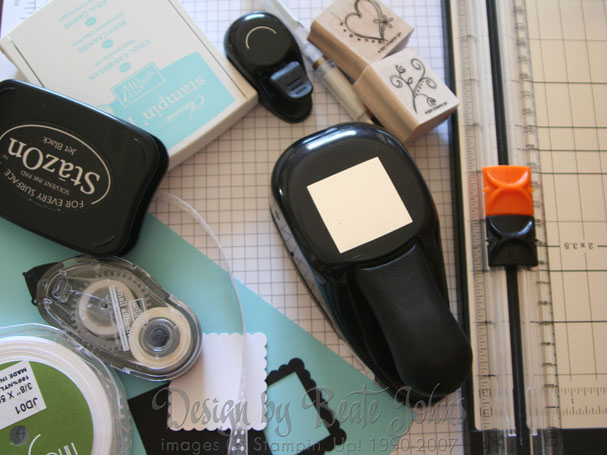
Supplies needed:
- One piece of cardstock 4″ x 11″ long (here Cool Caribbean)
- Paper cutter with cutting and scoring blade
- adhesive
- stamps
- ink
- punch to make window (here 1 3/8″ square punch)
- slit punch
- ribbon
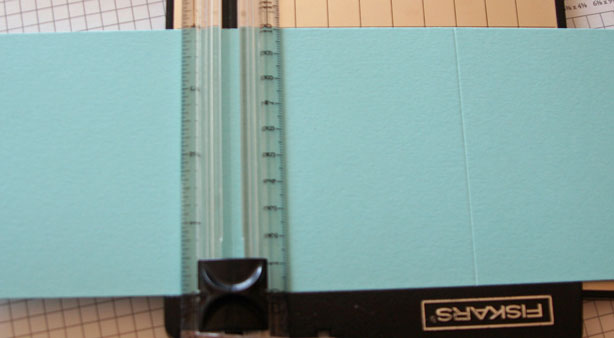
Step one:
Score your cardstock at 3 1/2″ and 7″.
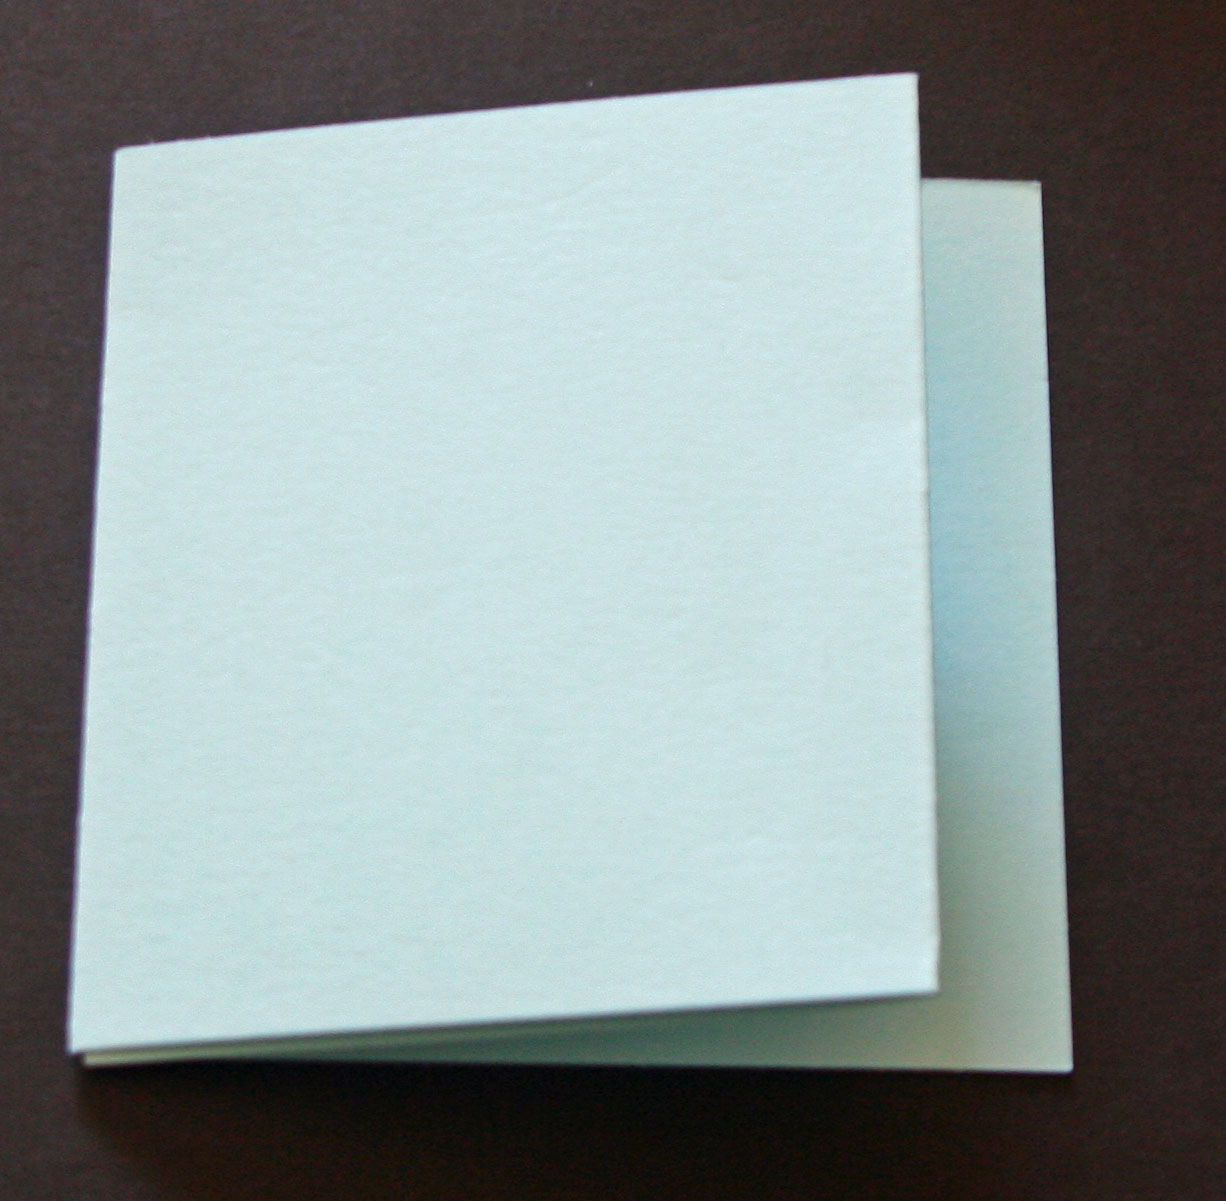
Step two:
Prefold your scores.
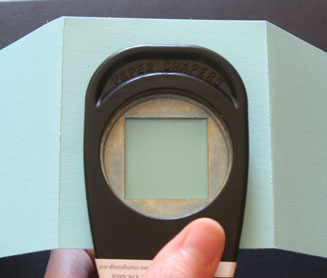
Step three:
Slide a punch of your choice into your center panel and punch a window in the center of that panel.
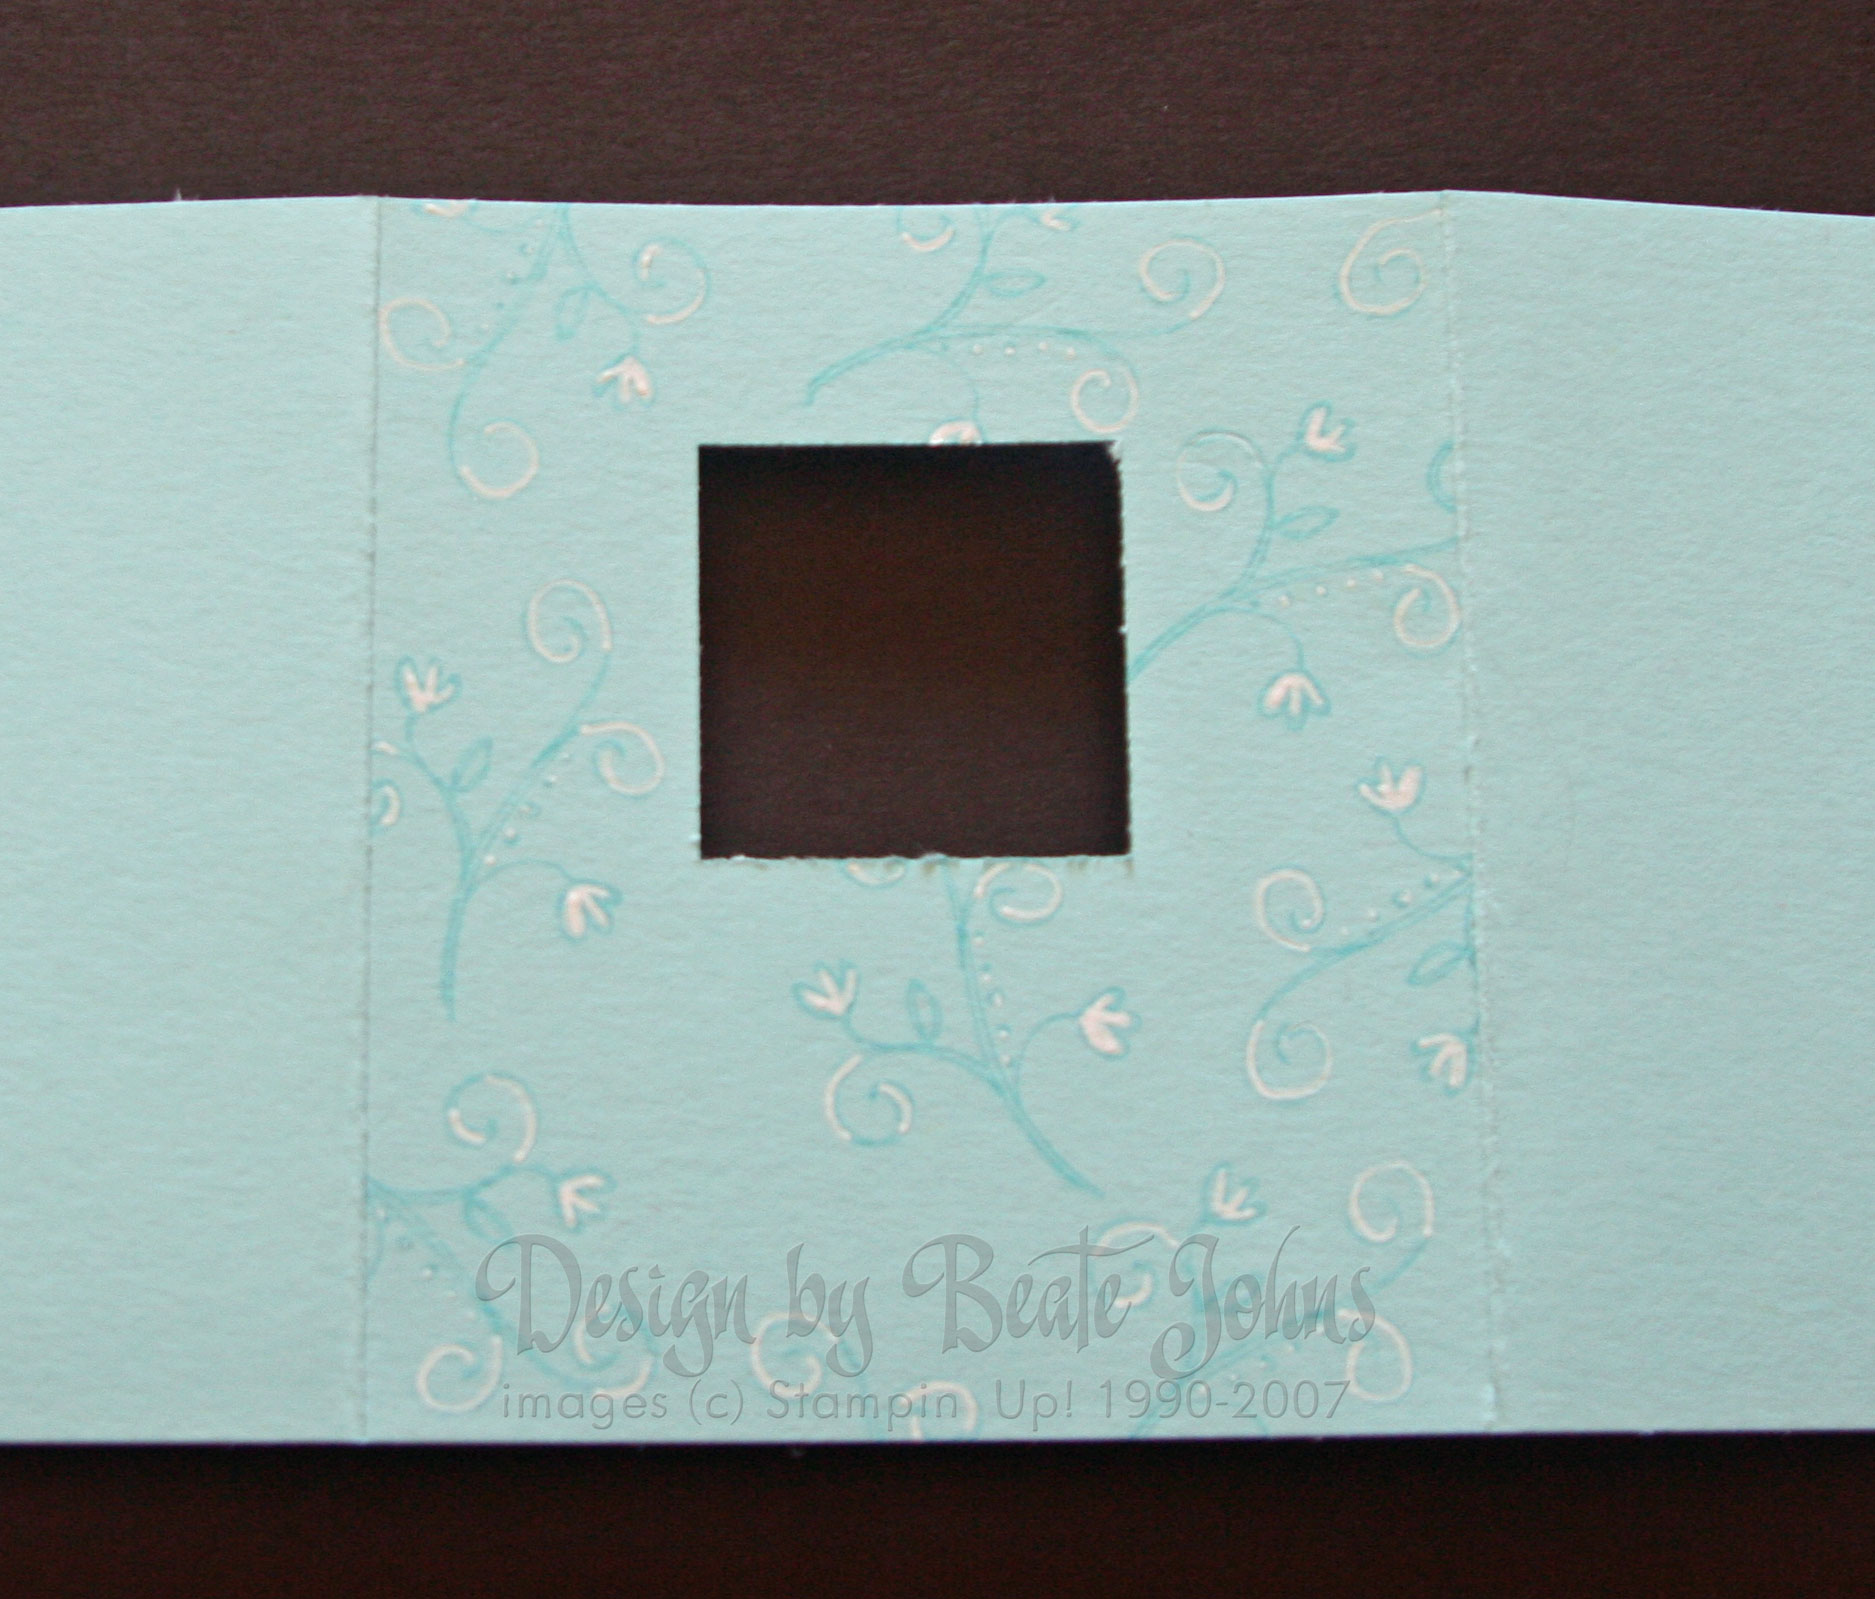
Step four:
Stamp your center panel.
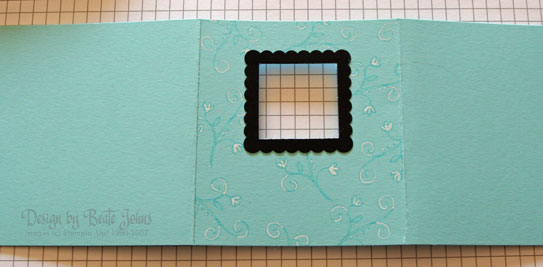
Step five:
Add additional framing around your window if wanted.
To make this frame, I first used the same square punch I used to make the window in the card front on black cardstock. Then I lined my Marvy scallop punch up around the punched out square and punched out the frame.
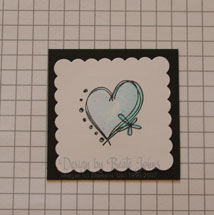
Step six:
Stamp your center image and layer if necessary.
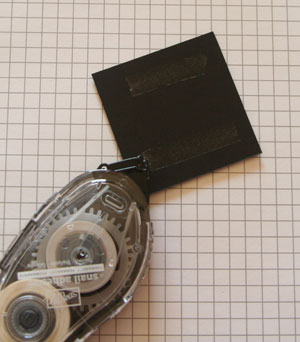
Step seven:
Add adhesive on the back of your main image.
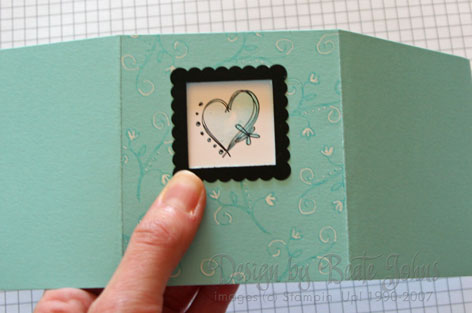
Step eight:
While holding your card and your main image, center the image behind your window.
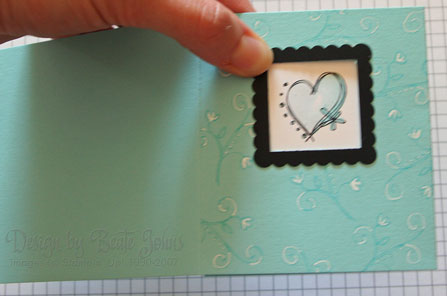
Step ten:
When the image is centered, fold your right card panel over to adhere the image to that part of the card.
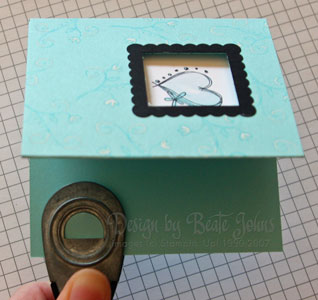
Step eleven:
Fold your left card panel over. Slide your slit punch in so that the half circle is a little under the card fold. Punch your slit.

Step twelve:
The half circle of the slit punch will keep your card closed.
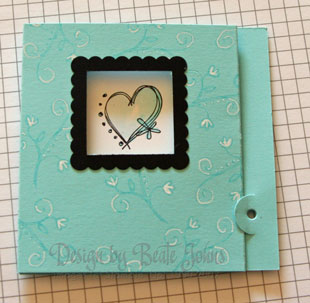
Step twelve:
If you would like to add ribbon, punch a hole in the half circle of your slit punch. Just make sure the hole is not hitting your fold over card.

Step thirteen:
Thread your ribbon through the hole and tie a bow. You are done!
Have fun with it! Play around. Add a second slit punch on the top. Just tie ribbon through the hole and not around the card. Change the measurements…..Anything goes. These are so much fun!
Beate
17 Responses to “Cami Trifold tutorial”
Sorry, the comment form is closed at this time.


Love this one too! Thanks for the tut…can’t wait to try this one now!
Ohhhh! I’m going to have to try this one as well. Thanks so much for the tutorial! It’s great!
Thanks for wiring this up Beate…you rock!
Awesome Toot Beate!! I’ve done a Cami fold before, but it is always nice to have pics also!! YOU ROCK!!!
Superklasse… eine total tolle Idee…..
Very nice tutorial .. have to try this one out … I just have one question … how do you tie the ribbon ? Through the slit and around the card? I can’t figure it out from the photos. Thanks.
Gloria, yes! Thread the ribbon through the hole and wrap around the entire card. You don’t have to though. You could just tie the ribbon on flap if wanted. Or you could leave it off completely. It’s up to you. The ribobn is just decoration for the card.
Thanks Beate! I loved the tutorial, the colors you used and the stamp set too. I will HAVE to add that one to my order next.
Keep up the awesome work.
[…] a lot from her. She has sent me tips, tricks and very pretty cards. I envied this one on her blog, Fresh and Fun, last week! Check out her *awesome* tutorial for this card, the Cami-trifold! Those of you who are […]
It’s a sad day when a person can’t even look at pictures and do a card. I am sooooooooo directionally impaired. I love this card. When you untie the ribbon, this card opens? Is that correct? And I would have a sentiment inside just like in any other card. Is this right? Thanks for your patience.
Hi Beate,
I have to thank you for being so generous with you time and creative energy! YOU are such a wonderful contributer to the world of stamping!!!!
This card is juicy! I can’t wait to try it!
Thanks again,
Linda W.
[…] I bet you already missed my Petals & Paisley paper use! LOL….well…I used it again. I cut a strip of 4″ x 11″ from it and scored it at 3 1/2″ and 7″. You can find a tutorial for this Cami trifold here. […]
I am going to try this for my workshop! thanks!
Wowzer great card tut gotta go do this one.
Maggie
I LOVE this cami fold and your wonderful pictures and directions! This is a definite “try this”!! Thanks for the fabulous tutorials here and on splitcoast!
I just love this tri-fold tutorial. You explain it in great detail & it is what I need to be able to understand how to make one. Awesome!
[…] I had to make a card for today’s challenge though. Today’s challenge was to make a Cami Trifold. I love Cami. Her work is amazing and she is the sweetest person. So after I cleaned (before I […]