
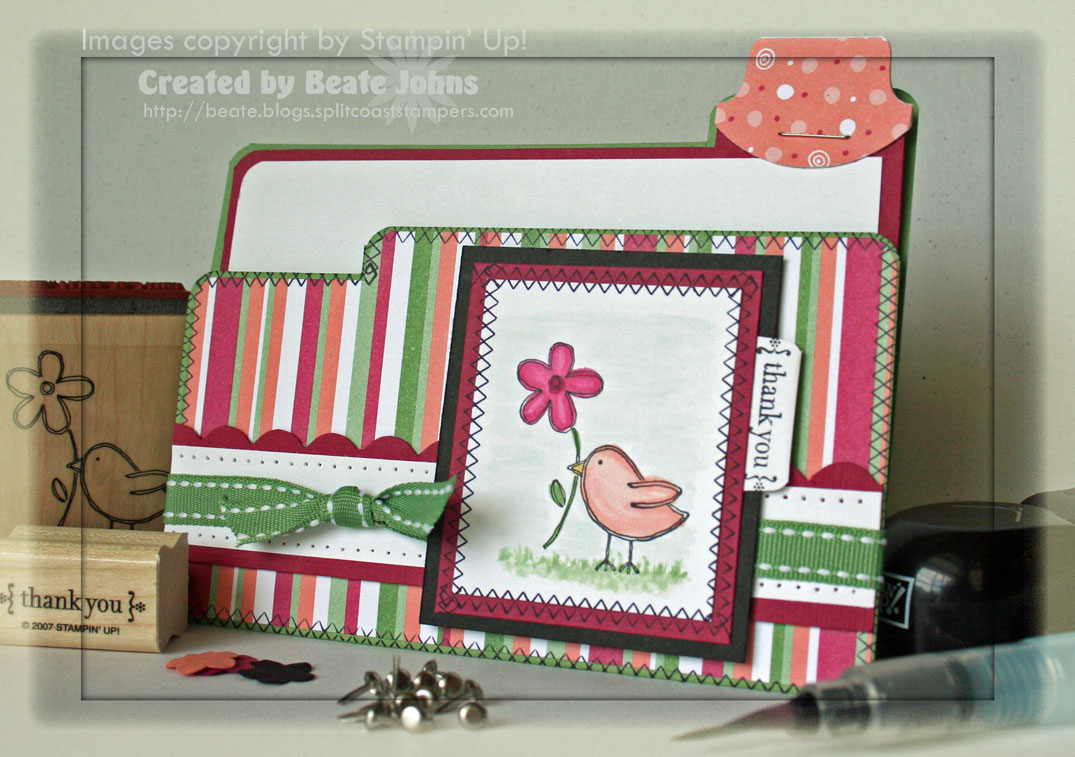
Today’s sketch challenge will be to make a file folder card.
For those of you that haven’t made one yet, I wrote a quick tutorial.
Click on more to see step by step instructions.
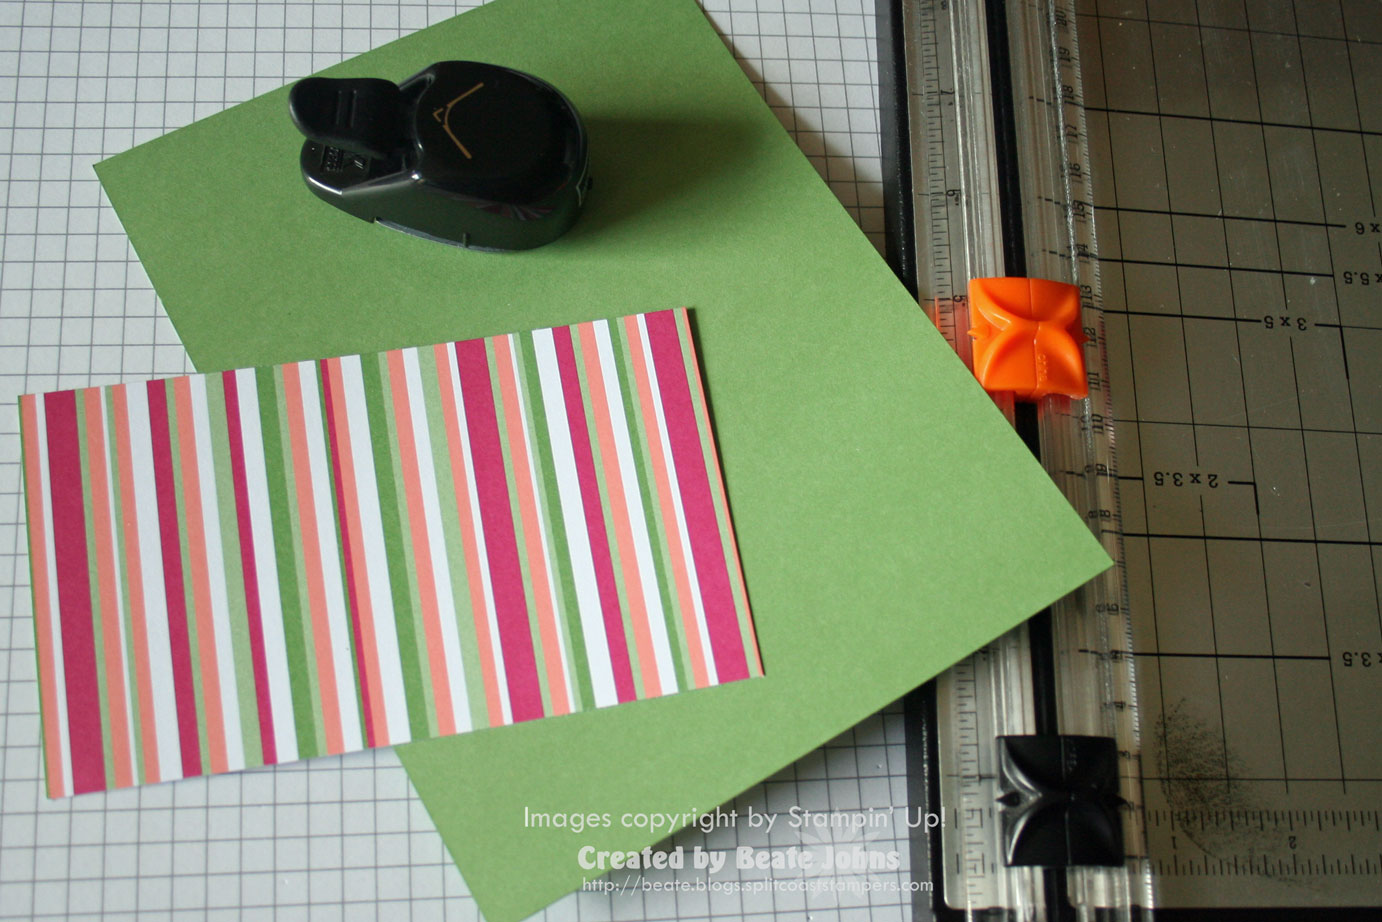
Supplies:
- Paper cutter with scoring tool
- Corner rounder
- 5 1/2″ x 7 1/4″ piece of cardstock
- 3″ x 5 1/4″ piece of patterned Paper (0ptional)

Step one:
Score the long side of your cardstock at 4″.
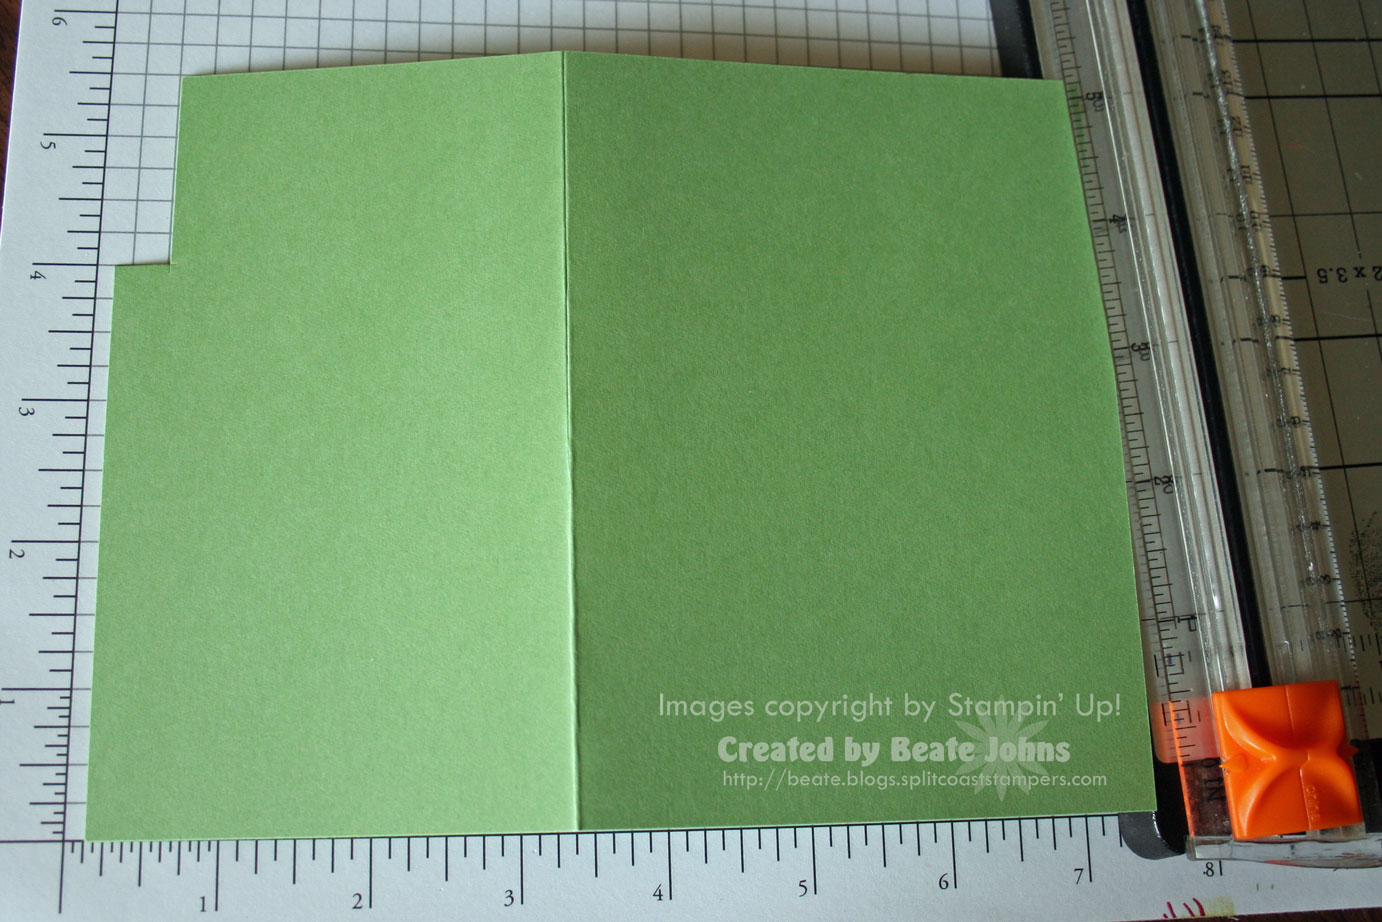
Step two:
Line the shorter scored side of the cardstock up at 3/8″. Cut from 4″ x 5 1/2″. Cut that part off.
Step three:
Turn cardstock 180 degrees. Line the wider scored side up at 3/8″ and cut from 1 1/2″ all the way to 5 1/2″. Cut that strip off.
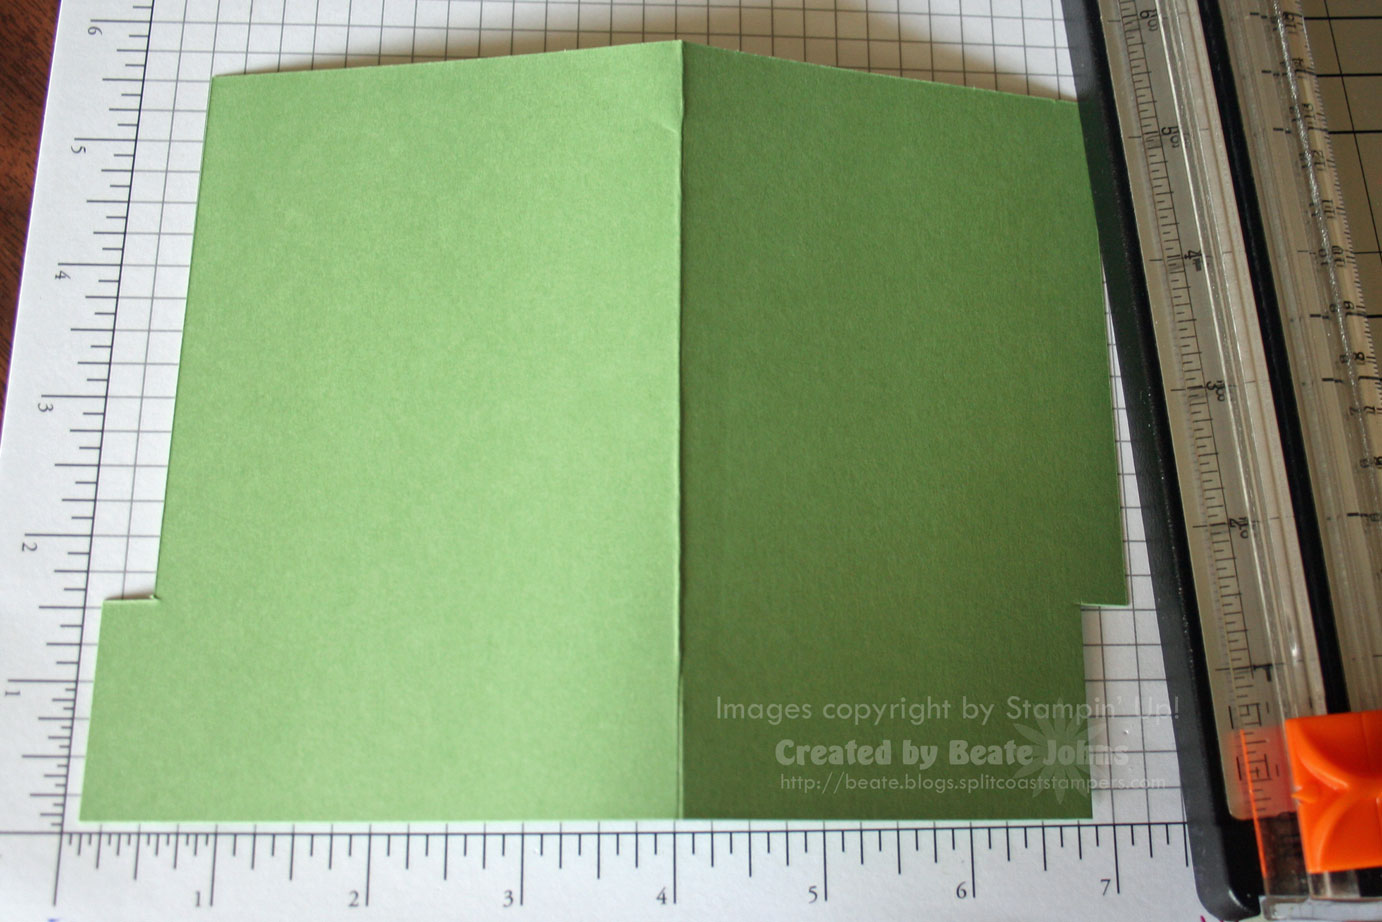
Step four:
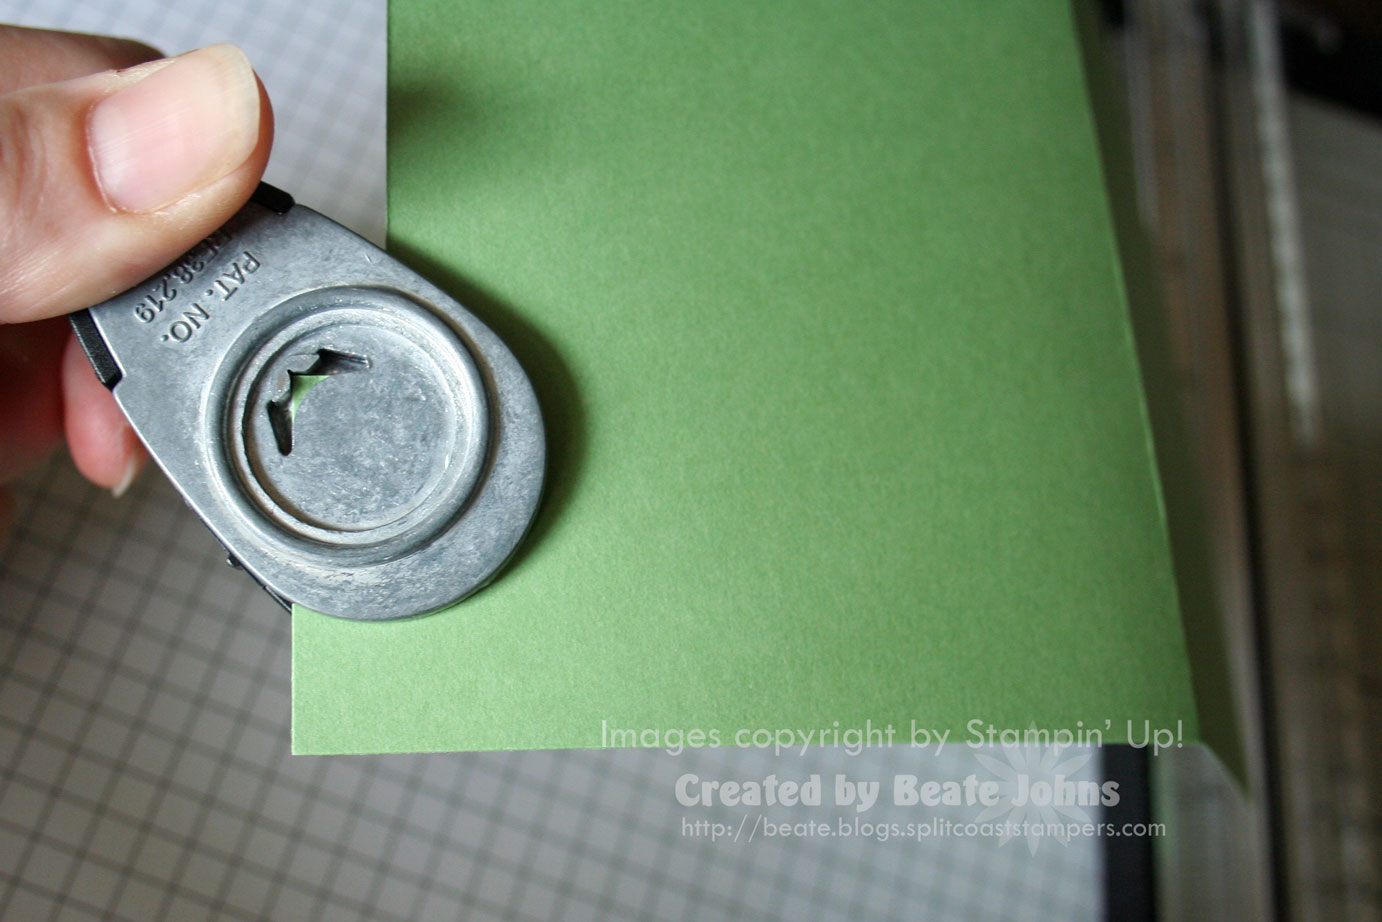
Take of the guide of the corner rounder and use it to round the corners on the short edged sides.
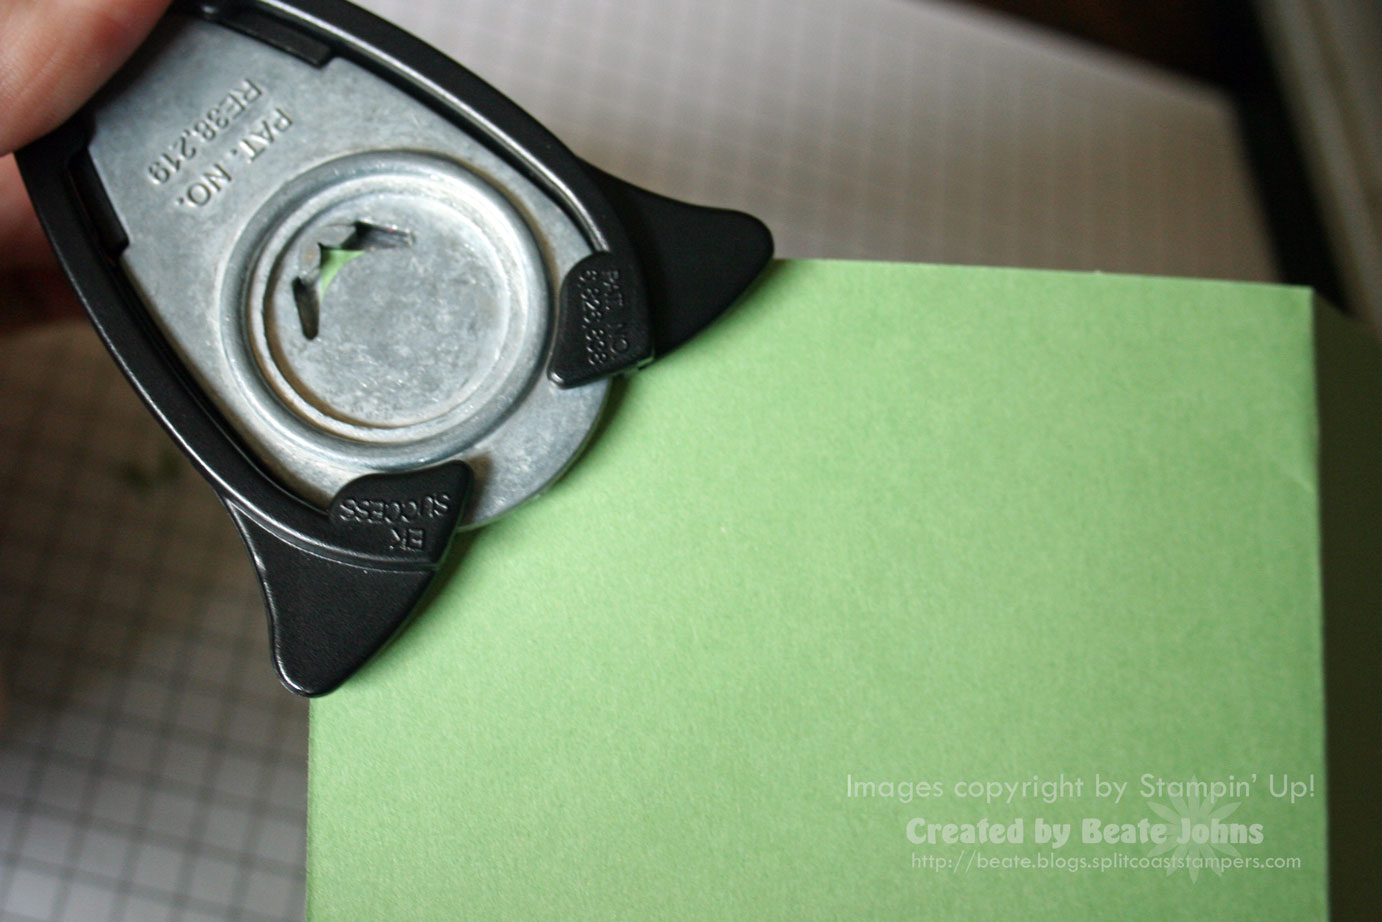
Step five:
Put the guide back on the corner rounder and use it for the other corners.

Your file folder card base is now complete.
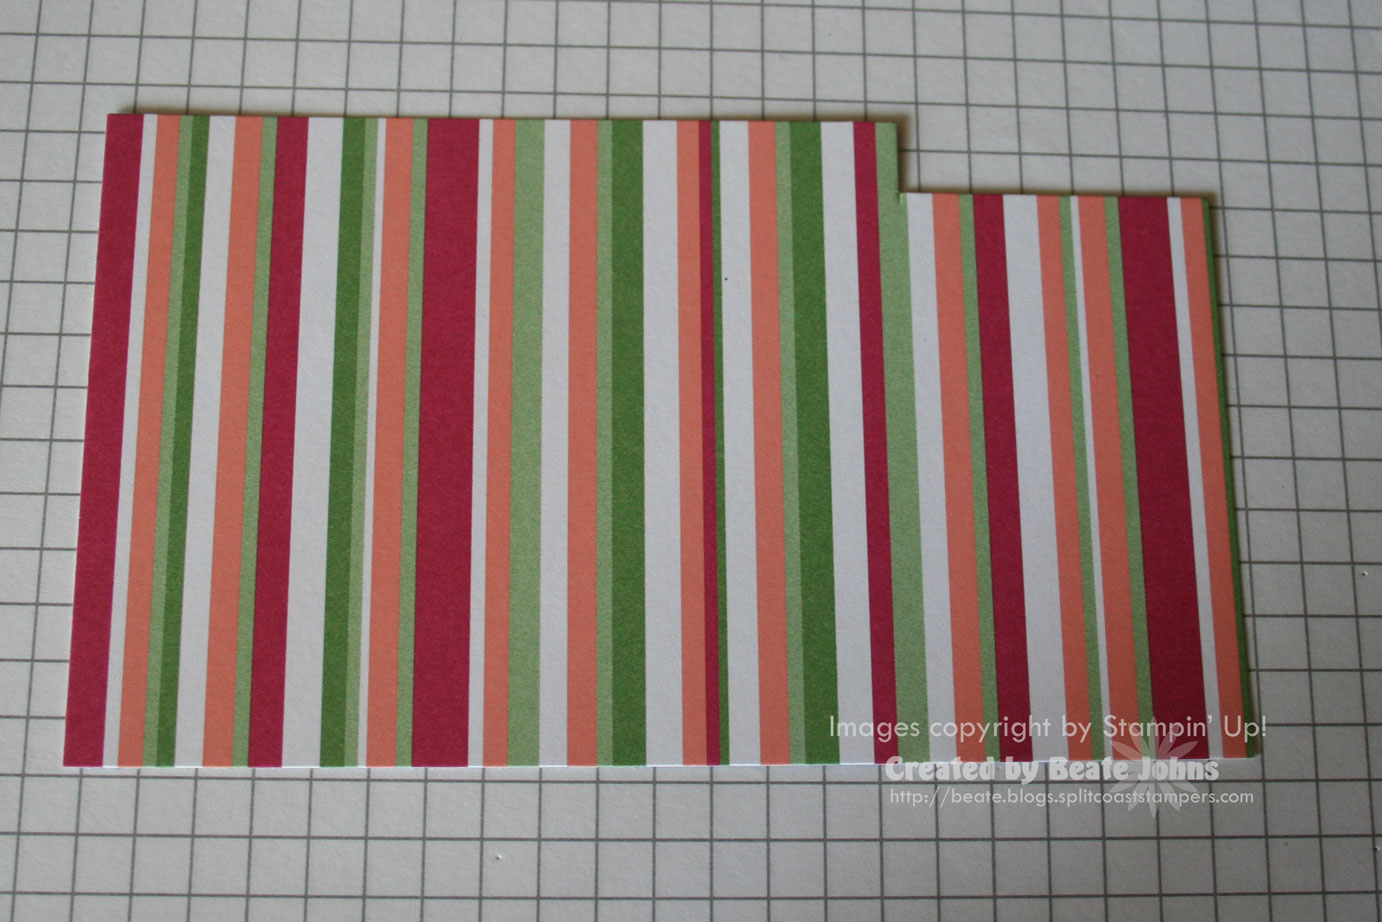
Step six (0ptional):
Cut your patterned paper to match your card front by cutting 3/8″ x 1 1/2″ off the top right.
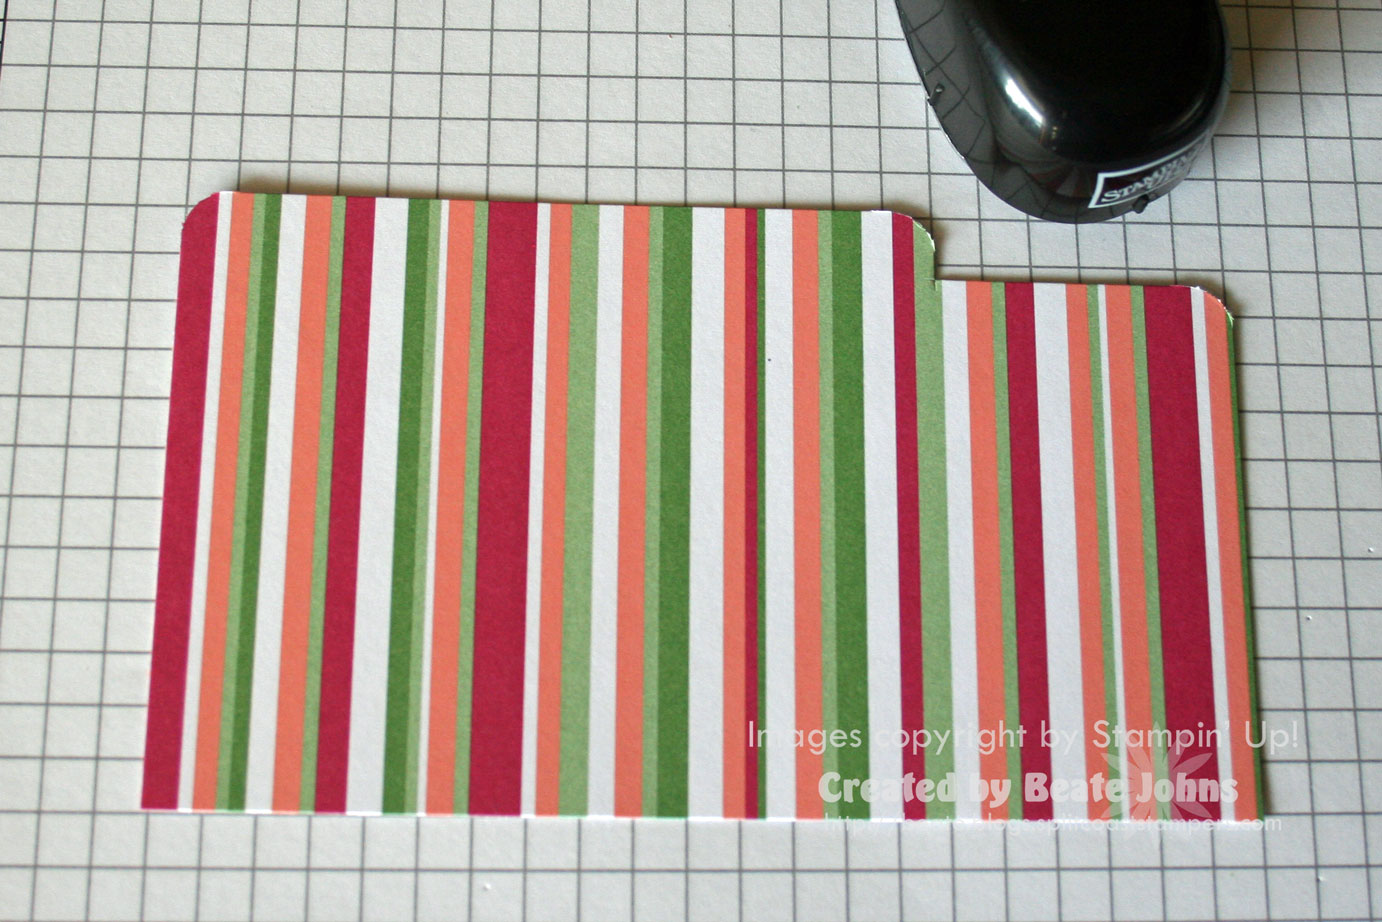
Step seven:
Use your corner rounder like in step four and five to round the top three corners of your patterned paper.

Step eight:
Tape your patterned paper to the card front.

Step nine:
Decorate your card.
Add an insert if wanted.
Beate
40 Responses to “File Folder Card tutorial”
Sorry, the comment form is closed at this time.


Oops, I cheated with my Coluzzle file folder template! But now I’ll know how to do a REAL one! 🙂 Thanks for the tutorial!
GORGEOUS! I love the colors, the stamps, everything! What an absolutely adorable card!
Wa-hoo, I guessed correctly!! This was so much fun to make, B — brilliant idea you had to combine a pocket & file folder card, I love it! Too funny we both had the same tip about taking the corner guard off to round those tight corners! Love your little birdie and the big insert!
Beate,
Your file folder card is very sweet!
This looks like fun I cant wait to try one out, thanks for the tutorial.
Beate, this is so cute! Even your insert is beautiful! And as usual, you’ve created an amazing and easy to follow tutorial! Thank you so much for doing these…you’ve inspired me so much!!
Great card!! I love the colors!
I can’t wait to try this one =) Love your tutorial….as always.
wow, thought the same thing as Charmaine, heading for my file folder die cut, this card is great and what a fun layout, definitely on my to do list.
Thanks for the tutorial! Great idea!
When we make the card, where do you want us to upload to? Sue
WOW, this is fantastic, so much fun. I am making one today for a special gal pal for her birthday. I needed a card by tomorrow and wanted something super nice so this is going to be perfect!!! Many thanks for the inspiration.
This is so fun and pretty! Hope to get to it this weekend, I have painting, painting and MORE painting to do!
Gorgeous card! I love the colors you chose. So bright and happy!
This is sooo Cute, I can’t wait to try it!!!
Yours is FANTASTIC!!! LOVE it girl! Now to find some time today to myself that I can get it done! Maybe after Costco this evening?! LOL!
Oh this looks liek so much fun!! I hope I’ll get to give it a try!! 🙂
Wow! This is adorable!! I’m off to check out that tutorial! You’re awesome, Beate!
A great tutorial Beate! I made one of these a while back, but used a manilla folder to trace around the tabs. Yours is much nicer!
Loved this tute!!
Your card is amazing Beate!!
WOW! I can’t believe it, when I woke up this morning I was thinking about making one these cards today!
I can’t wait to play!
Thanks Beate!!!!
Very sweet! Thanks for sharing Beate!
What a fabulous card! TFS! I have gotta make some time to try this out!
~Angie
Beate your creativity abounds! You are so generous with sharing your ideas..you are an inspiration is so many ways. Thanks! can’t wait to try this
Here’s the links to my 3 folders:
http://www.splitcoaststampers.com/gallery/photo/682323?cat=11356
http://www.splitcoaststampers.com/gallery/photo/682324&cat=11356
http://www.splitcoaststampers.com/gallery/photo/682325&cat=11356
This was fun! Thank you.
Oh Beate, I LOVE this! Absolutely incredible!
Hey Beate! Got my first one done! Can’t wait to make a girly one now 😉
thanks for looking!
http://treasureoilerdesignz.blogspot.com/2007/09/challenge-cards.html
Thanks! I had been coveting the coluzzle version of this. I’m already thinking of using this idea (in addition to making a card) for hidden journaling on a scrap page.
Thanks Beate for the tutorial – here’s mine
http://lisasomerville.blogspot.com/2007/09/file-folder-card.html
I don’t know how you do it, Beate…one fantastic card after another! I love the cheery stripes and that bird image is a favorite…it goes so well on here!
This is such a wonderful tutorial! I just loved making this. Thank you so much for taking the time to show us all these wonderful ideas and projects. Here is what i came up with using your instructions.
http://moonlight-inker.blogspot.com/2007/10/file-folder-card-and-rak.html
Thank you so much for this wonderful tutorial! I can’t wait to make some of these!
This is so cool…TFS. It’s my turn tomorrow to prepare a project for my friend and I to work on. We meet every Wednesday and take turns coming up with a project idea. This will be perfect!
Awesome! I’m so glad Dawn Griffith had the link on her blog to bring me here so I can print the tutorial! Thanks!!!!
Thanks for this tutorial. I will try it today!!
Can’t wait to try this one with my Stamps in the Mail group. Thanks much.
Beate, on this card, do you have have something holding it together, or not?
This is so cute, and different, tfs all the directions!
Hello,
You inspire me more than anyone else. Thank you for all the ideas you share. I have a question about the file folder. Is the folder glued together or just tied with the ribbon? I tried to use snail adhesive, but it is too wide and the insert doesn’t fit it.
Thanks again,
Kathy Favazza
put some moore decorative items
[…] I didn’t have time to get new photos of the kids to create a mini book, I decided to make a file folder card. I haven’t made one of those in a […]