I have decided to take a short break from sketch challenges and blogging until the beginning of the New Year.

I am very thankful for you all coming to my blog and participating in the challenges. I really appreciate that.I have been working hard for the last few weeks and haven’t spent as much time with my family as I should have. We only have four weeks left before my husband has to leave us for a whole year.  These next four weeks I will focus on my family.I am not sure how often I will stamp or blog. I will do what I can.I will continue the blog challenges first thing in 2008. I hope you will join me again then.Hugs and smiles 


wsc28-winner-sandy.jpg

Random.org picked #11 as the winner of last weekend’s sketch challenge.

That’s Sandy  with this great card.

You can see more of her work on her blog It’s a colourful World.

Thanks to everyone who tried the sketch! I had fun checking out all your great cards.

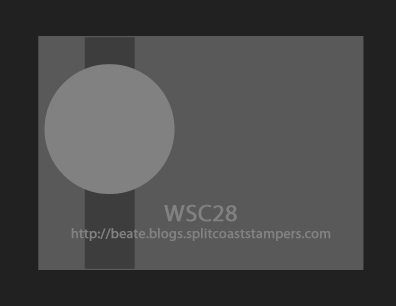
I wanted to use today’s sketch challenge to make a card for Charmaine. She had a scheduled c-section on Tuesday! If one of you would like to send Charmaine a congratulations card, email me and I will give you her address.

I started with the Le Jardin paper and worked from there. But now I am not sure if it is too “un-babish” for that occasion. I will try again.

carte-postale-build-a-brad.jpg

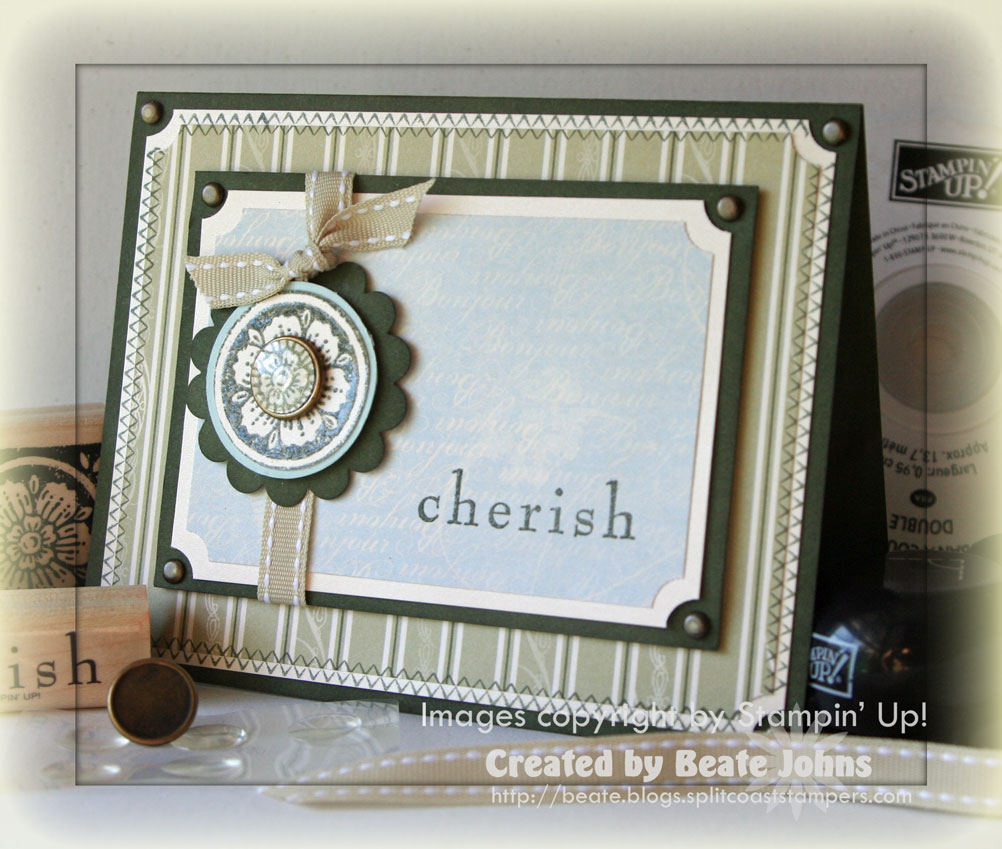
My card base is a sponged 5 1/2″ x 8 1/2″ piece of Always Artichoke, layered with a 4″ x 5 1/4″ piece of creamy shimmery cardstock.

The corner of this and the next layer were punched with the ticket corner punch.

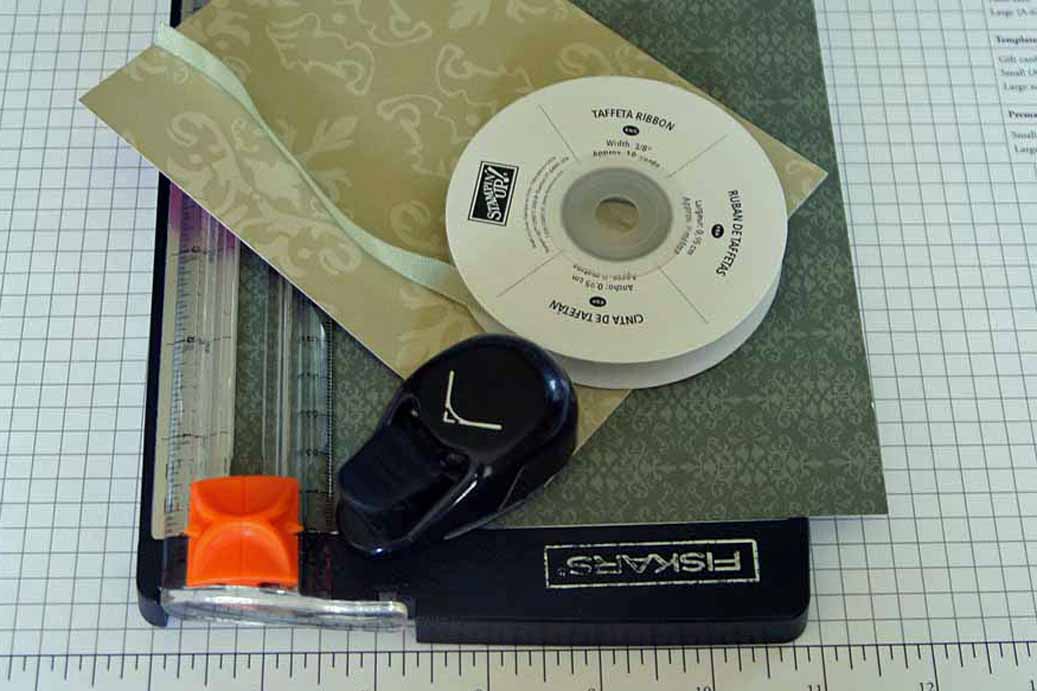
The third layer was the striped paper from the Le Jardin Designer Paper.

The sponged Always Artichoke layer measures 3 1/4″ x 4 1/2″ and again is layered with a 1/4″ smaller piece of creamy shimmery cardstock and a 2 3/4″ x 4″ piece Le Jardin Designer paper.

I stamped the Medaillon twice. Once with Artichoke craft ink that was embossed with clear embossing powder, the second time with classic Artichoke ink. The embossed piece was punched out with the 1 1/4″ circle punch, layered on a 1 3/8″ Soft Sky cardstock circle and a sponged Artichoke scallop circle.

I punched the center of the regular stamped medaillon out with the 1/2″ circle punch and used it with my new Antique Brass Build-a-Brads. Well….let’s just say it’s another piece of hardware I will love using. Easy and GORGEOUS!!!!

Double Stitched River Rock grosgrain ribbon was wrapped around the smaller layeres vertically and the medaillon adhered over it with dimensionals.

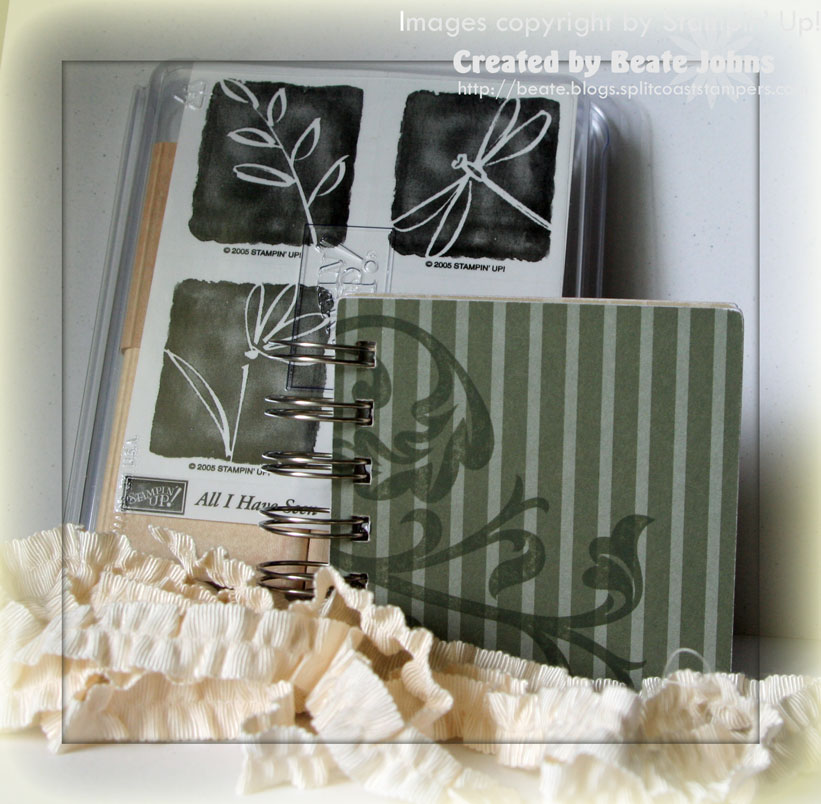
The greeting is from Baroque Motifs. It’s stamped in Always Artichoke Craft ink and embossed with clear embossing powder.

Here is the sketch for this weekend’s sketch challenge.

This will be the last time I will give out 6″ x 6″ paper from the All My Mind’s Eye Costco pack. At least for a while.

wsc28.jpg

To participate in the challenge and be entered in the stamp set raffle, make a card with this layout and upload it either to your blog, or to an online gallery.

 If you upload your card on SCS, put WSC28  (NO SPACE INBETWEEN WSC AND 28) in the keyword section. That way we can look at all of them at once!

Post a link to your card to this blog entry as a comment. Please add your entry# to it.

I will determine the winner of the clear stamps with Random.org on Wednesday at 9:00 a.m.

To see samples made with this sketch now, check out the blogs of

Charmaine Ikach

Jenn Balcer 

Laurie Schmidlin 

Lori Craig

MaryJo Albright

Sharon Harnist

Have fun creating! I can’t wait to see what you come up with.

SCS submissions

Today’s Holiday Blitz tutorial on Splitcoast is a Party Favor Box.  I made mine a little bit different.

holiday-wishes-sweet-treat-party-favor.jpg

I had seen this version in the book “A Season of Joy” by MakingMemories.

It’s a wonderful book with a lot of great ideas.

I got the idea for the Avent Calendar from there as well.

If you are interested in how to make this version, click on more for a step-by-step tutorial.

Continue reading »

Random.org picked #324 as the winner.  That’s Katherine (boueadfreak22).

Thank you so much for all your kind words! You are to sweet!

Hugs and smiles

advent-calendar-finished.jpg

Today’s tutorial is on how to make your own advent calendar with tins, velcro and a blank canvas board.

You can substitute the canvas for a sturdy cardboard or a magnet board, the tins with boxes ….

I had a blast making this calendar. I hope you will have fun too.

Stamps: Big Deal Alpha and Numbers

Ink: Chocolate Chip, Real Red and Old Olive Craft ink

Paper: Chocolate Chip, Real Red, Old Olive, River Rock and Very Vanilla Cardstock, Dashing and Old Olive Prints Designer paper,

Acc.: 16″ x 20″ blank Canvas, 20 metal tins (2″ diameter), Clear embossing powder, 5/8″ red grosgrain ribbon, 1 1/4″, 1 3/8″ and scallop circle punches, five petal flower punch, jumbo eyelets, Velcro squares, Terrific Tape

wsc27-winner-papermoon.jpg

Random.org picked #24 this time. That’s SCS member Papermoon04.

Shelly always creates gorgeous samples for the SCS challenges. I am glad she tried out my sketch!

Thank you all for participating. I had a great time checking out your wonderful samples while taking a break from my work! It’s almost done now. I am so excited about that! Hugs and smiles

It’s that time again. I crossed 900,000 hits on the counter and want to celebrate with you!

blog-candy-900k.jpg

This time the winner of this drawing will receive

an unmounted set of All I Have Seen

Vanilla Ribbon from the Beachfront Ribbon Original pack

a blank Meander book (tutorial will come next week on SCS)

To enter the drawing leave a comment on this post.

Please add your comment number. It’s the number of posts you see on this post+1.

Only one comment per person! I will determine a winner with help from random.org and post it on Thursday morning at 10:00 a.m.

Thanks so much for being patient with me over the last two weeks! I can’t wait to get back to creating. Hopefully two more days and I will be back to my usual routine!

Today is the first day of our Holiday Blitz on SCS.

For the next 11 days we will feature a great holiday project tutorial every day.

wintergreen-treat-box-beate.jpg

 We are kicking it off with this easy box to put your treats (cookies, candy, potpourri) in.

Sorry the picture isn’t the best. I made a big sample and it was hard to photograph.

We saw a box like that as a treat box in the Paper Zone back in Portland. I knew that would be a great project for a tutorial. You can see the step by step tutorial on SCS.

For tomorrow….get yourself some glass ornaments and acetate!

But this is not all we were working on so hard. The other project is still not complete. We are in the middle of revamping the resource section! I can’t wait until it’s done and we get to show it off.

© 2012 fresh & fun Suffusion theme by Sayontan Sinha