
Today’s Holiday Blitz tutorial on Splitcoast is a Party Favor Box. I made mine a little bit different.

I had seen this version in the book “A Season of Joy” by MakingMemories.
It’s a wonderful book with a lot of great ideas.
I got the idea for the Avent Calendar from there as well.
If you are interested in how to make this version, click on more for a step-by-step tutorial.
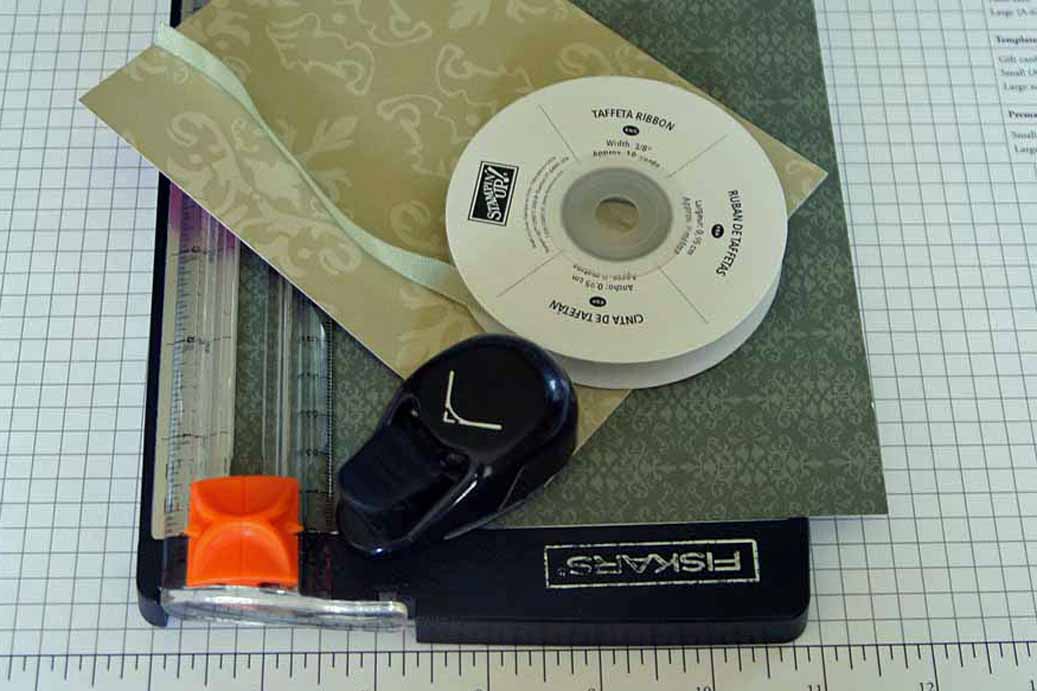
Supplies:
Paper Cutter
One 6″x 12″ piece of Patterned Paper
One 4 1/2″ x 6″ piece of Patterned Paper
Ribbon
empty toilet paper roll (not shown)
strong adhesive (not shown)
corner rounder or decorative scissors
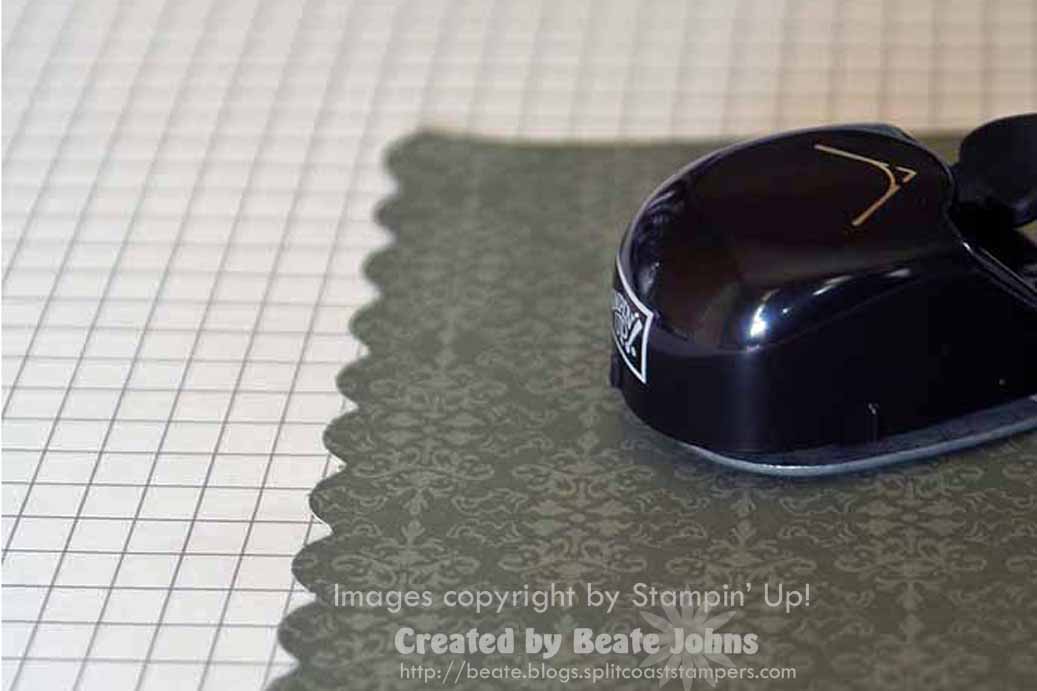
Step one:
Use the corner rounder to add a scallop to the 6″ edges of your 6″ x 12″ piece of patterned paper.
You could cut the edges with decorative scissors instead.
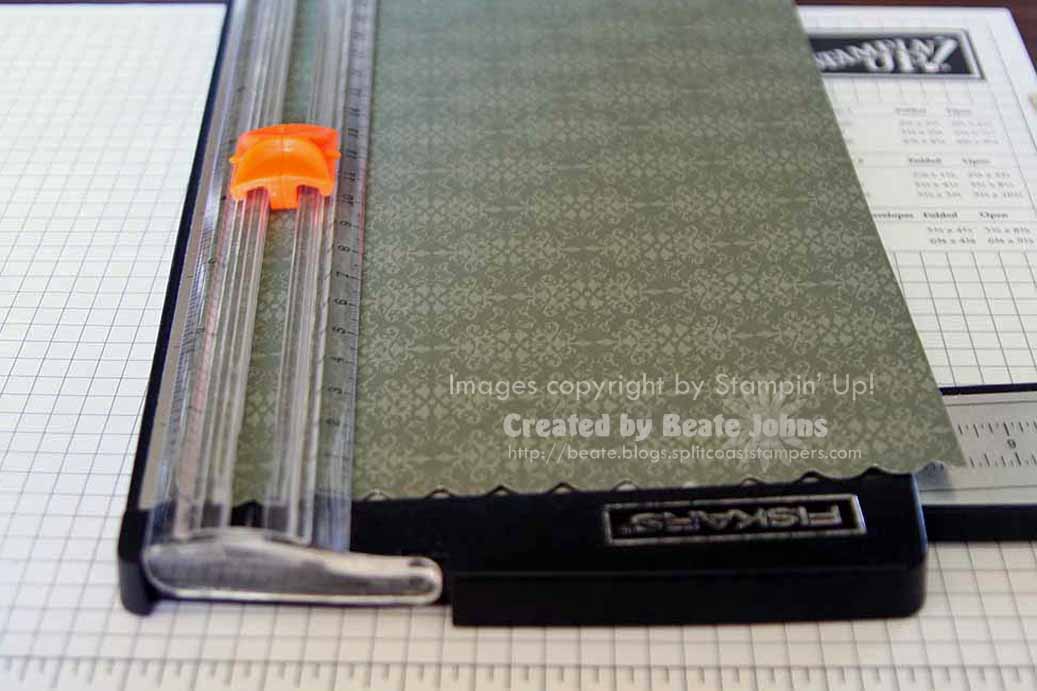
Step two:
Put your 6″ x 12″ paper in your paper cutter so that the 12″ side is vertical.
Line up with the 5 1/2″ mark and cut a slid from 2″ to 4 1/2″.
Move the paper over to the 5″ mark and cut again from 2″ to 4 1/2″.
Continue to move your paper 1/2″ and cut from 2 ” to 4 1/2″. Repeat for the entire length of the paper.
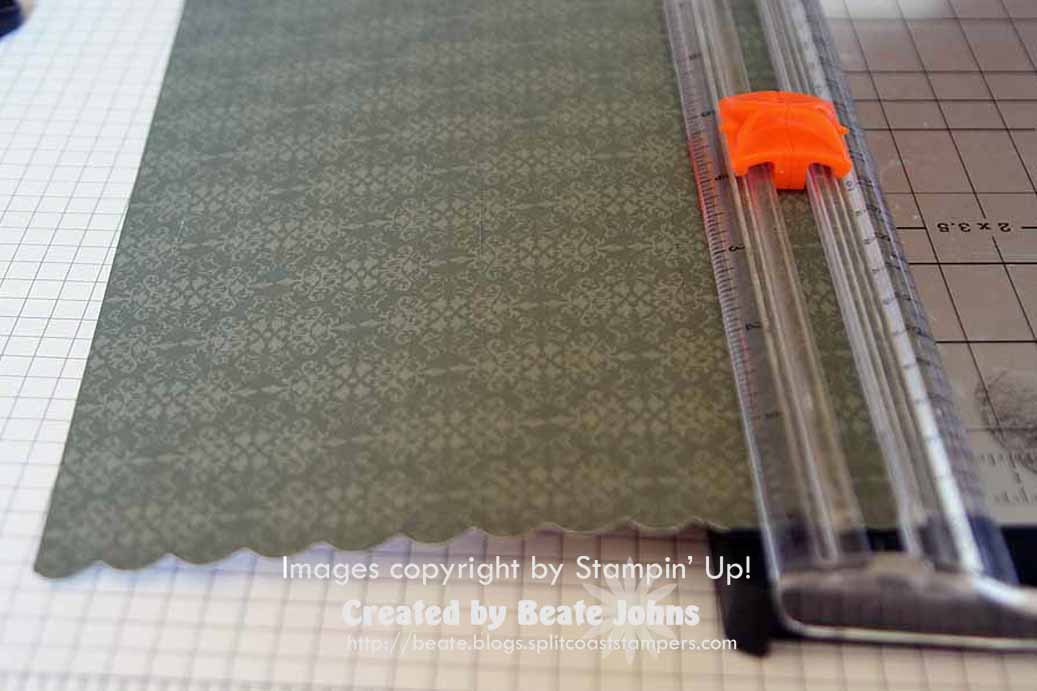
Step three:
Turn the paper around and repeat step two on this side as well. Both ends of your 6″ x 12″ paper will now have cuts 2 1/2″ cuts in 1/2″ interval 2″ from each side.
Step four (0ptional):
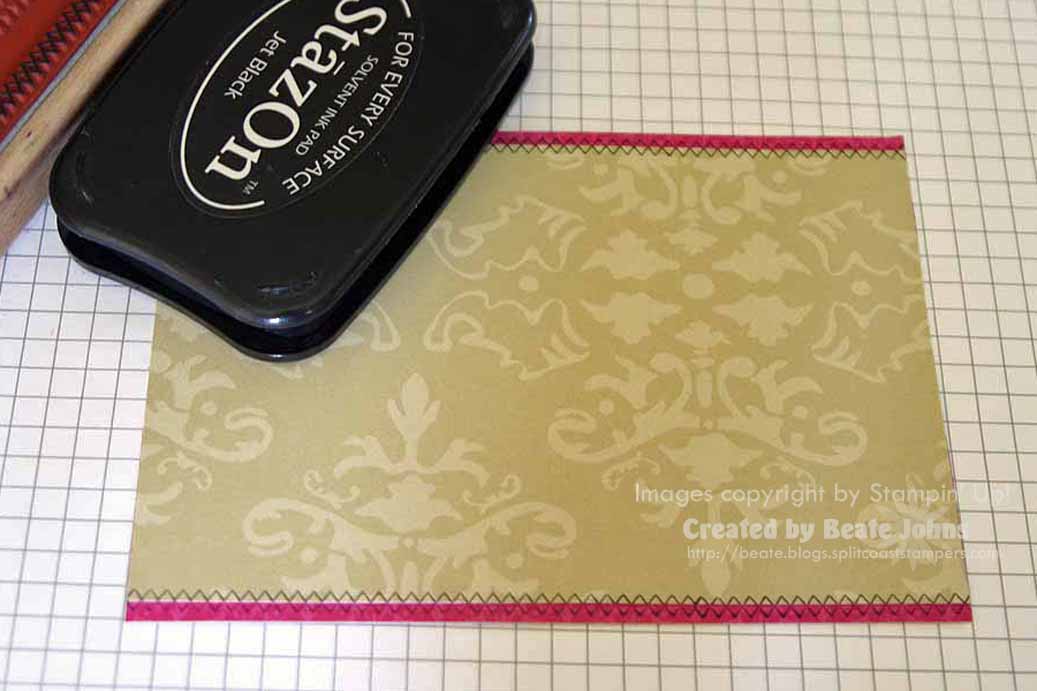
Decorate your 4 1/2″ x 6″ piece of patterned paper.
I cut mine down to 4 1/4″ x 6″,added coordinating cardstock strips to create an extra border and stamped it with my All in a Row Argyle stamp.
Hint: If adding the extra cardstock strips, make sure you use strong adhesive to tape them to your main piece. I used regular adhesive (Snail adhesive). That wasn’t strong enough and I had to redo it later on.
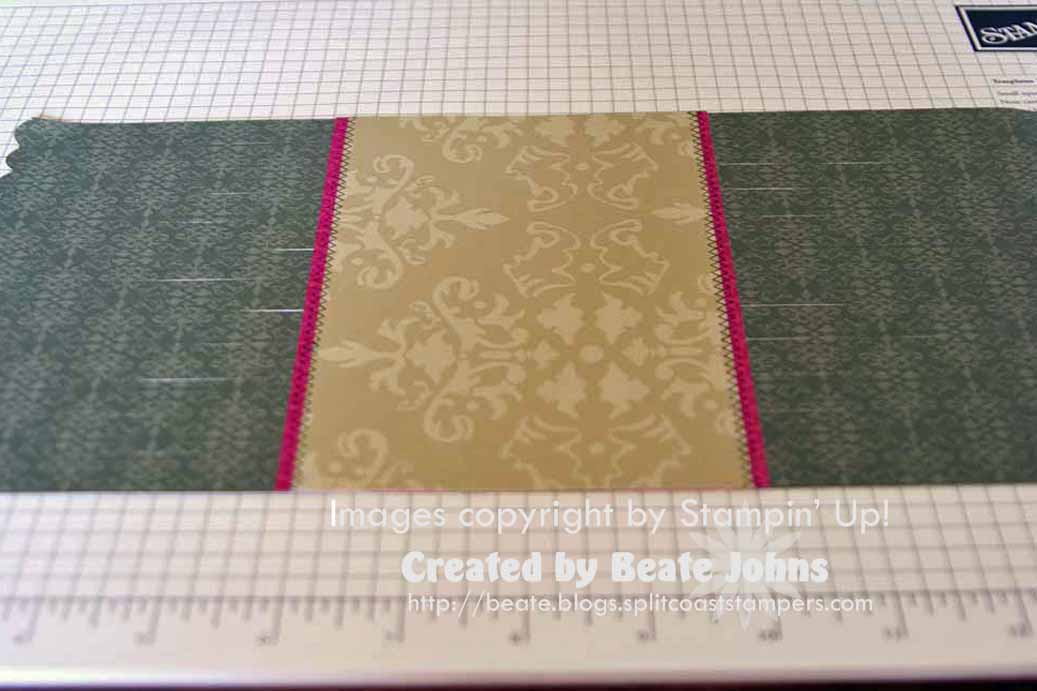
Step five:
Tape your smaller patterned paper in the center of your bigger piece. I suggest you use Sticky Tape or Terrific Tape on the 4 1/2″ ends.
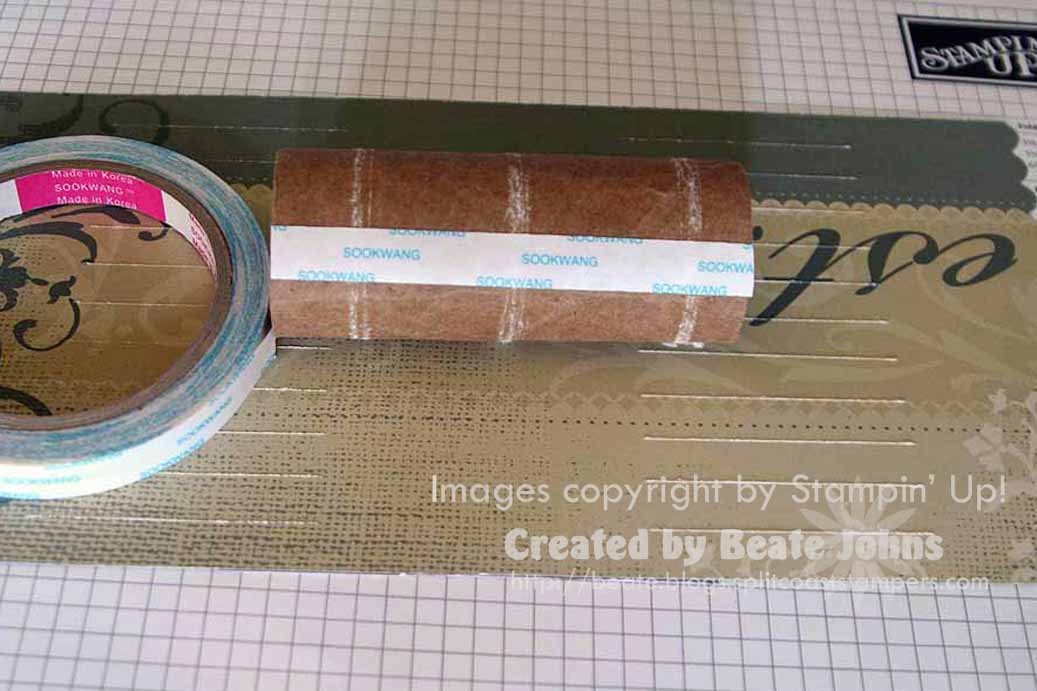
Step six:
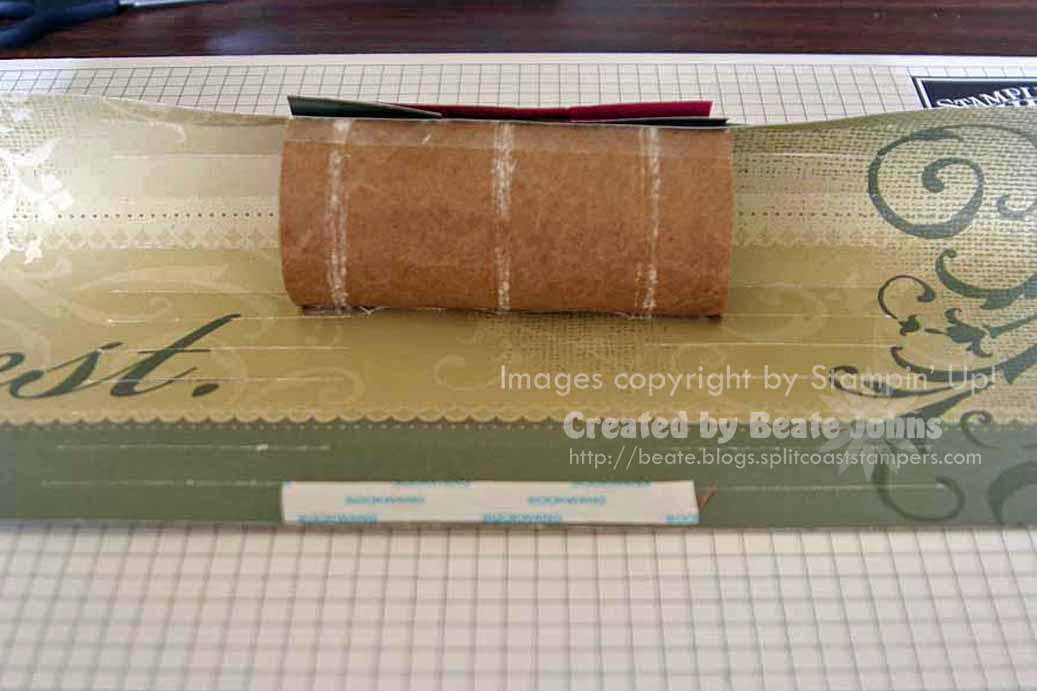
Add two strips of strong adhesive (I used Terrific Tape) on opposite sides of your empty paper roll.
Flip your patterned paper piece over so the wrong side is facing up.
Center you paper roll over the patterned paper.
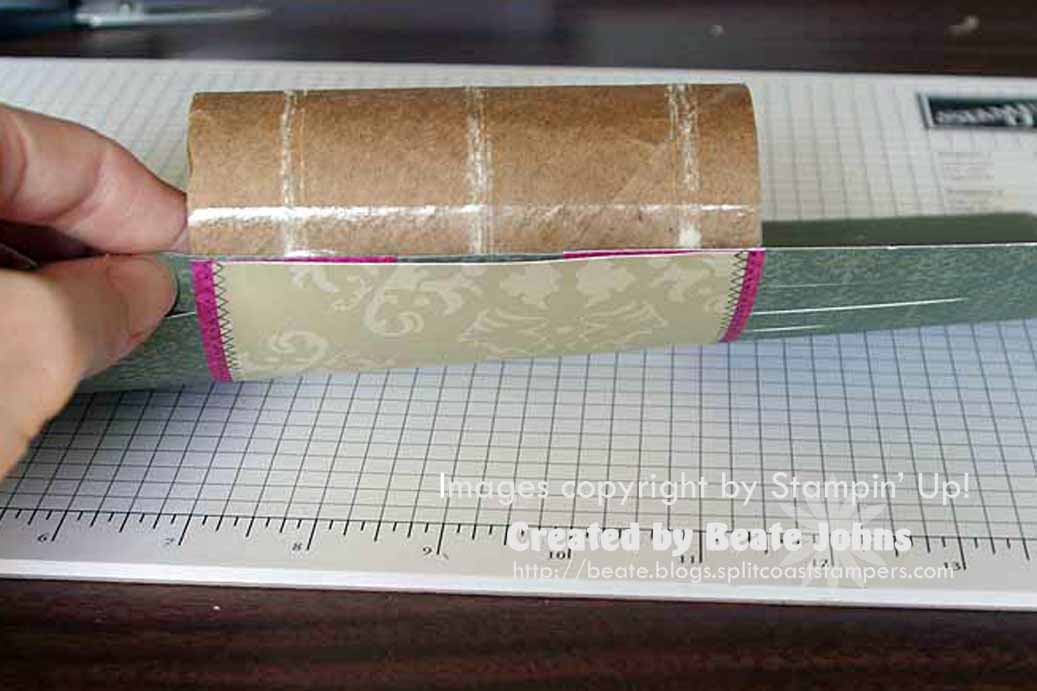
Step seven:
Line the center of the paper up with your paper roll. Tape it down on your first adhesive strip.
Step eight:
Add another strip of your strong adhesive on the opposite end of your patterned paper.
Hint: Now that I see the tutorial it would be easier to just add three strips of adhesive in the center of the patterned paper. One on each end, on in the middle of the uncut piece.
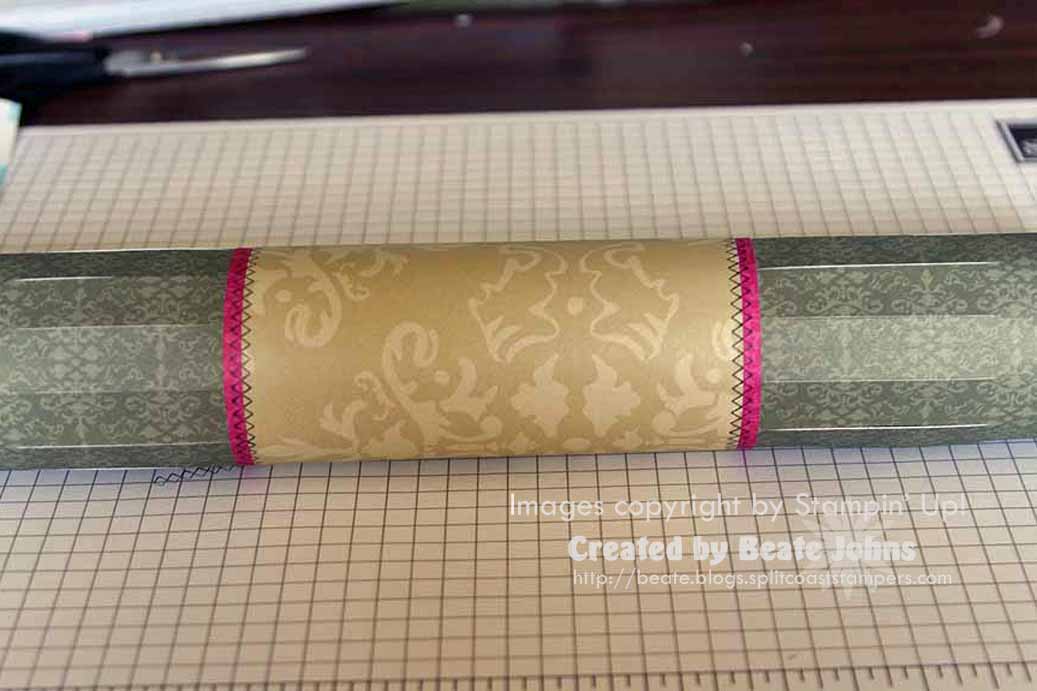
Step nine:
Roll your paper roll up in your patterned paper and tape down with your adhesive.
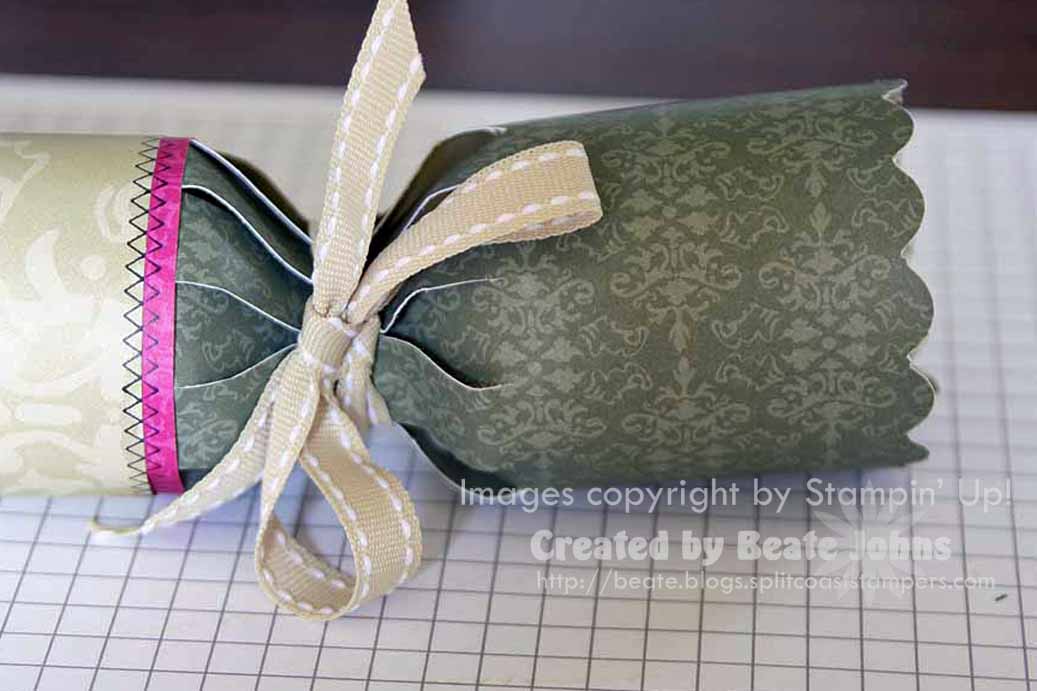
Step ten:
Push the slits you cut inward and tie shut with a ribbon.
Fill your treat box and tie other side shut with ribbon as well.
Step eleven:
Decorate and you are done!
Beate
28 Responses to “Christmas Favor”
Sorry, the comment form is closed at this time.


Beautiful!! It reminds me of those Christmas crackers that my kids love….but way too pretty to tear apart like that. Thanks for another wonderful tutorial! You are going to keep me busy with all of these awesome projects. 😉
Love the idea of using corner punch to make a scalloped edge! I always love multiple uses for our “tools”. It looks very elegant, perfect for an office party.
Fabulous, Beate!
It’s so beautiful! I like your version more then theo ne from SCS. You are such a creative person!!! TFS!
Beautiful once again! Wonderful idea and wonderful tutorial! Thanks Beate!
I definitely like this version the best. It’s so classy and elegant. SCS version is nice too, but I prefer your scalloped ends to the multiple cuts.
Thanks for sharing.
Ohhh I Love it. You are such an artist.
This is very cute!
Love it!!! Great gift idea!!!
Thanks Beate! I saw this in the book as well and loved it. I was trying to figure out how they got those perfect pleats. These make great place cards for Christmas dinner. They look very festive if you place them on the salad plate.
It’s like a Christmas cracker! My mom makes these every year for us. I’ll have to show her your tutorial, Im sure she’ll LOVE it!
Thanks so much Beate for all this fun stuff. I know it’s not easy getting this done on top of EVERYTHING else you have going on. You really are a blessing to the crafting community! =)
Wow!! Love this little treat package!!! : )
Very cute! Thanks for another awesome tutorial!
I love the look of this!!! Who would of thunk a tp roll could look so good!
You rock!
Love it! Looks great Beate!
Thanks for the tutorial. I love this beautiful party box.
This is awesome!
Oh Beate… This is gorgeous!!
its beautifull
This is just so pretty Beate! What a great project! This D.S. Paper makes this project look elegant! Nice job…LOVE your blog and tutorials (on Splitcoast you’re one of my fans too!)
Beate, this is absolutely gorgeous!!! Wow!! I will definitely need to try one of these…thank you so much for always sharing so freely!!
So pretty! So much nicer than ones I’ve purchased (for a pretty penny) already made! 🙂
Thank you!
Beautiful !!! What a great idea ! TFS !
WOW! This is amazing! Thank SO MUCH for the tutorial! Gorgeous!
Beate
When I seen this on you homepage I thought I would never be able to make that. Yours is just beautiful, looks flawless and perfect its so pretty. After seeind your tutorial, I am going to give it try. Thanks so much
This is beautiful! What an elegant little gift! 🙂
Wow….yours is gorgeous!! I just tried this, and when I tried to tie my ends, they looked horrible. They didn’t fold neatly like yours did. Mine stick out and are poofy..but I will keep trying cuz this is such a great idea!!
Deb
An old English tradition that I remember as a youngser in England! They were filled with little charms. maybe a thin paper book and always a dumb paper hat that everyone wore! I love yours because with the cut ends, heavier, but much prettier scrap paper can be used. I’ve always made mine with crepe paper that’s not as pretty, but easier to gather at the ends and also to pull apart with a banger!
I’m going to make yours for everyone with truffles inside! Thank you for sharing!!