

Here is the Take out Box tutorial I promised:
I made this one with 2 1/2″ sides, but you can change that up really easy.
To see the tutorial, click on more.
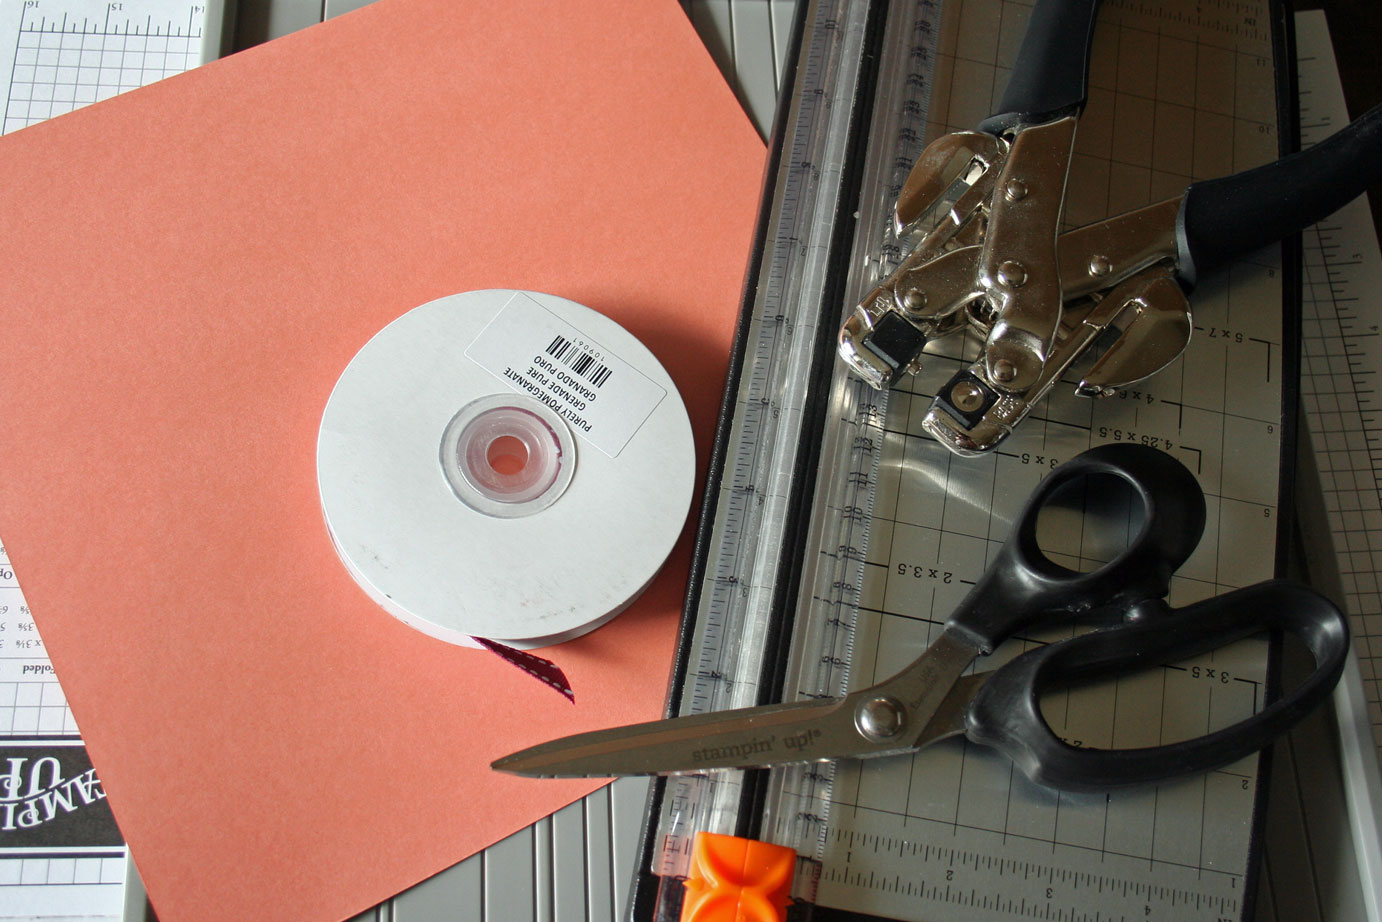
Supplies:
- One 9 1/2″ square cardstock piece
- Scoring tool
- Paper Cutter
- Scissors
- Ribbon
- Crop-a-dile or other hole punch
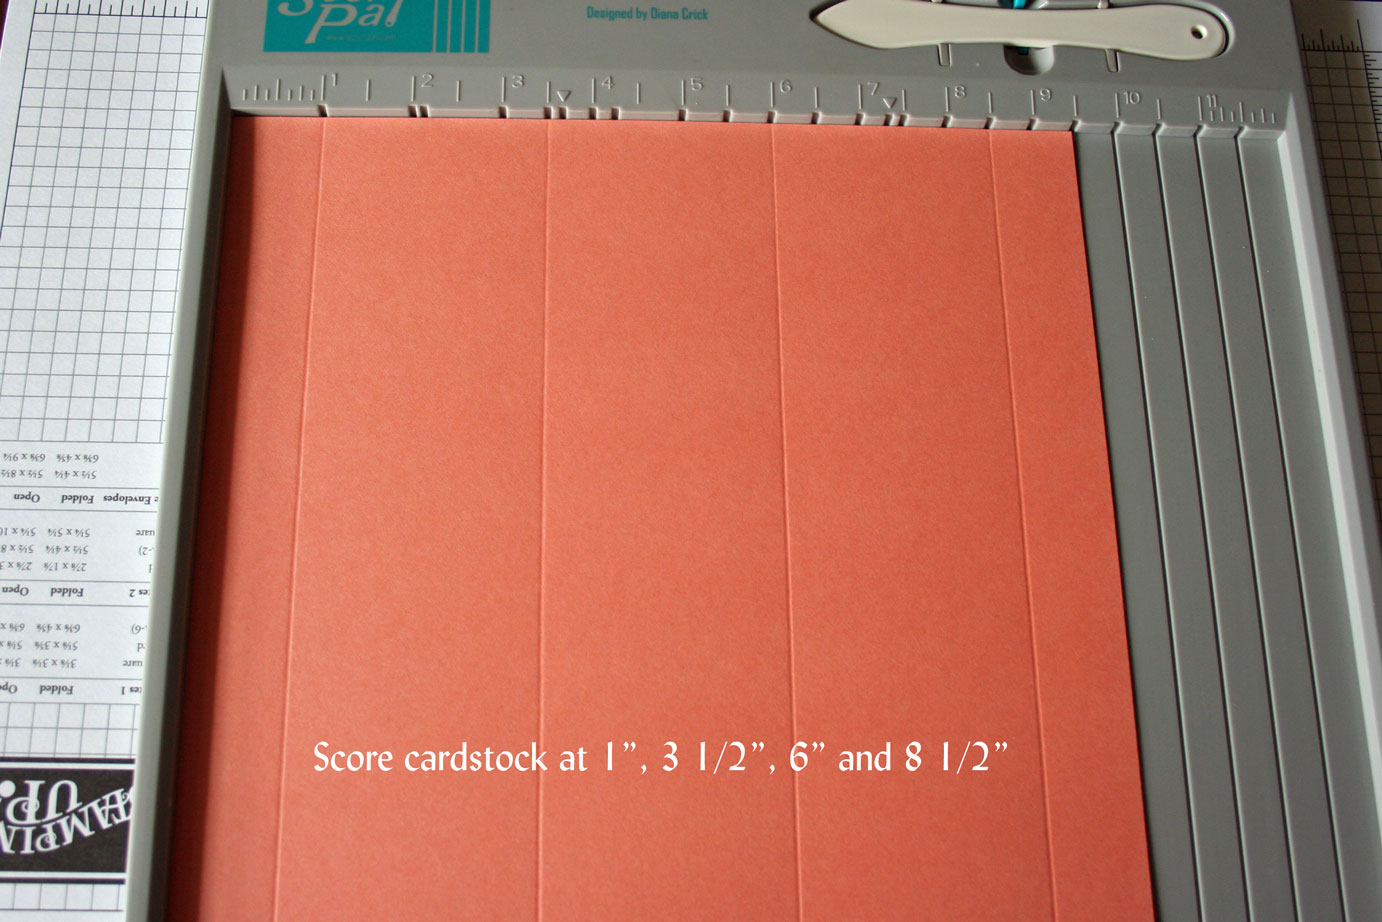
Step 1:
Score your cardstock at 1″, 3 1/2″, 6″ and 8 1/2″.
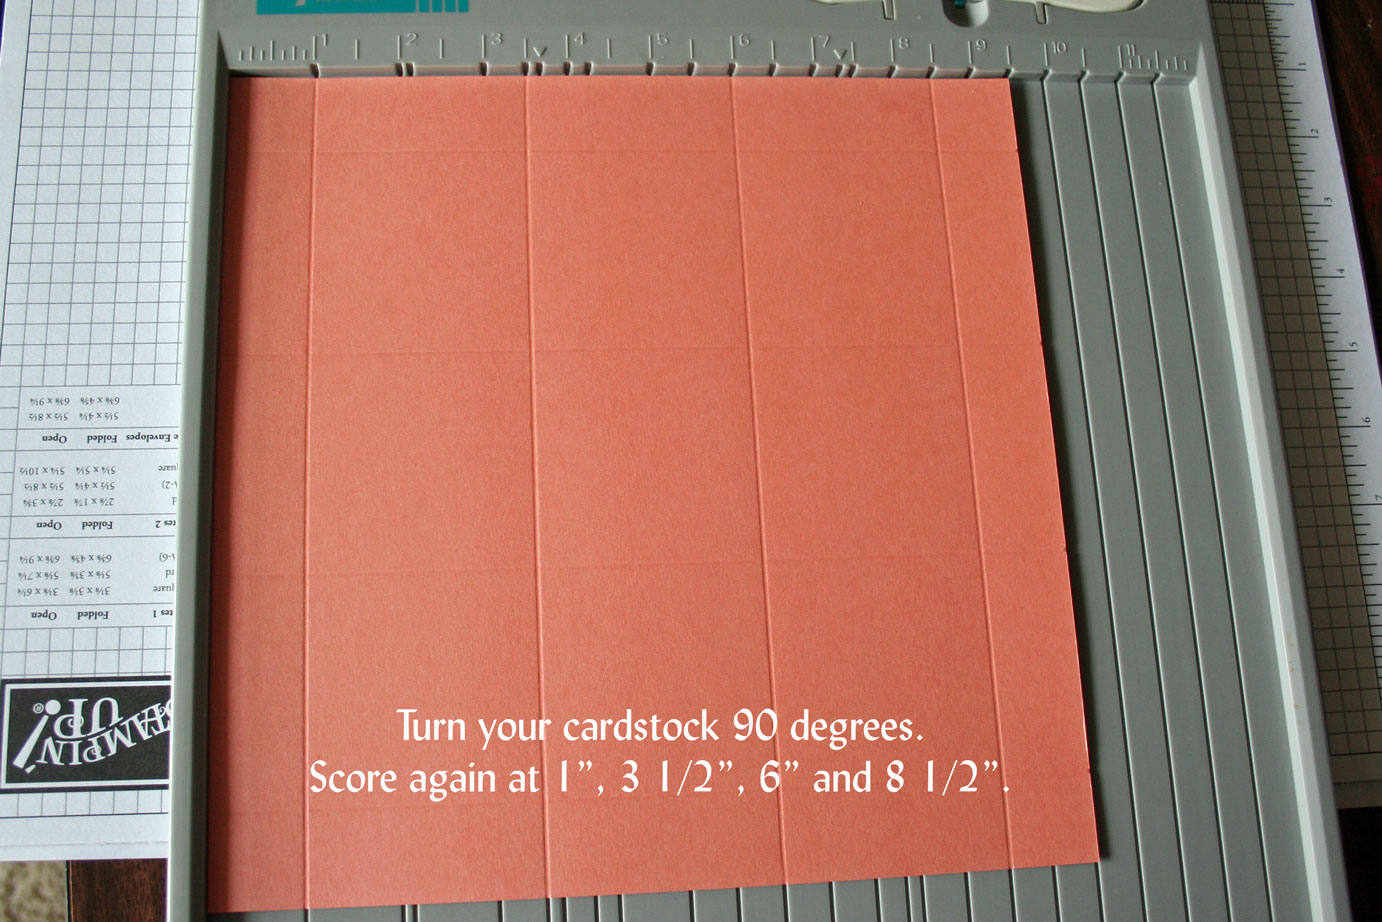
Step 2:
Turn your cardstock 90 degrees and score again at 1″, 3 1/2″, 6″ and 8 1/2″.
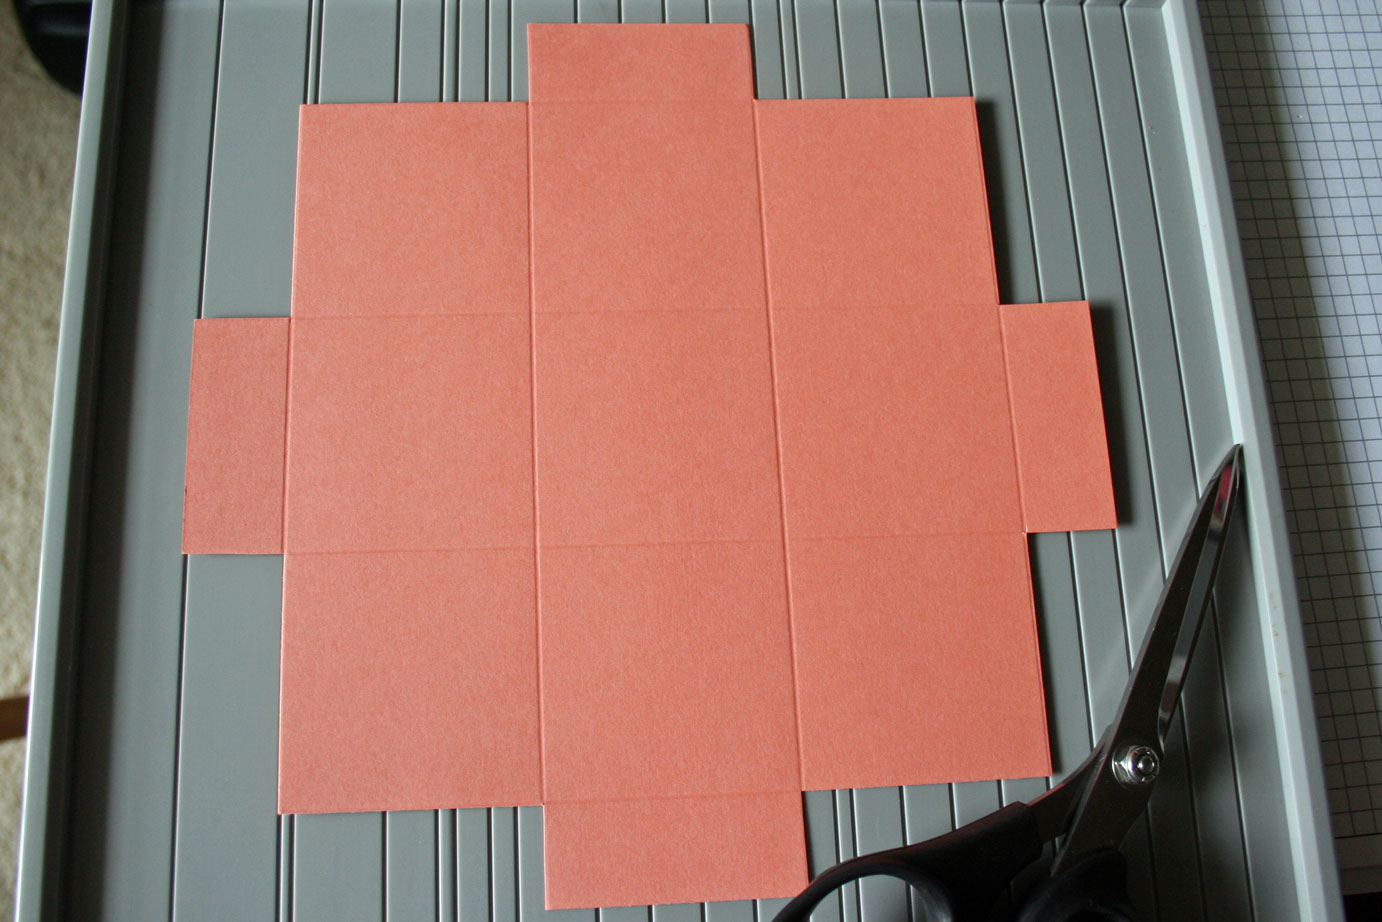
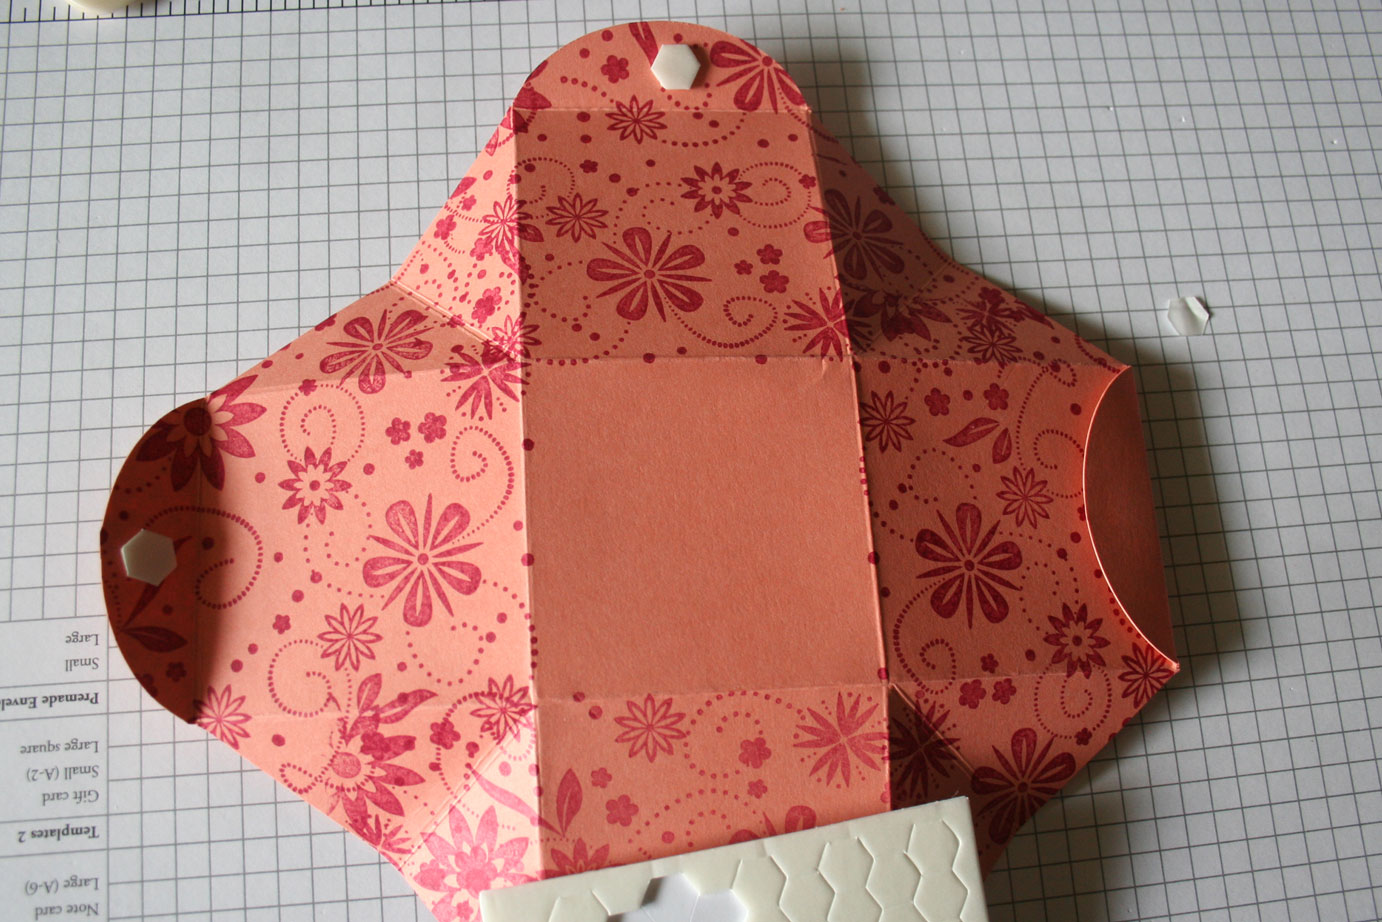
Step 3:
Cut away the outer score panels, leaving only the center panels. These will be the flaps of your box.

Step 4:
Add diagonal scores to your corner squares.
For Scor-Pal users: Line your cardstock up with your corner point at the 5 1/2″ mark. Make sure the point of your lower square is lined up with the 5 1/2″ line. Now score your two outer squares.

Step 5:
Repeat step four on your other two outer squares.
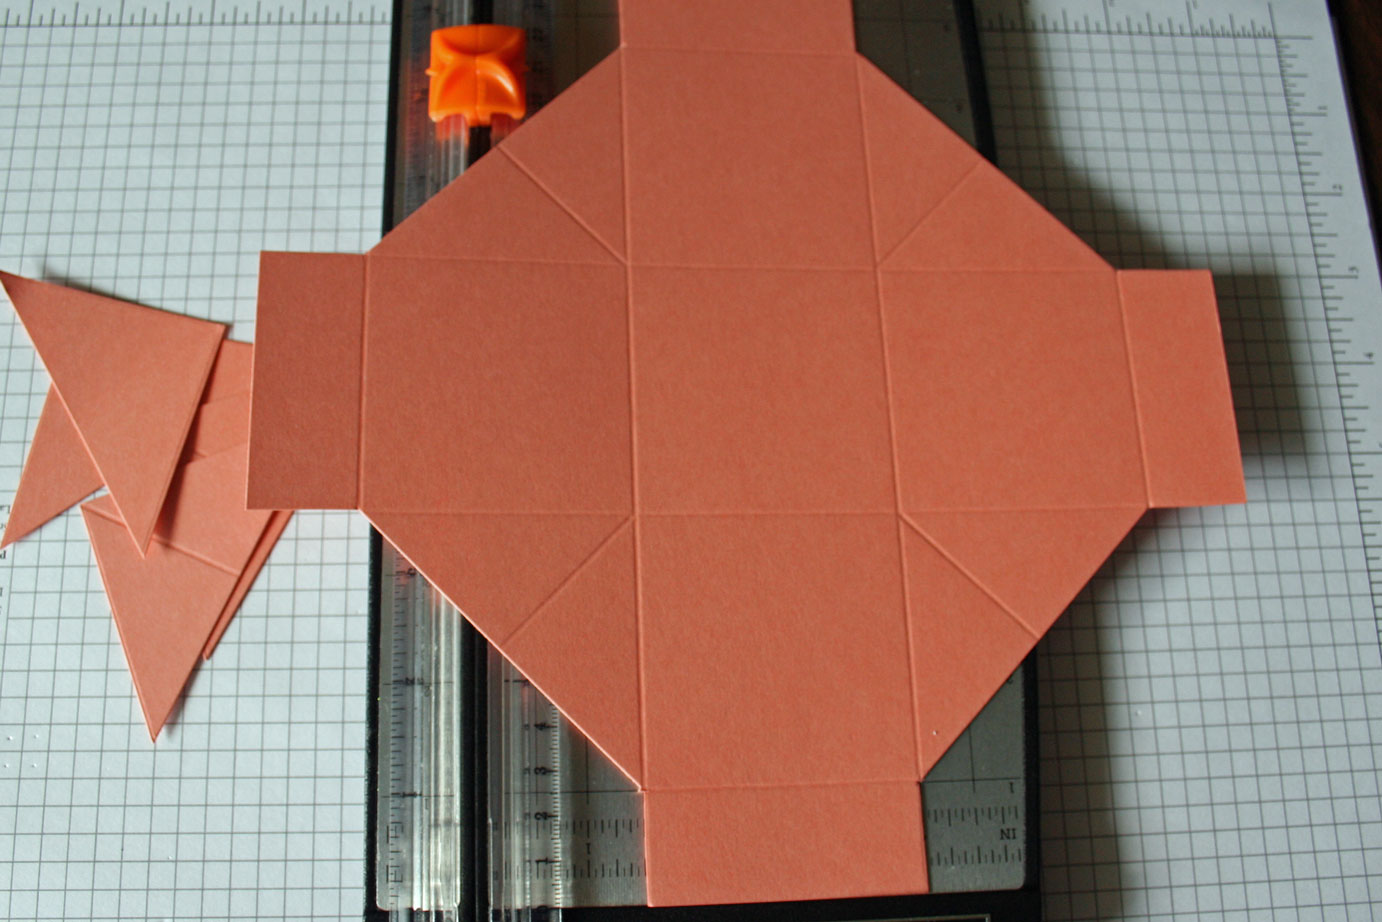
Step 6:
Cut from the low point of one flap, to the low point to the next flap. It will cut your outer squares in half, leaving only a scored triangle. Repeat on all four corners.
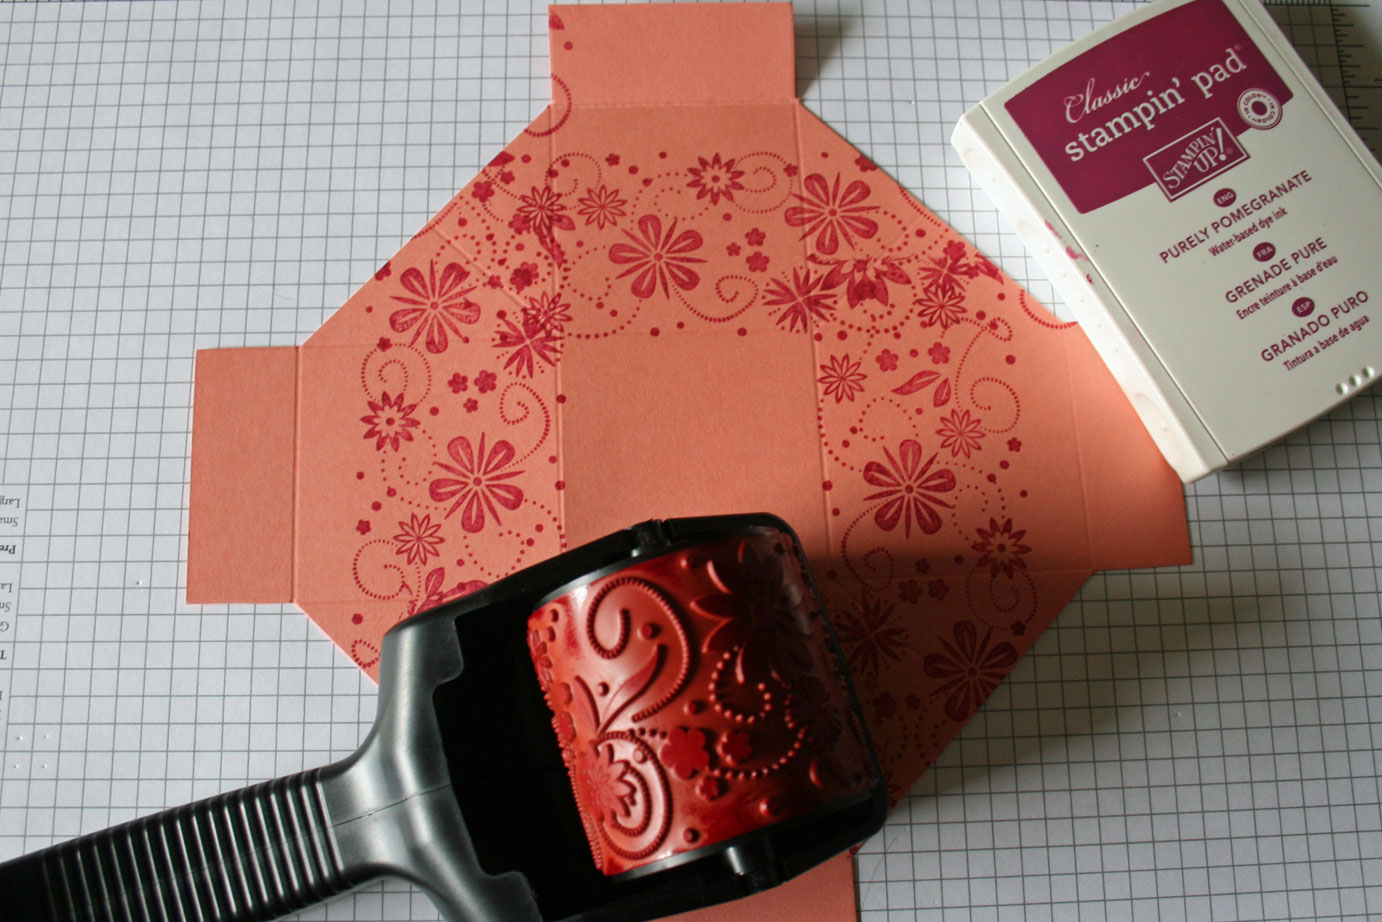
Step 7:
Stamp your box front. It’s okay if your images overlap a little at the triangle sections. Those won’t be seen.
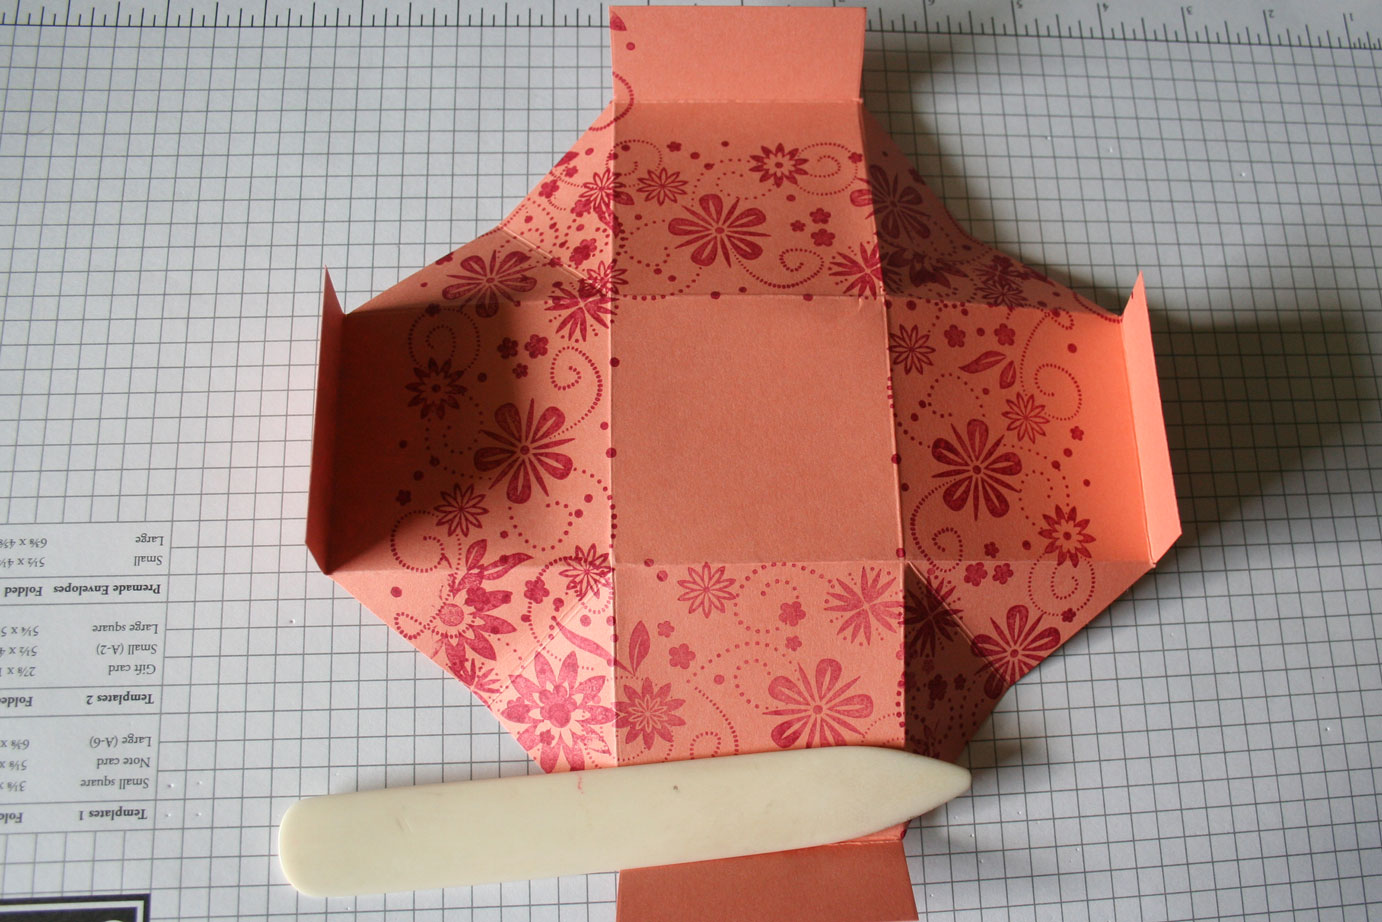
Step 8:
Prefold all your scores.
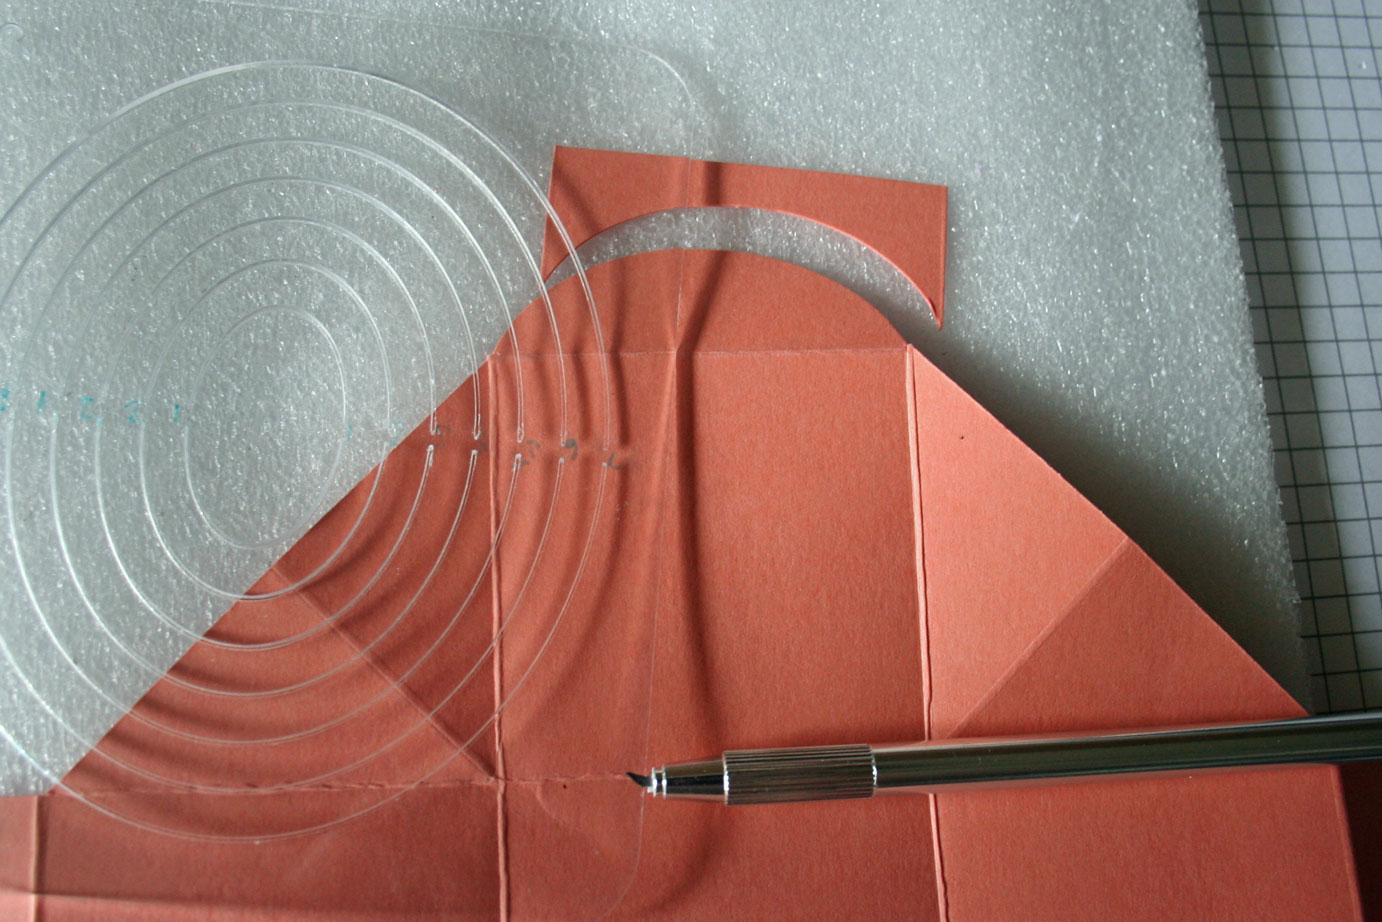
Step 9:
Decorate your flaps. I cut mine with my Coluzzle. You can also cut it with decorative scissors, add scallops with your corner punch or even leave them straight.
Step 10 (optional):
Tape your flaps down. I used dimensionals so the flaps would stick right on the wall. It will show them off more.

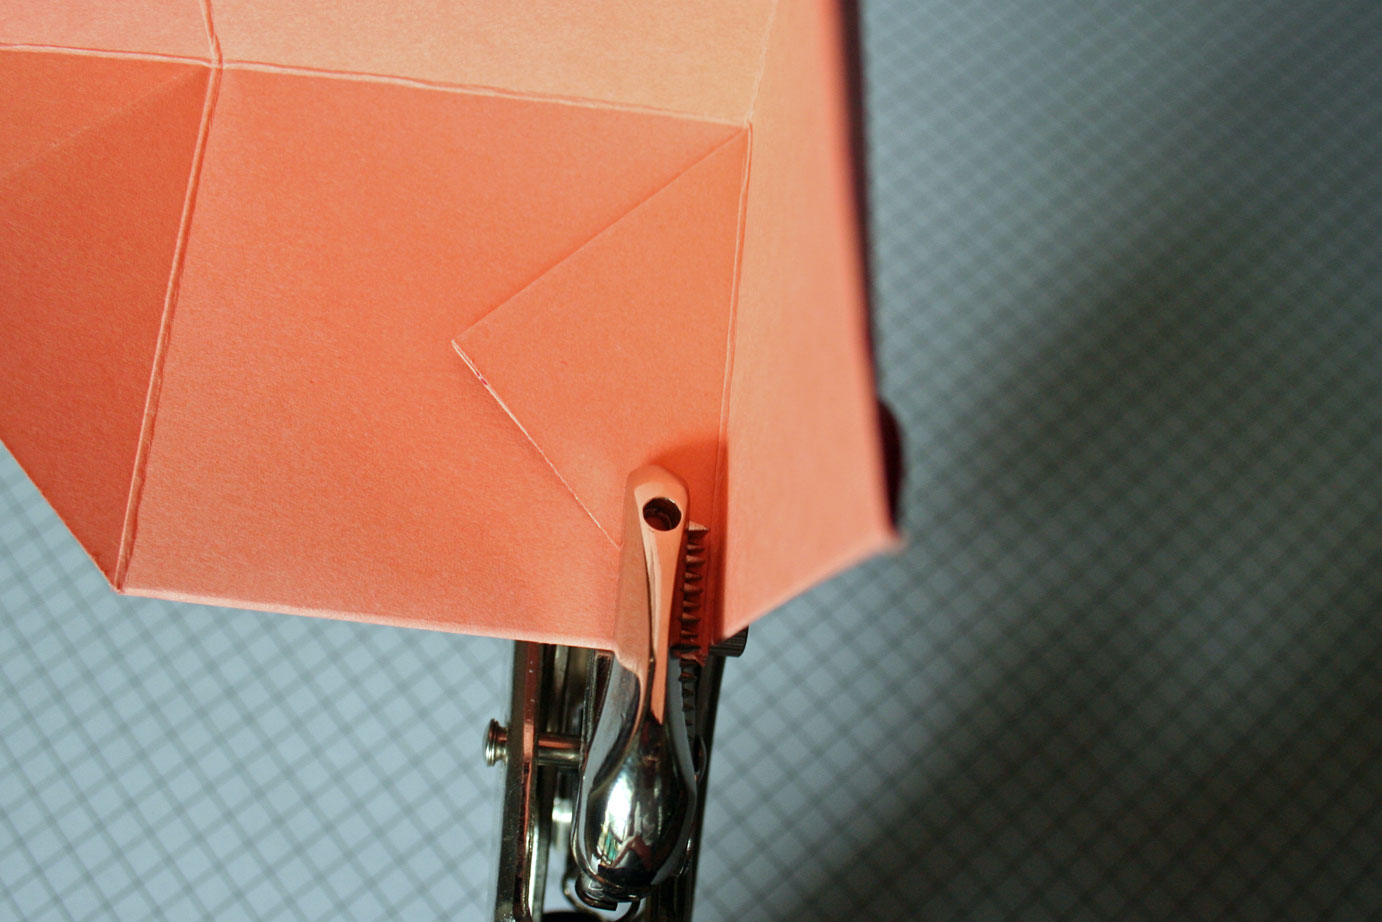
Step 11:
Fold one side up at a time and punch a hole with your Crop-A-Dile or other hole punch.
Inside View:
I punched through the the side triangles to make them stay put on the sides.
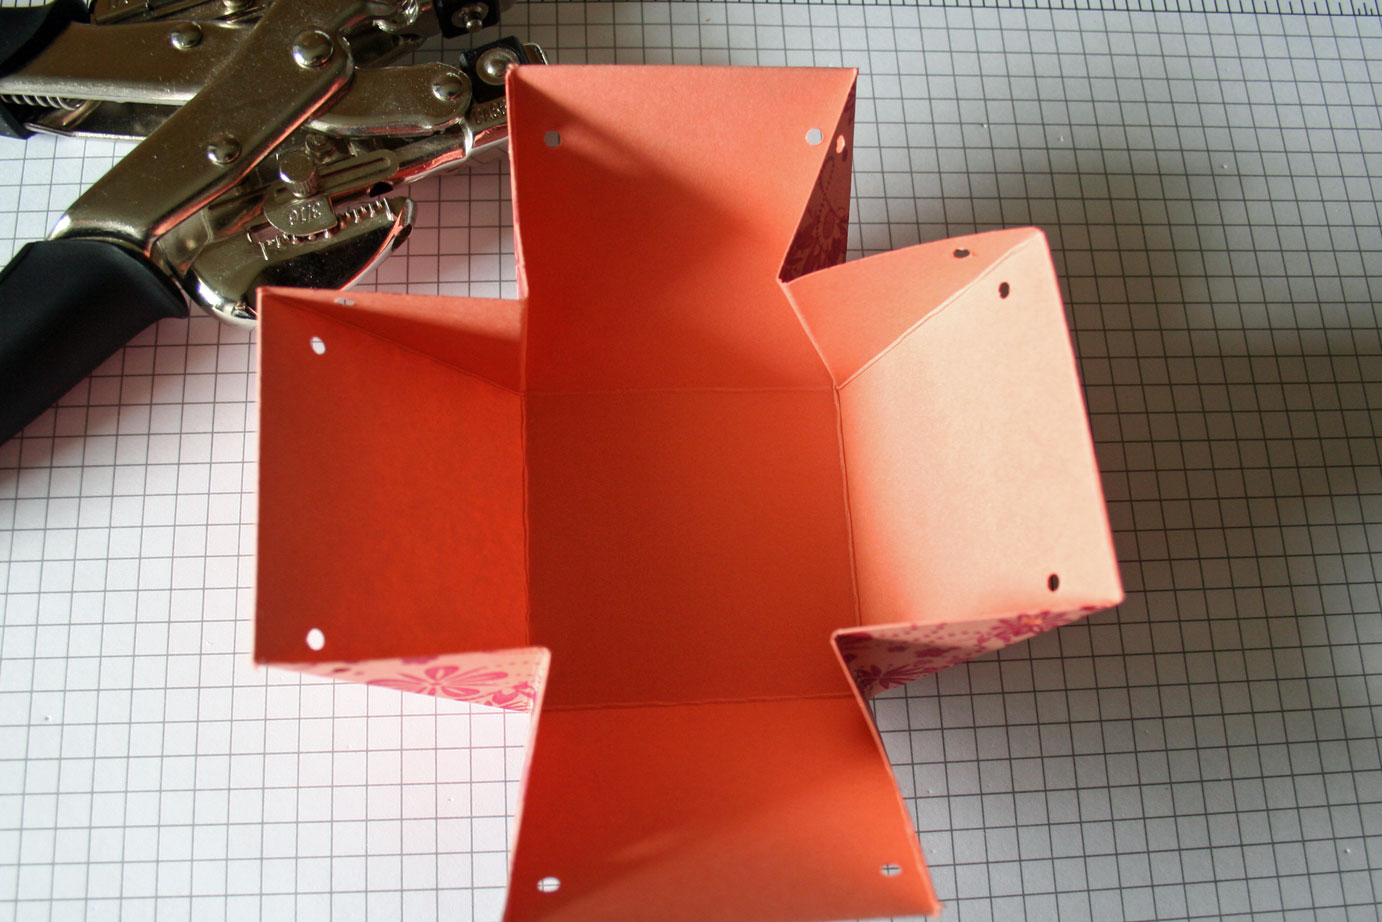
Step 12:
Punch a hole on the left and right of each side of the box.

Step 13:
Hold box together by threading pieces of ribbon through the holes and tying knots.
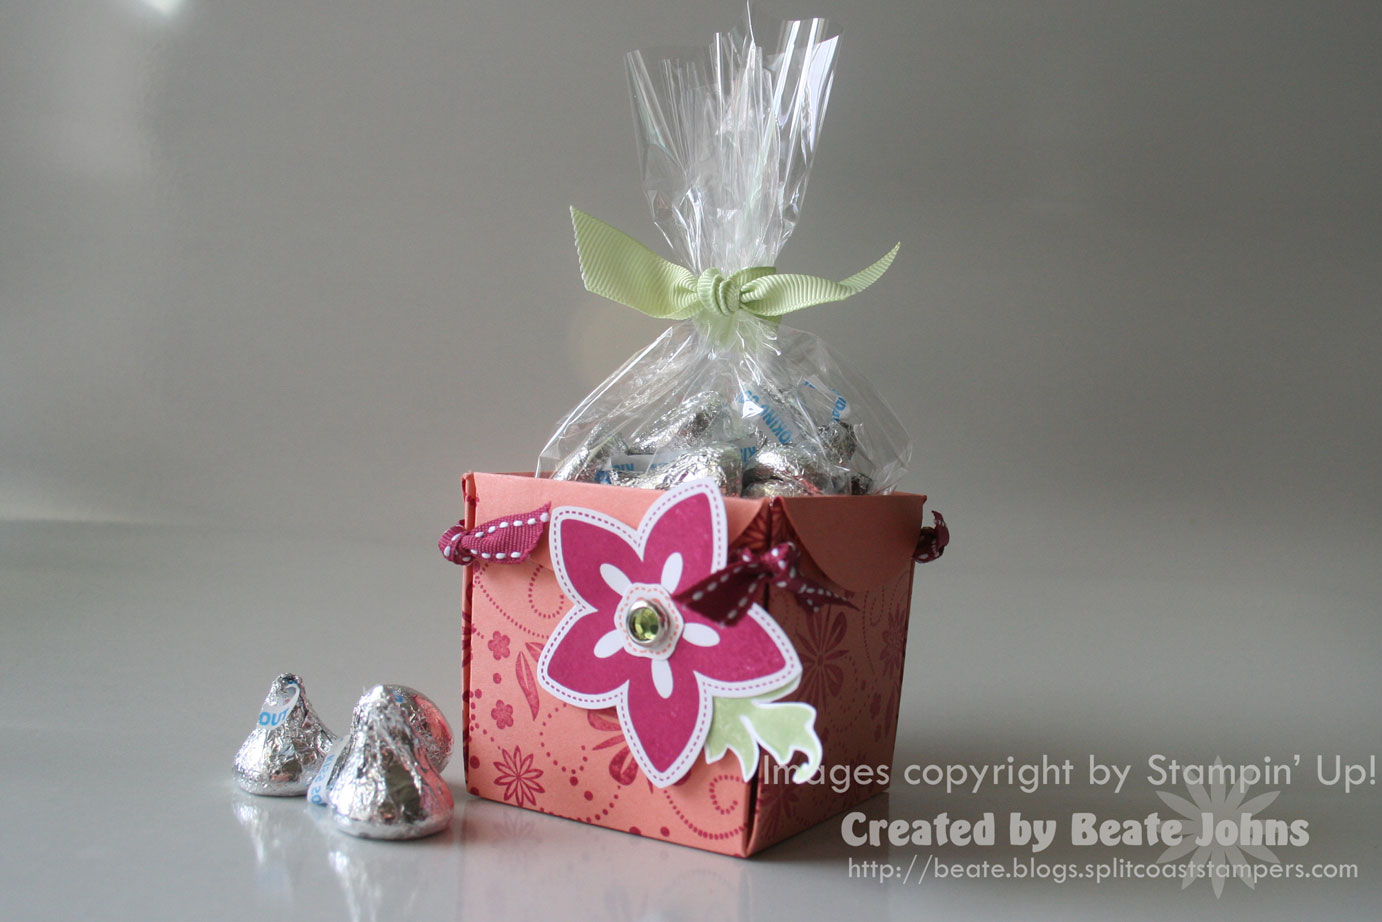
Step 14:
Decorate your box and fill it.
Variations:
You can change the size up of this box really easy. Your square cardstock has to be
3x the size of your side plus 2x the width of your flap.
Decorate the flap a different way. Check step 9 for some other flap ideas.
Make your flaps longer ovals and use those to make a pointed lit.
Beate
33 Responses to “Take out Box tutorial”
Sorry, the comment form is closed at this time.


Beate – you always do the best tutorials – this little treat box is just plain adorable. Thanks for sharing!
Very cute! This looks like a fun box to try out….lots of possibilities!
Thanks for a great tutorial–this box is adorable!
Very cute!!! Thanks for the great tutorial!!!
Thank you so much for posting this tutorial. What a fantastic little box.
This was fun to do …. your tutorials are the BOMB! Thanks so much for sharing your amazing talent with us!
What a fabulous little box! I love the colors and everything else about it!!
Thanks for your wonderful tutorial!
love it! Thanks for sharing Beate
Thank you, thank you! for the tutorial!
Thanks for the tutorial! I just got this set the other day! I’m loving it!
Fantastic! Oh I can’t wait to try this one! Love it, Beate!
HI IT S SO BEAUTIFUL BOX THAT WONDERFUL FOR BIRTHDAY CHILDREN OR EASTER BASKET. THANK YOU FOR YOUR TUTORIAL. NOW YOU SEE MY NAME ON FROM SAFARI WEBSITE. ITS WORKING.
TAKE CARE
Wonderful tutorial and take out box Beate! Deb
Thank you so very much. Your work is always beautiful and your tutorials are the best! I check your blog every day.
Marty
I have to laugh. I was at the computer staring at the box going, Hmmm, it seems just like the one she made the other day. Talk about being a little slow on the uptake~LOL!!!
You are the rockinest tutorial lady!!
HUGS
Beate I LOVE your work! It’s beyond Beate-ful! Thanks for the tutorial! Now…there’s something I have on my blog for you! Hope you like! 😀
Gabby
So cute Beate!! Thanks for the toot!!
Oh this looks fabulous Beate! Hope to find some time to do this before leaving for Florida!
I really cannot wait to try this! It’s so very cute! Thanks so much for sharing, Beate! 🙂
Beate, this is really cute. Great tutorial. Thanks so much!
Beate, What an excellent tutorial! Thank you! 🙂 Julie
I’ve made this little box before and really like ti. I like how yours turned out too! I’d link a pic but I have no idea wher it is.
Have a great weeken!
TFS a nicely detailed tutorial. You always explain things so well.
That box is so cute. TFS as always.
Thanks Sweetie for the tutorial..
TFS! Your pics are great, the instructions detailed…easy to follow tutorial – much appreciated!
WOW !!! This is fantastic !!! I know what I’m doing this weekend now !!!!
Dance On !!!
corinne
You are quick Beate! Thanks for sharing!
Thanks so much for figuring this out for us! Another great tutorial! You’re the best! Jeanne
Love it! Thanks so much for sharing. Will try it right after I get back from supper…
This is just adorable Beate! I love your tutorials-they are simple and easy to follow and the projects are awesome! Thanks for sharing!
Congratulations,your box is really gorgeous, I’m going to make one and I let yocu how it came out. Your tutorial is easy to follow,and of your project is great.
Hi Beate, I went back to see this tutorial again and I wonder: Can I meke some changes and transforme it into a chinese take out box? I mean the flaps so it can be close.
Thanks
Where Can I get a score board in Toronto