
Today’s tutorial on SCS is for Sparkly Stained Glass. It’s easy peasy, it just takes some patience to let the glue dry completely before finishing the card. Any outline image that can handle sparkle will work great for this technique. I thought the Flourishes Set All that Glitters would be perfect for that. I love Flourishes stamps. I wish and hope that Stampin’ Up! will start carrying more Botanical/Vintage/Elegant stamps. I miss those in our catalogs.
My card base is a 4 1/4″ x 8 1/2″ piece of Basic Back folded in half.
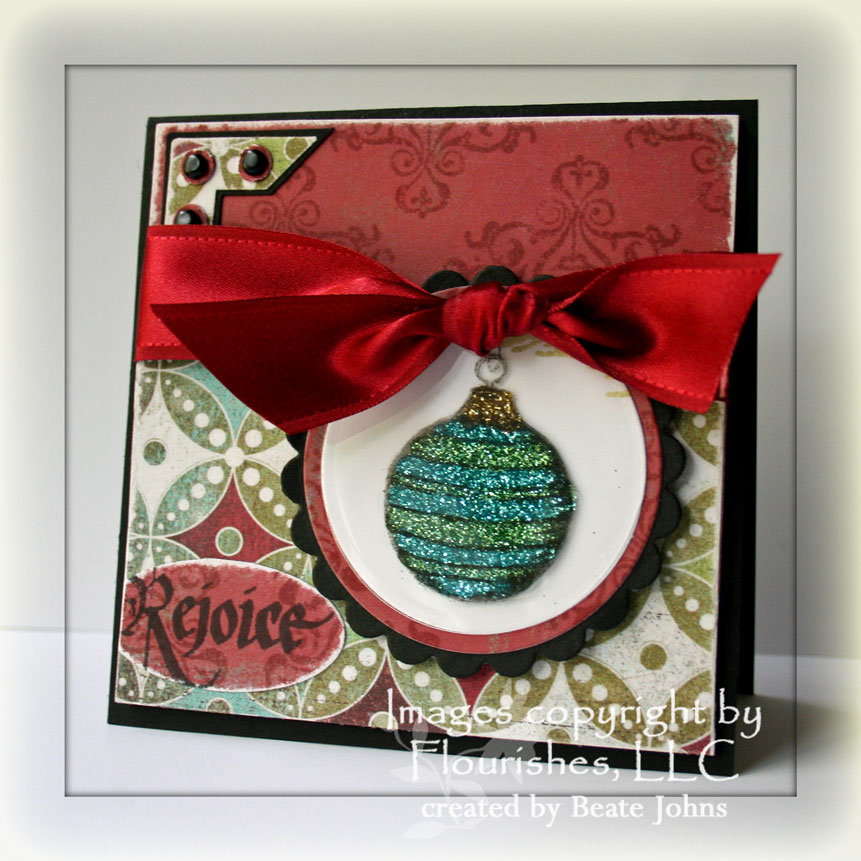
It’s followed by a 4″ square of My Mind’s Eye designer paper. The edges of the paper were distressed with a sanding block. On the bottom a 2 1/2″ x 4″ piece of BasicGrey Figgy Pudding Paper was adhered. May Arts Red Satin ribbon was tied around both Designer paper layers. On the top left a double photo corner was added. The bottom layer is punched out of Basic Black cardstock, the top layer is punched from the Figgy Pudding Paper. Three 1/4″ circle punch-outs from the My Mind’s Eye paper were added and topped with three black brads.
The ornament was stamped in Black Palette ink on Acetate. After it dried, I turned it over and added Martha Stewart glitter with Crystal Effect. Once that was dry (I let it sit for a day to be sure….don’t ask me why. Let’s just say this wasn’t my first try to make this card.LOL) cut the Acetate along with White cardstock underneath with Circle Nestabilities. I taped them together (add more adhesive under your glittered image, that way the adhesive won’t show), adhered them first on a slightly bigger My Mind’s Eye paper circle, then on a black scallop circle. They were adhered to the card base with dimensionals.
The sentiment is from the set Flourished Christmas (Can’t link to it. Out of stock right now). It was stamped in Black Memento Ink on My Mind’s Eye paper, cut out with the large oval punch, distressed with the sanding block and taped to the lower left of the card.
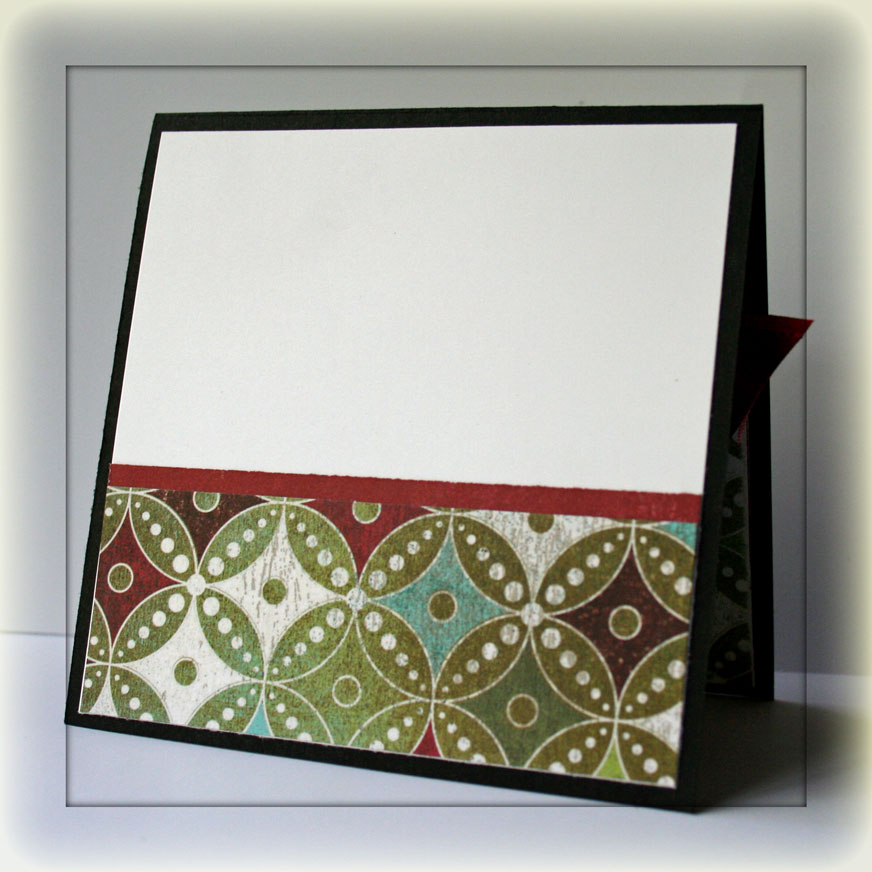
For the inside I layered a 4″ Whisper White square with a 1 5/8″ x 4″ strip of the red designer paper, followed by a 1 1/2″ x 4″ piece of Figgy Pudding paper. ( I have to smile every time I type Figgy Pudding….such a funny name. LOL. What can I say? I am easily amused.)
I promise, the next few posts will be strictly Stampin’ Up! again.
Have a great day! Hugs and smiles
Beate
31 Responses to “Tutorial on SCS – Sparkly Stained Glass”
Sorry, the comment form is closed at this time.


Oh my gosh Beate!!! This is gorgeous! LOVE all that glitter! Will definitely try this…too bad it takes so long to dry, I’m not known for my patience…lol
TFS!
GORGEOUS, Beate!! I LOVE that ornament – of course, I LOVE LOVE LOVE glitter, so this is right up my alley…if I can stand to wait that long for it to dry! 😉
I love this technique and haven’t used it for a while, so I’m glad to get the push to try it again. I think I have a much better collection of outline stamps by now, but your ornament is so beautiful I’m tempted to try something just like that. It’s so perfect for the sparkly frosted glass ornament.
This is beautiful! Definitely will have to give this a try!
Oh my word this is gorgeous!!! And so glit-ter-ray!
What a great card! I love that tutorial. It looks like it would take a lot of patience, but the end result would be worth it!
OOOOOOHH!!! I love it! I can’t wait to try this…what stamp set to use, what stamp set to use??? I have all that glitter that I never use!!! Color me excited…
brandi
This is simply beautiful! I love looking at it – that ornament is so pretty like that! I love that paper, too!
Oh my goodness….this is so gorgeous and sparkly!! I will have to check out your tutorial, Beate! I love those pretty designer papers too, and those Flourishes images!!
Very pretty! I love how the glitter stays contained on the backside of the acetate!
*JAW HANGING OPEN*!!! This is AMAZING Beate!! I mean, totally gorgeous!!! I have to give this a try, you know glitter is one of my favorite things, lol!!! Love the stamp and papers too just absoulutely beautiful!!! *STAMPIN HUGS* Alex
Oh, my, that sparkly ornament is gorgeous! Love that satin ribbon, too! 😀
OOOOOOH! LA LA!!! what a fabulous ornament! I’ve running over to check out the tutorial!
Breathtaking!
This is absolutely stunning…..fantastic !!!
Gorgeous Beate! Hugs, Deb
So stunning! Wow-wee!!!
🙂
this really is beautiful (don’t you just love that stamp set!!)
I followed your directions and it really is easy peasy..you just have to wait for the glue to dry 🙂 which was the hard part lol
I have glitter everywhere, I can see something sparkly out of the corner of my eye lol
Absolutel beautiful!
Beate – your work is always an inspiration whether you use stampin’ up or not! cheers, Ellen
This is just GORGEOUS! I have some glitter calling my name!
Fantastic card Beate! The glittered ornament is so gorgeous! I’m off the check out the tutorial.
This is so pretty! LOVE crystal effects! Great job all around.. that ribbon is gorgeous!
Your stamped ornament looks absolutely fabulous!
Wanna see my own version of this technique (and have a good laugh)?
http://www.splitcoaststampers.com/gallery/photo/92114?cat=500&ppuser=19156
The sparkles looked fabulous. The card itself – not so much. I did that card three years ago. I guess my stamping skills have improved a bit since then!
TFS!
Cindy
very pretty, love all the sparkle on the ornament!
WOW this is so gorgeous!!!
Love the sparkling ornament and the ribbon is decadent! Mary
This is flippin’ gorgeous Beate!!!
WOWZER Beate!! This is so breath-taking!! GORGEOUS!! I’m going to check out the tutorial soon!! 🙂 TFS!!
This is just stunning! Thank you for sharing this fabulous technique! I will have to try this one! 🙂 Hope you are doing well! 🙂
Gorgeous card.. fabulous technique. I love that you have decorated the inside of the card, too. It makes the card even more special. I have got to start remembering to do that.