
I received my preorder from the Holiday Mini catalog Wednesday evening. I know I had to use some of my new product. I did pick the stamp Dasher and Christmas Punch(Level 2 hostess set – now don’t judge my big spending. LOL), which are not from the mini and the GORGEOUS, AMAZING, WONDERFUL flocked Christmas Cocoa Specialty Paper. It’s soooo pretty.
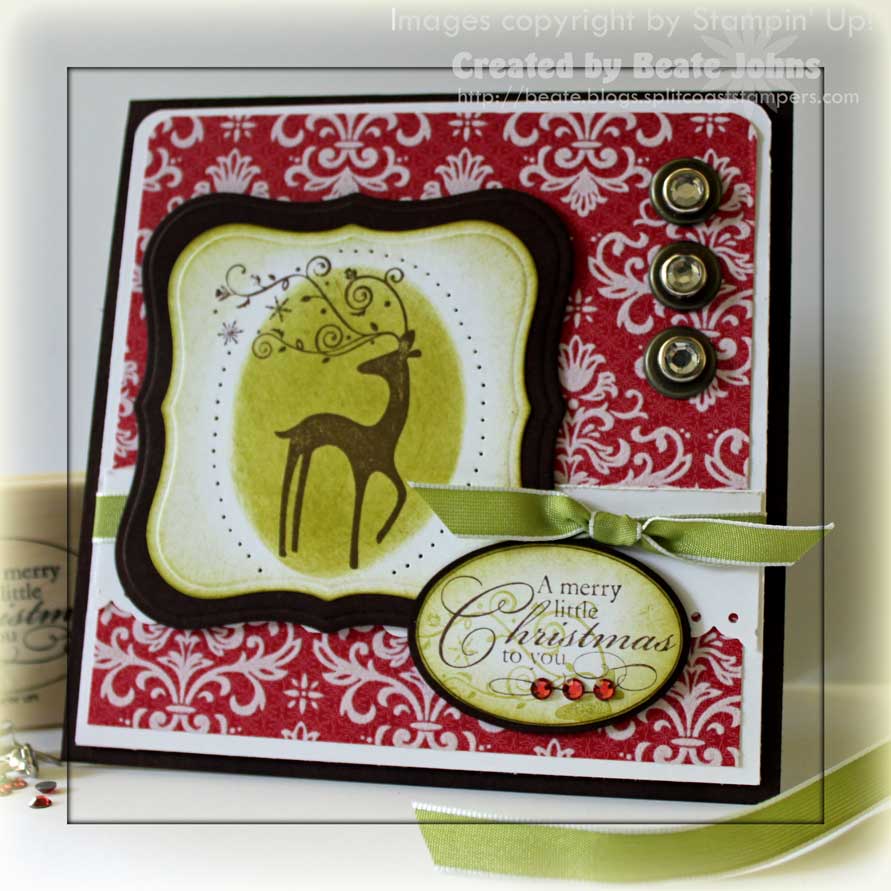
My card base is a 5 1/4″ x 10 1/2″ piece of Chocolate Chip cardstock. The edges of the card front were sponged. The Whisper White square measures 4 15/16″ piece of Whisper White cardstock. The top corners were rounded with the corner rounder. I love the new Christmas paper from the Mini catalog. Looks how pretty it is. The layer measures 4 3/4″ square. Again the top two corners were punched with the corner rounder.
On the lower half I added a 1 1/4″ x 4 15/16″ strip of Whisper White strip of cardstock. The lower edge had been punched with the Eyelet Corner Punch. I distressed the upper edge just a bit with the Cutter Tool kit. Then I tied the Olive Taffeta from Sleigh Bell Ribbon pack on the upper half of that strip.
I cut and embossed two Label one Nestabilities, the smaller one out of Whisper White, the larger one out of Chocolate chip cardstock. The chocolate cardstock was sponged. On the white layer I stamped Dasher in Chocolate chip ink. I topped it with an oval Nestabilities die and spongedon the inside of that die template as well as lightly on the outside of it with Old Olive ink. Then I sponged the edges of the white layer as well. The white layer was adhered to the Chocolate chip cardstock, then an oval border was paper pierced around the sponged oval.
The sentiment is from the Level 2 Hostess set Christmas Punch. Look how pretty that script is. I LOVE IT! I stamped the sentiment in Chocolate Chip on Whisper White cardstock and cut right outside the stamped oval, sponged the edges with Old Olive and stamped the reindeer head with antlers in third generation Old olive over the sentiment. I punched a Chocolate chip layer with my wide Oval punch, sponged the edges and taped the sentiment on top of it. Last I added some bling. Isn’t that pretty. They are Swarovski Crystal’s from My Favorite Things. I saw it at our booth at the CHA when we went through quite a few boxes of them for our SCS make and take. The sentiment as well as the image layers were attached to the designer paper/White cardstock layer with dimensionals.
Next I added three Antique Brass Jumbo Eyelets to the upper right hand side of the layers. I placed a large clear circle Rhinestone brad in each Eyelet center and adhered those layers to the card front with dimensionals as well.
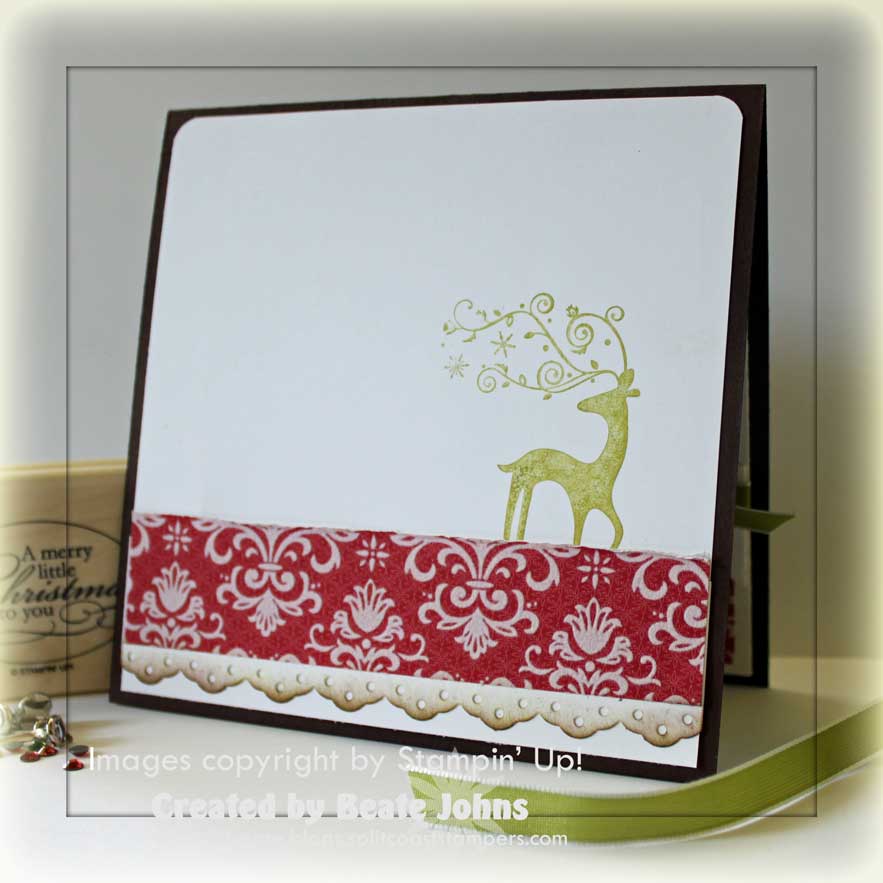
My inside is mirroring the card front layers. The Whisper White square measures 4 15/16″ and the top corners were rounded with the corner rounder. I added another Dasher image stamped in third generation Old Olive on the right hand side. The Designer Paper strip measures 1 3/8″ x 4 15/16″. A thin white strip that was punched with the Eyelet Border punch was adhered underneath the designer paper and sponged with Chocolate chip.
I am excited! A good friend of mine is coming for a visit over the weekend along with her family. Not sure how much posting I will get done. Have a wonderful weekend! Hugs and smiles
Beate
20 Responses to “Dashing Dasher”
Sorry, the comment form is closed at this time.


Wow, this is gorgeous, Beate! I really love all the details you put into your cards. When I do it, it just ends up looking like a hot mess! :p
beauty, beauty. LOVE this – and my goodness. . . so rich and right for the holidays! Maybe you’ll send it to me? LOL!
This is OUT OF THIS WORLD Beate!! I am in LOVE with all the new goodies you used on this!!
This is gorgeous Beate. I love this new paper and the reindeer.
What a gorgeous reindeer and beautiful papers … wonderful job with the sketch, Beate!
This is just gorgeous and really gets me in the mood for Christmas…already thinking about gifts & cards & decorations & ??? And, gets me even more excited to place my order…BEE-U-TEE-FUL!
So pretty. Love the holiday sets.
Its gorgeous! (I don’t judge your spending, I look forward to the day I could even wish to match it! 😀 )
Just beautiful!!!
Oooo this is beautiful! I love the way you highlighted the deer by sponging the green oval over it, it really makes it pop!
BOMB! Love the sponging… I’m working on the sponging… I WILL SPONGE! You rock Beate! SO happy to have you back! Have a wonderful weekend!
Beautiful Christmas card!
love this little fellow…I bought him too. I love your card- both inside and out. TFS
Beautiful! i love the colors! What a cool reindeer stamp
Oh my goodness!!! I love the Christmassy glow that creates a vignette around that go-jus reindeer!!!
Gee… that sounds so technical, but I’m not sure I should share the place my cynical thought process went to because it might not be taken right.
Bottom line – I think this card is stunning and I’m so glad you are back to stamping as long as it makes you HAPPY!!!
I love Dasher, and that paper is just gorgeous!! I love your bling too!!
This is soooo pretty! I love the subtleness of the reindeer antlers on the oval piece. Bet it’s beautiful IRL!
Beautiful! Love how you did the sponging on the main image panel!
very pretty, love the paper and the piercing around the oval is a neat touch!
Such a gorgeous card! I love it!