
I wrote the first SCS tutorials back in 2003, can you believe it? Well…they look like it. So I am trying to slowly but surely to redo them.
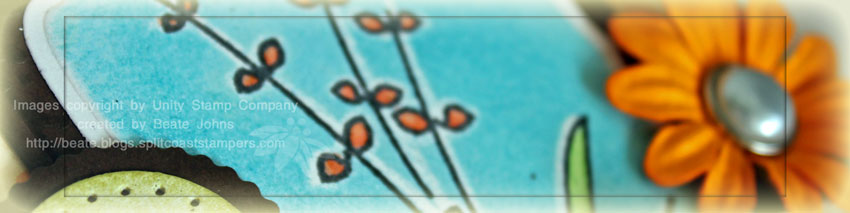
Here is my new take on the Crayon Resist technique. For this sample I stamped the image in Tuxedo Black Ink, then colored it with Copic Markers (YG23, YG25, YR65, YR68). Then white Crayon was added over the colored image and a bit to the side of it.
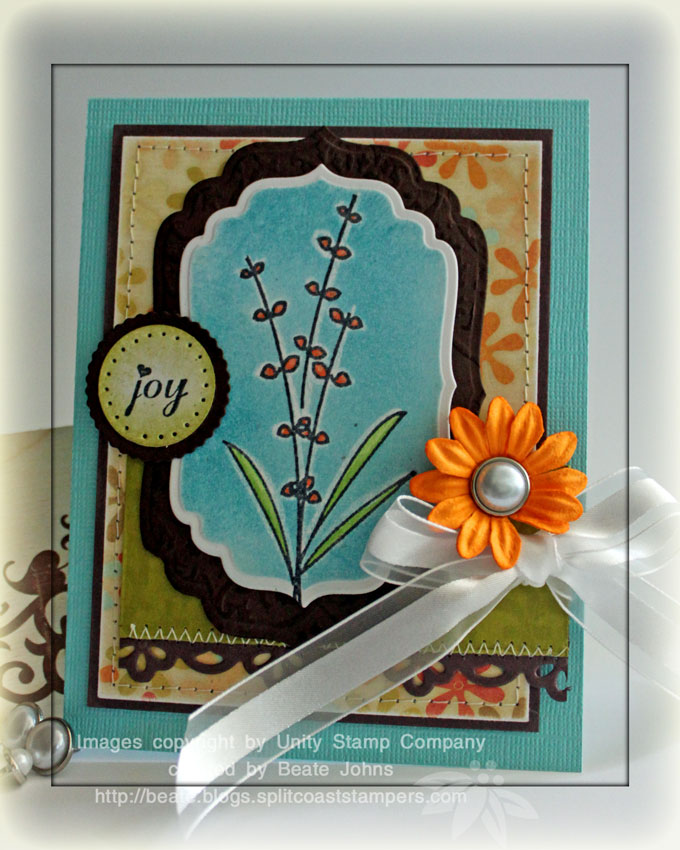
The card base is a 4 1/4″ x 11″ piece of Aruba Core’dinations Cardstock folded in half. Next a 3 1/2″ x 4 5/8″ piece of 7Gypsies Capri Patterned Paper was taped on a 3 3/4″ x 4 7/8″ piece of Chocolate Chip cardstock. Both layers were stitched together (yes, I love that I have my sewing machine out of the basement, in my stamp area now).
The 1 5/8″ x 3 1/2″ piece of Kiwi Kiss cardstock was stamped with Floral Edge in Shabby Shutter Distress ink. The edges were distressed and sponged. A 1″ x 3 1/2″ strip of Chocolate Chip cardstock was cut and embossed with Eyelet Borderabilities, taped underneath the Kiwi Layer and stitched to it. White Organdy Ribbon from SU was tied to the right edge. A Prima Flower was taped over the ribbon with dimensionals. It has a Recollection brad in it’s center.
The main image is from Unity’s Gratitude = Joy stamp set. It was stamped and colored, then cut out with Label Four Nestabilities. It was layered on a size bigger label cut out of Chocolate Chip. That layer had been embossed with a Cuttlebug Embossing Folder and sponged with Vintage Photo Distress ink. The sentiment is also from Gratitude = Joy. It was stamped in Tuxedo Black Ink, punched out with the 1″ circle punch, sponged with Shabby Shutter Distress ink, layered on a 1 1/4″ Chocolate Chip circle and the edges were paper pierced.
Here is a video for the visual learner:
[youtube]https://www.youtube.com/watch?v=LkP-_z48jMI[/youtube]
Have a wonderful weekend! We are having friends visiting from Illinois. It will be great!
Hugs and smiles
Beate
10 Responses to “Crayon Resist Revisited”
Sorry, the comment form is closed at this time.


Such a lovely card Beate. The colors are so bright and fun.
Thanks for another great sketch and video tutorial.
Have a wonderful weekend.
I love your updated resist, Beate!! Beautiful images, and card!!
Happy weekend!!
Great tutorial, Beate! This is great alternative for someone who does not have the Copic Airbrush system (like me). I’ll have to give this a try!
Beautiful remake of that first tutorial, B — I bet it’s fun to go back and re-do all those cards with updated supplies, isn’t it? This one’s a beauty and the colors just pop! Thanks for another wonderful sketch, my friend!
GREAT card and video, Beate!! Love your card!
WOW WOW WOW was für eine megaschöne Karte liebe Beate, ein Wahnsinnswerk.
Liebe Grüße
von Anke
I so love your video’s will have to give this one a try soon!
Beate, thank you so much for the wonderful tutorials! I love this crayon resist and your video is so very helpful and a real motivation for me to try this technique. I also loved seeing your bow tying. TFS!!!
I love how soft and calm your voice is! This crayon resist brings back memories of being a K and 1st teacher!!!
Thanks
THis is just gorgeous, Beate! WOW. . .the colors really pop!