
Gina’s latest released stamps are amazing. They came to my house the same day I tried to come up with a nice sample for the Acetate and Tissue tutorial. That was the very first tutorial I ever wrote and it needed overhauling BAD! I knew right away that I wanted to use the gorgeous Reindeer from Gina’s Holiday Cheer TV kit.
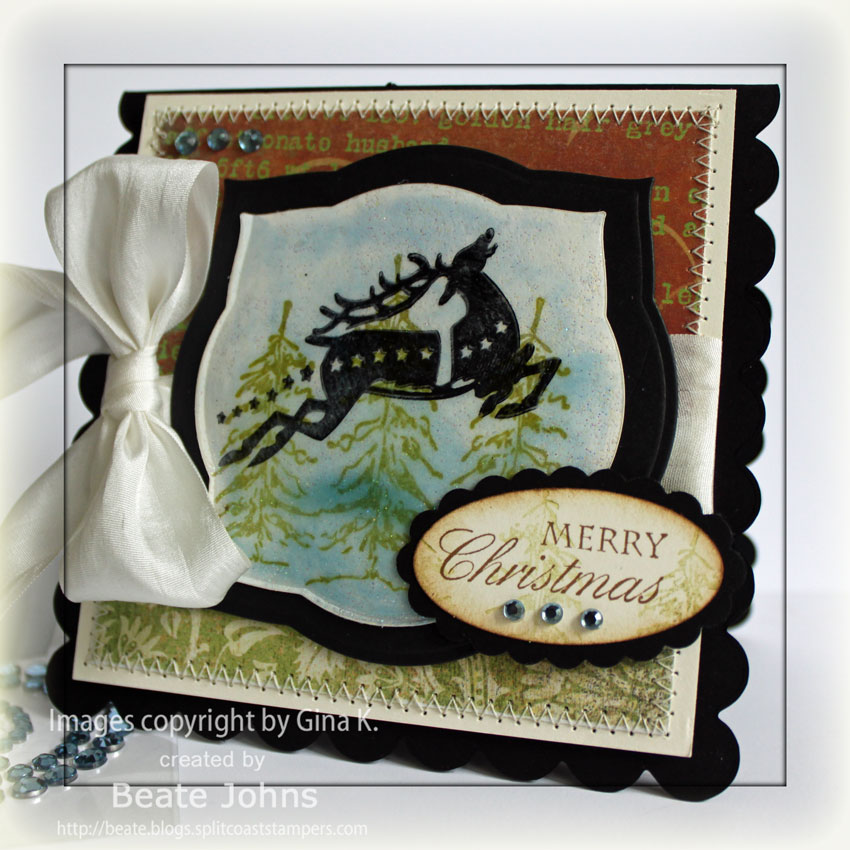
The card base was cut with the Clear Scallop Square Die from Stampin’ Up! out of Gina K’s Pure Luxury Black cardstock. Now that is thick cardstock for a base! The Very Vanilla square measures 3 7/8″. The 7Gypsies and My Mind’s Eye papers are 3 5/8″ wide. They were stitched to the Vanilla layer. White May Arts Silk Ribbon was tied around the middle where the two papers meet.
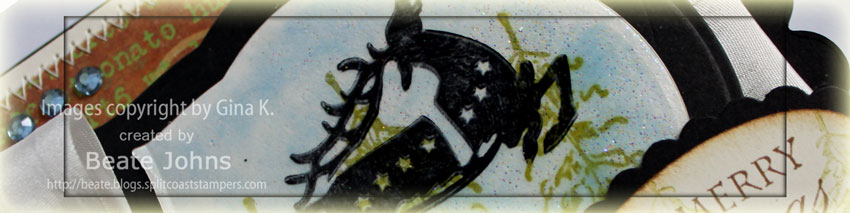
For the main panel I stamped the Reindeer in Stazon on Acetate, added Crystal Effect to the backside and used Bashful Blue reinker to add color. Dazzling Diamond Glitter was sprinkled over it before adding the tissue. I stamped the tree line from the same set in Old Olive on Very Vanilla and placed my Acetate/Tissue layer over it. Once it was dried, I cut the layers with Label Three Nestabilities. It was layered on the next size label cut out of black cardstock.
The sentiment is from the second set of Gina K’s Holiday Cheer TV kit. It was stamped in Vintage Photo Distress Ink, cut out with the large oval punch, sponged around the edges and layered on a scallop oval black punch-out. I finished the card up with some blue Kaiser Rhinestones.
Video for visual learner:
[youtube]https://www.youtube.com/watch?v=YhxeylZncu8[/youtube]
Make sure to check out today’s tutorial. Anna-Marie Still is sharing a cute peeps holder.
Beate
15 Responses to “Acetate and Tissue Revisisted – Gina’s Reindeer”
Sorry, the comment form is closed at this time.


What an incredibly beautiful image! Thank you for sharing your creativity. This is a technique I would really like to try.
Love this card! Just a beautiful technique, too!
Thank you for this tutorial! I love this!
This is a stunning card. Love the rich colors and your amazing design. I am definitely going to give this technique a try — it’s one I have never done. TFS your wondering tutorial!
Beautiful project! I am enjoying your “parade” of different stamp companies. I feel they are more affordable than Stampin Up! Thanks for sharing!
Great technique!! I’ve actually used that one myself. I love the card! The black is stunning!
What a gorgeous creation Beate! I sure am gonna have to try this technique too! LOVE how it turned out!
What a beautiful Christmas card Beate!! I am going to have to try that technique. Your results were magnificent. Love the bow too!!
Die Karte ist traumhaft schön, die Bäume sehen so richtih witzig aus… Tolle Farbkombi Beate…!
Hi Beate, love this tut. But too bad Gina k designs shipping rates are so high. I love their stamps, but the shipping makes it very expensive, and the stamps are pretty expensive too… 🙁
Luv, karin
That’s one gorgeous Christmas card, Beate!
Cindy 🙂
I hadn’t seen this technique before, that is so neat, tfs!
Wow, absolutely love this technique. thanks for sharing with us.
smallcity
This is SO lovely — has a tad bit of a masculine feel, even WITH the silk ribbon — totally GORGEOUS card!!!
Oh! what a lovely card! This will be a must try for a different and unique card.
thanks for the inspiration!
Judy