
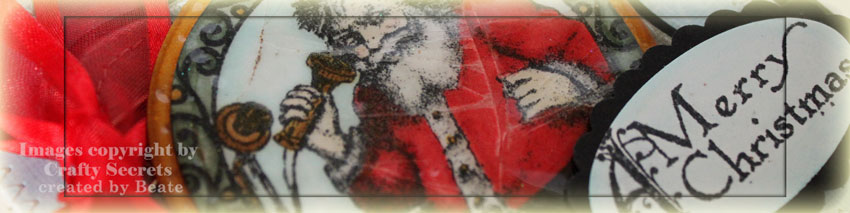
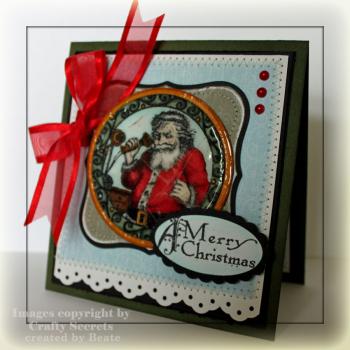
I love the vintage look of Crafty Secrets stamps. Whenever I need a “Vintage fix”, I pull Crafty Secrets out. I thought their Santa from Seasons Greetings would be perfect for a Cracked Glass sample.

Santa was stamped with Tuxedo Black ink on Natural White cardstock and colored in with Copic Markers (BG93, BG96, E97, E99, E50, E51, YR23, YR24, W1, W3, R27, R29, R20, BG000 and 110). It was cut out with Circle Nestabilities and embossed with Glassy Glaze. Once it cooled down I cracked the image a bit. It was layered on a bigger circle that had been colored with YR23/YR24 to match the image.
The card base is a 4 1/4″ x 8 1/2″ piece of Always Artichoke cardstock folded in half. It is layered with a 3 15/16″ Basic Black cardstock square. A 3 3/4″ x 4 1/4″ piece of Natural White cardstock was punched on one side with the Eyelet border punch. It was layered with a 3 5/8″ square of Chatterbox patterned paper. The last two layers were sewn together.
A piece of Basic Black cardstock and a Chatterbox patterned paper were cut with Label One Nestabilities, layered and stitched together. Those are the mat for my Santa Circles. Gina’s Pure Luxury Organdy Ribbon was attached to Santa with a paper clip.
The sentiment is from the same set as Santa. It was stamped in Black ink, punched out with a large oval and layered on a Scallop oval punchout.
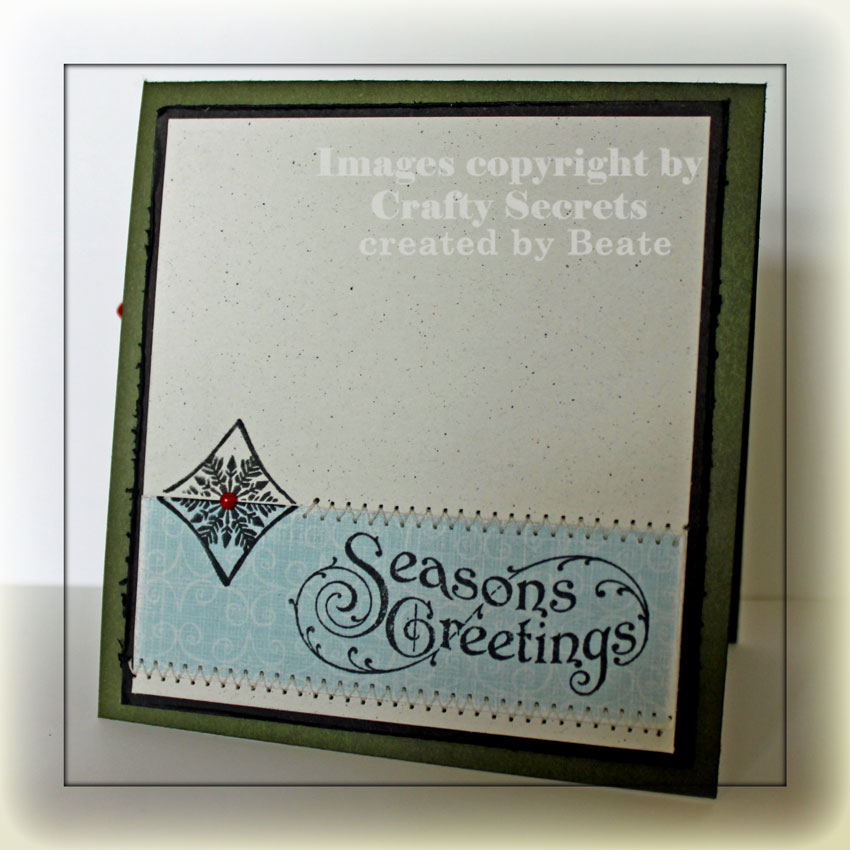
The inside of the card is like always very simple but matching to the card front.
Here is a video for the visual learner:
[youtube]https://www.youtube.com/watch?v=lpayX1-Fu4I[/youtube]
Beate
10 Responses to “Old Tutorial, new video – Cracked Glass”
Sorry, the comment form is closed at this time.


Hello Beate,
I’m so glad that you do these video tutorials. It makes it so much easier to follow for my learning style.
I’m glad you added the “fold it carefully” part. The last time that I made a cracked glass card, I was folding away and ripped it right in half!!
You didn’t mention to put it in the freezer. Is that part not necessary?
Thanks for sharing
Beth Greco
Hi Beate, another great video and card! I love the cracked glass technique and first learned about it on SCS. This updated version is fab. No freezing — how cool!
Gorgeous card. Love the layout, beautiful image and wonderful style.
FABULOUS!!! I love the vintage santa with the antique look of the cracked glass!
I like your card Beate. Fabulous.
This is one of my favorite techniques. I love it with this vintage Santa. He looks so handsome:)
Beautiful! I love that vintage image, and your tutorial is terrific, Beate.
Hi, Beate! Your card is so beautiful and the image so perfectly colored, I thought it was one of those pre-made Crafty Secrets panels at first. You’ve got the touch!
Beautiful card!! I love the style and feel of this great christmas card. Someone will be very lucky to get such a work of art!
That vintage Santa is so perfect for this technique, Beate…and your card is soooo beautiful!!
wonderful!!
I just got to try this technique for the first time last month, but my card is still on the front page of my blog. Here, in fact: http://tanyastampsnthings.blogspot.com/2009/10/embossing-class-part-2.html
Your tutorials have taught me a lot! 🙂