
Gina K. wrote the Misting with Alcohol Marker tutorial for SCS a while back. The tutorial was in the newsletter last Wednesday, so I created a video for it. Since Gina wrote the tutorial, I used her stamps for the video. Plus…I REALLY LOVE these Christmas sets.
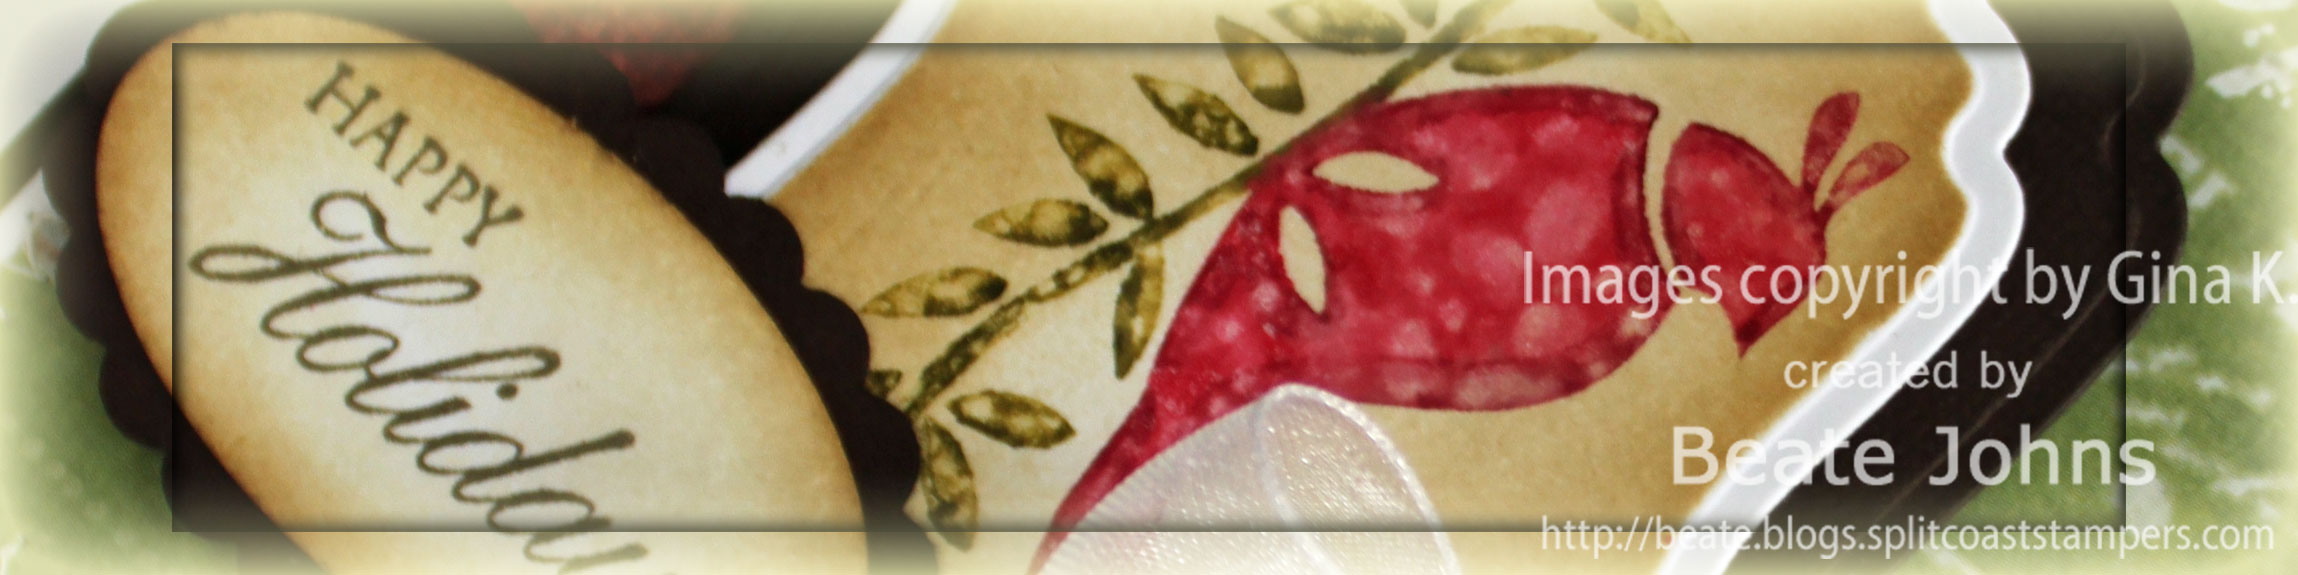
I used the bird stamp from Holiday cheer and colored it with Copic Markers (R39, R59, YG95, YG99). Next I filled a mini mister with rubbing Alcohol and sprayed the stamp. The image was stamped on Neenah Solar White cardstock, cut with Label 4 Nestabilities and sponged first with Scattered Straw, then with Vintage Photo distress inks. It was layered on the next size bigger label that had been cut out of Chocolate chip cardstock.
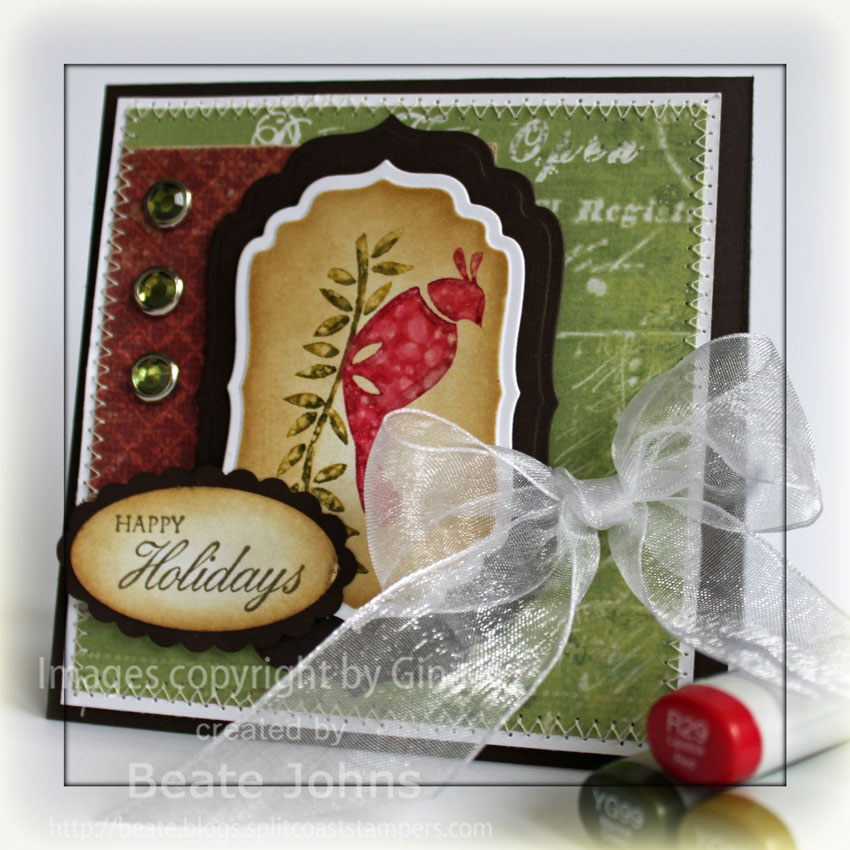
The card base is (surprise, surprise….my two favorite things together) a 4 1/4″ x 8 1/2″ piece of Chocolate Chip cardstock. The edges of the card front as well as all other chocolate cardstock pieces on the card were sponged with Walnut Ink Distress ink.
The edges of a 3 3/4″ square of The Merry Days of Christmas My Mind’s Eye paper were sanded, then sponged with Old Paper ink for an aged look before it was stitched to a 3/16″ bigger piece of Whisper White cardstock. The red paper is also from The Merry Days of Christmas and measures 2 1/2″ x 3″. Three Ice Circle Rhinestone brads were added to the top left of that layer.
I punched a hole a bit off to the lower right of middle of the layers with my Crop-a-dile and tied White May Arts Organza Ribbon through it. The sentiment is also from the Holiday Cheer TV kit. it was stamped in Walnut Stain on Whisper White cardstock, punched out with the large oval punch and sponged first with Scattered Straw, then with Vintage photo ink. It was layered on a Chocolate Scallop Oval punch-out and attached to the lower left side of the image with dimensionals.
Here is a video for the visual learner:
[youtube]https://www.youtube.com/watch?v=YFPJr5QjCpk[/youtube]
Beate
14 Responses to “Copic Sprayed Holiday Wishes”
Sorry, the comment form is closed at this time.


I have alwasy wondered how to color on stamps with my copics…rubbing alcohol!! Makes perfect sense!! Thanks so much! Opens up a worls of possabilities!! Your card is my sooo beautiful!! Hugs!
so pretty! thanks for the video too, I was looking for a way to use my Copics on my stamps!
Beautiful – thanks for all the tutorials, they are great!
Sandra
Stunning card Beate.
As usual…your tutorial is inspiring Beate…now you have given me something new to work on!
Oh, my, Beate, this is fabulous! I just got a delivery of new Copics, so I’m ready! I always love your tutorials…thanks so much! Hugs, Cheryl
oooo, Beate, this is wonderful! love the colors.
GORGEOUS! I have to watch this video!
Beate, your card is beautiful! Thanks for the video!!! I want to try this, looks so pretty!
[…] shooting the video for Misting with Copic Markers I still had a partridge tag left over. I thought it work great on a boxI had created with the […]
This is great, Beate! I love the sponging technique on the nestabilities labels! So lovely!
Beate, if I stamped the image with SU classic in, would the sponging with distress ink cause the image to run or bleed? Thanks
I didn’t know you could color the stamps with Copics!!! I thought they would be ruined or something. Thanks so much for this (and all) your videos 🙂 Does it work on clear stamps too?
Lovely project,I love the texture this technique give the image, but I always thought alcohol would hurt my rubber stamps, as I’d been told to clean them with alcohol free baby wipes, or preferably a proper stamp cleaner or water with a small drop of detergent in a spray bottle then wipe dry with a rag or kitchen paper towel as residue may be left on rubber stamps from moisturisers in some baby wipes, so I had been careful with these before. Can this technique be used with clear acrylic stamps too?