ippityfauxtearingwidebeate.jpg

Last week’s tutorials you might have missed in the newsletter was faux tearing. I created the sample for the video with the Color challenge combofrom that week. Let’s just say that was not my favorite combo. LOL

ippityfauxtearingfrontbeate.jpg

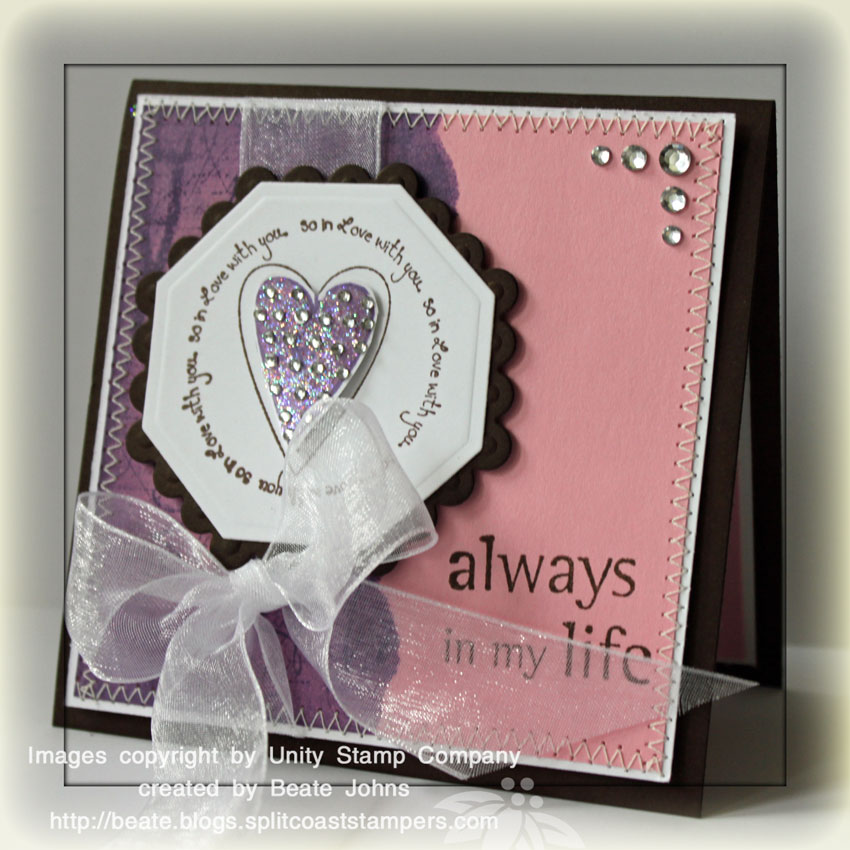
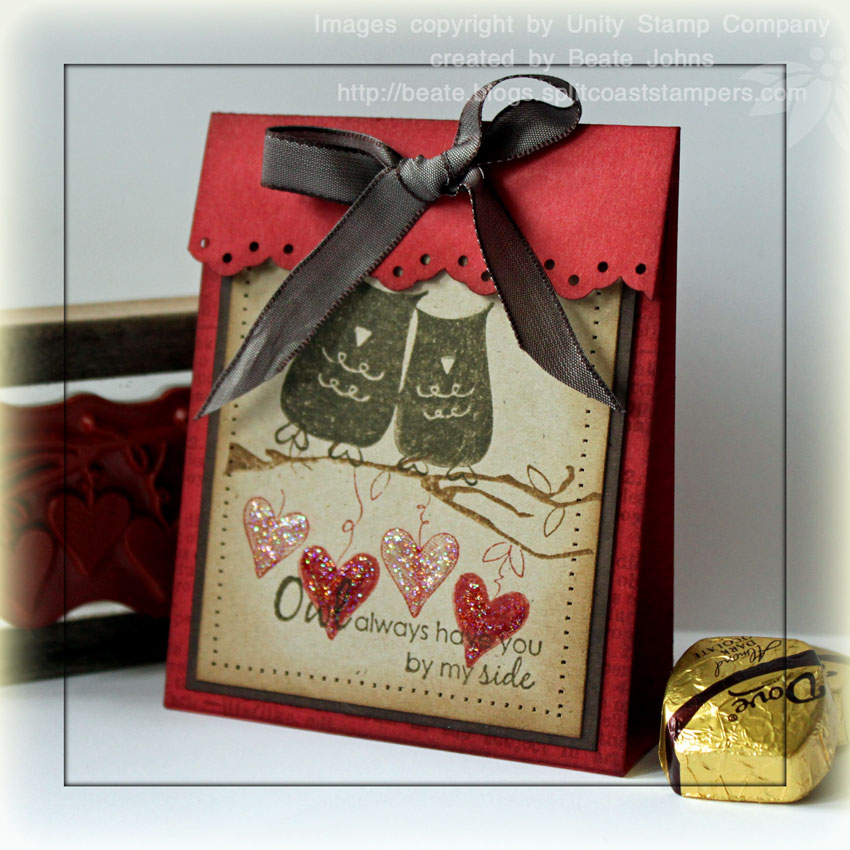
The card base is a 4 1/4″ x 8 1/2″ piece of Chocolate Chip cardstock folded in half. The card front was sponged with Rich Cocoa Memento ink. Next is a 3 15/16″ square of Whisper White cardstock topped with a 3 3/4″ square of Pretty in Pink cardstock.

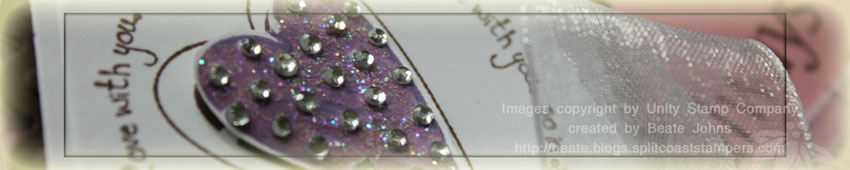
The left side of the Pretty in Pink layer was sponged with Dusty Concord and stamped with the background strip of Ippity’s Because of you in the same color. The layers were stitched together and a sentiment from the same set was stamped in Rich Cocoa to the right. White Organdy Ribbon was tied over the sponged side of the layers. Clear Kaiser Rhinestones on the top right finished off the card base.

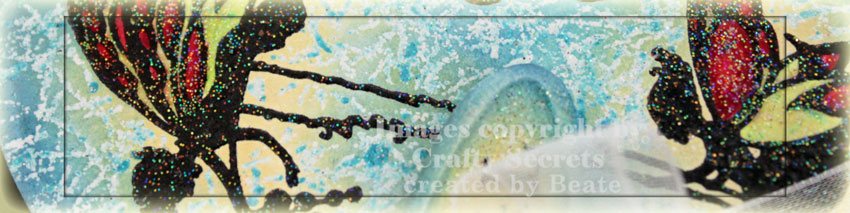
For the main image I stamped the heart twice. Once in Rich Cocoa, once in Dusty Concord.  The brown image was cut out with Octagon Nestabilities and layered it on a slightly bigger scallop Octagon. The purple heart was cut out, taped to the brown image with dimensionals and covered with Stardust stickles. Tiny Twinkleswere added to the heart while the Stickles layer was still wet.

ippityfauxtearinginsidebeat.jpg

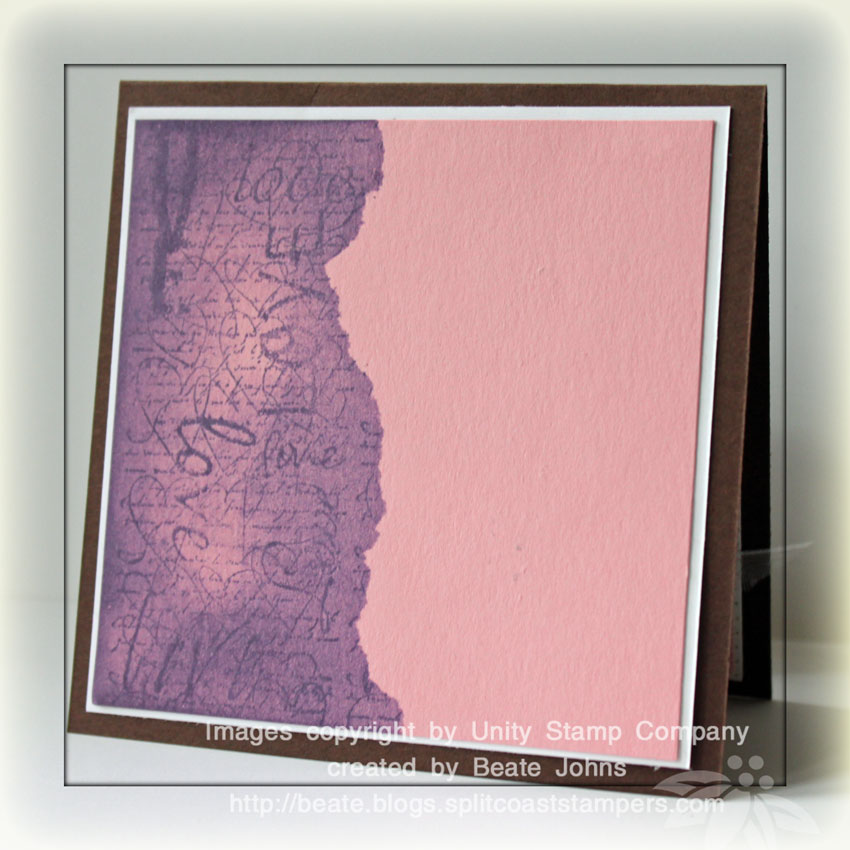
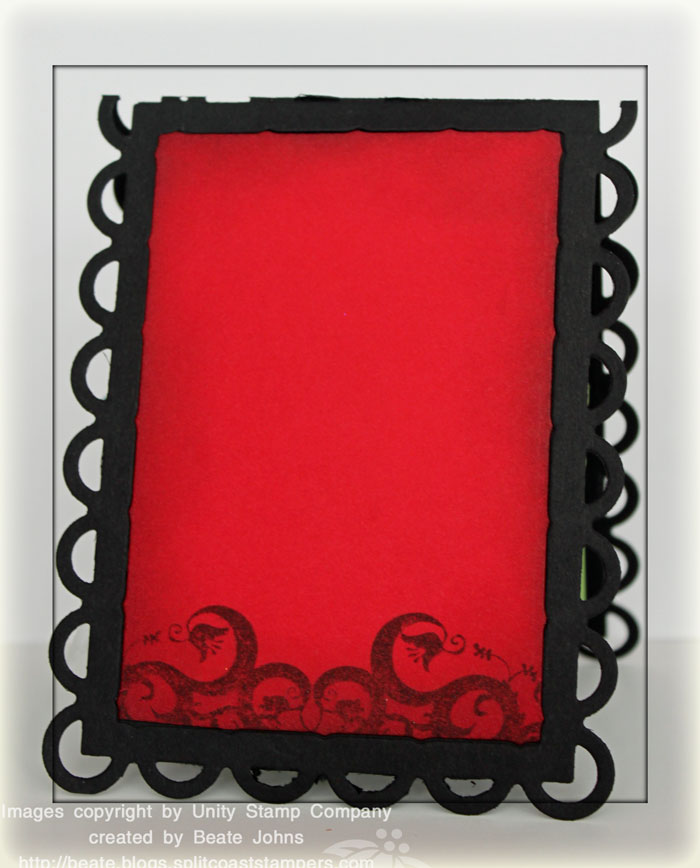
The inside of the card is created the same as the card front. It shows of the technique better, since the faux torn layer is not covered up.

Here is a video for the visual learner:

[youtube]https://www.youtube.com/watch?v=tbTc7cQesUc[/youtube]

Have a wonderful day! Hugs and smiles

 unityowltreatbagcoverwide.jpg

I am sorry I have been so quiet. First winter hit us hard, then my oldest had exam and last week I was at the CHA. I hope to post again regular starting today! CHA was so much fun! It was great to meet up with so many fellow stampers. I had a wonderful time!

Yesterday’s tutorial on SCS was for a Treat Bag Cover.

unityowltreatbagcoverbeate.jpg

I started with a 3 3/8″ x 10 1/2″ piece of Riding Hood Red cardstock. It was stamped with Unity’s Giving it all Meaning background in Fired Brick Distress ink. The edge of the flap was punched with SU’s Eyelet Border Punch and the edges were sponged with Fired Brick.

I inked up the branch from the Believe in Fairytales Store kit with Vintage Photo Distress ink, the hearts with Fired brick and stamped the image on a 2 7/8″ x 3 1/2″ piece of Kraft cardstock. The owls are from the same stamp set and were stamped in Walnut Stain distress ink. The edges were spongedwith Vintage photo ink. The Kraft cardstock was adhered to a 1/4″ bigger piece of Chocolate Chip cardstock. The edges of that had been sponged with Walnut Stain.

To finish the image off I sewed around the edges with a sewing machine (without thread) and added Stardust Stickles over the hearts.

Here is a video for the visual learner:

[youtube]https://www.youtube.com/watch?v=a9DFs8svcGo[/youtube]

fllcwaterliliesfspuwide.jpg

In yesterday’s newsletter the “Tutorial you might have missed” was the Free Standing Pop-Up card. I used the colors from this weeks color challenge to create this sample for the video tutorial. I had been waiting for a chance to use Flourishes Waterlily stamp set. I the color combo (Hunter, Celery, Bermuda Bay and optional pink) were perfect for the image.

fllcwaterliliesfspopupopen.jpg

The card base was created out of a 4 1/4″ x 11″ piece of textured Bermuda Bay cardstock. The strip had been stamped with the Vintage Wallpaper background stamp in Broken China distress ink. Each edge was sponged with the same ink.

The tag base was cut with long rectangle Nestabilities out of Hunter cardstock. It was sponged with Pine Needles Distress ink. A 2 11/16″ X 5″ piece of Certainly Celery Patterns Designer Paper was embossed with the Textile Texture Cuttlebug embossing folder and first sponged with Shabby Shutters, then with a hint of Pine Needles Distress ink. It was sewn to a slightly bigger piece of Whisper White cardstock. Lippy Red Kaiser Rhinestones on the top right and bottom left corner finish off that layer.

The main image was stamped in Tuxedo Black on Neenah White cardstock and colored with Copic Markers (R32, R35, R39, G40, G82, G85, Y15, Y18) and cut out. Star Dust Stickles were added to the flower center. The flower was adhered to a Bermuda Bay circle with dimensionals. The circle had been stamped with Vintage Wallpaper in Broken China, the edges were sponged and it was sewn to a slightly bigger scallop circle out of Handsome Hunter cardstock. Both circles were cut with Petite Circle Nestabilities.

The sentiment was stamped in Tuxedo Black Memento ink on Neenah White cardstock. It was cut with Circle Nestabilities and layered on a slightly bigger scallop circle that had been cut with Petite scallop circle Nestabilities. The edges of the white circle had been sponged with Shabby Shutter ink and a smaller waterlily had been stamped over the sentiment in the same color. Celery Silk ribbon was tied around the card base.

Here is a video for the visual learner:

[youtube]https://www.youtube.com/watch?v=wzeqvwyxyss[/youtube]

Today’s tutorial on splitcoaststampers is written by Yvonne Hagane. She is showing us how to create a Faux Leather Wallet.

fauxleatherblackmmseye.jpg

For my sample I used black cardstock and My Mind’s Eye Pretty Please paper. The twill is from Martha Stewart, the ribbon buckles from retired Stampin’ Up! hardware.

I really like this project, but I have a bit of trouble with the magnetic closure to stay on. Even when using Crystal Effect to adhere them.

Here is a video for the visual learner:

[youtube]https://www.youtube.com/watch?v=eq_R0ZfpO8w[/youtube]

craftysfairyrmwide.jpg

Today I want to share with you another card I made for a video tutorial. I usually don’t really like the look or the Rolling Marble background, but I do like how this card turned out. It almost looks like my fairies are under water.

I added just a few steps to the regular technique to achieve this look. First I stamped the Fairies from Crafty Secrets in Black Soot Distress ink on Neenah White cardstock and embossed them with clear embossing powder. One of the great things about the Distress inks is that they stay wet longer. That is great for sponging and also great because you have time to heat emboss with these inks. I colored the wings of the fairies with Copic Markers. Next colored over the wings with a Versamarker and embossed them with Iridescent Ice Embossing Powder (Stampin’ Up!).

craftysfairyrmbeate.jpg

Next I used Versamark and Broken China Distress ink re-inker for the Rolling Marble background and embossed those lines with Iridescent Ice Embossing powder. Once the Embossing Powder cooled, the image was cut out with Oval Nestabilities. I sponged around the Fairies with Scattered Straw Distress ink. The rest of the image was sponged with Broken China ink, the edges with Faded Jeans. The image was first adhered to a slightly bigger black cardstock oval, then to a scalloped oval cut out of Core’dinations Cardstock.

The card base was created with Spellbinders Scalloped Edge Frame out of black cardstock. I cut the red pieces with the same die, sponged them with Aged Mahogany Distress ink and used Unity’s Border of Bells with the same ink to add pattern to the cardstock. The red piece was adhered to a slightly bigger Core’dinations cardstock rectangle and taped to the card base.

The sentiment is also from the Fairies set. It was stamped in Black Soot Ink. It was cut with one of the dies from Spellbinders Ribbon Tag Trio. The ribbon slots were cut off. After the sentiment was completely dry, the center was lightly sponged with Scattered Straw, the edges with Broken China Distress ink. The center was covered with the Versamarker and embossed in Iridescent Ice Embossing powder. It was adhered to the main image with dimensionals. A white organdy bow was added under the sentiment. Kaiser Rhinestones on the top right and bottom left corner finish off the card.

craftysfairyrminside.jpg

The inside of the card is kept very simple. I added another red layer in the center of the Frame. The edges had been sponged with Aged Mahogany Distress ink and the bottom edge had been stamped with Unity’s Border of Bells.

Here is a video for the visual learner:

[youtube]https://www.youtube.com/watch?v=4LtbcEPau8s[/youtube]

Thanks for stopping by! I hope you have a Happy New Year filled with Health, Happiness and Love!
Hugs and smiles

© 2012 fresh & fun Suffusion theme by Sayontan Sinha