
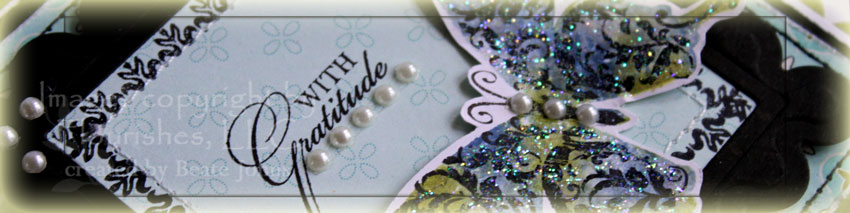
Another challenge during VSN last month was to create a card with the Baby Wipe Technique. When I looked at the old tutorial I shuttered at the sample. It was high time to update that tutorial. For my new sample I used Flourishes gorgeous set called Fanciful Flourishes. I used Peeled Paint, Weathered Wood and Chipped Sapphire Re-inker on my baby wipe, inked up my solid butterfly and stamped it on Whisper White cardstock. The flourish butterfly was stamped on top with Jet Black Archival ink. The butterfly was cut out and Stardust stickles was applied over it.
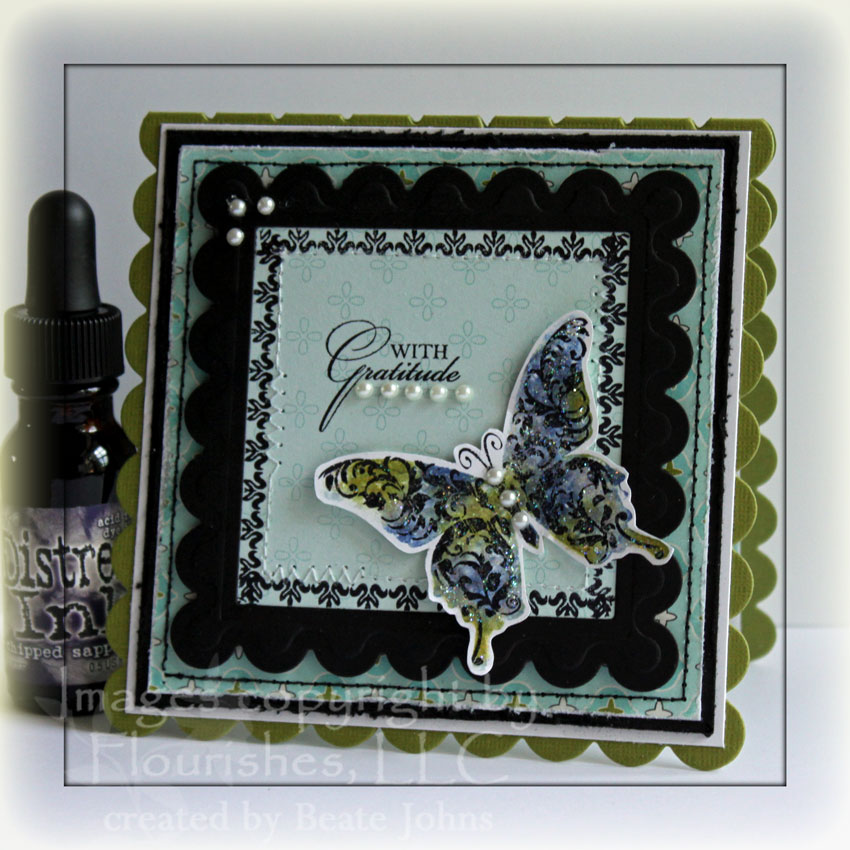
The card base is a textured Old Olive cardstock cut with the Scallop Square Stampin’ Up! Big Shot die. It was layered with a 4 1/16″ square of Whisper White. A 3 3/4″ square of October Afternoon Ducks in a Row Paper was sanded and stitched to a 3 15/16″ pieced of distressed Basic Black cardstock square. A black scallop square was cut with Square Nestabilities and adhered to a 2 3/4″ square of Ducks in a Row Paper. A border from Fanciful Flourishes was stamped around the outer edge and a sentiment from the same set was stamped on the upper center with Jet Black Archival Ink. The butterfly body was adhered to the center with Scor-Tape, the wings with dimensionals. To finish the card I added Hero Arts small accent pearls to the Butterfly body, underneath the sentiment and on the upper right hand corner.

For the inside of the card a 1″ x 3 3/4″ strip of Ducks in a Row paper was adhered to a 3 3/4″ piece of Whisper White cardstock. A border was stitched around it and the flourish butterfly image was stamped on it in black.
Here is a video for the visual learner:
[youtube]https://www.youtube.com/watch?v=GllLV0vyh_o[/youtube]
For the video I created another sample. A CAS card that would show off that you can stamp outline/design stamps with a baby wipe pad. I used the same Fanciful Flourishes set.
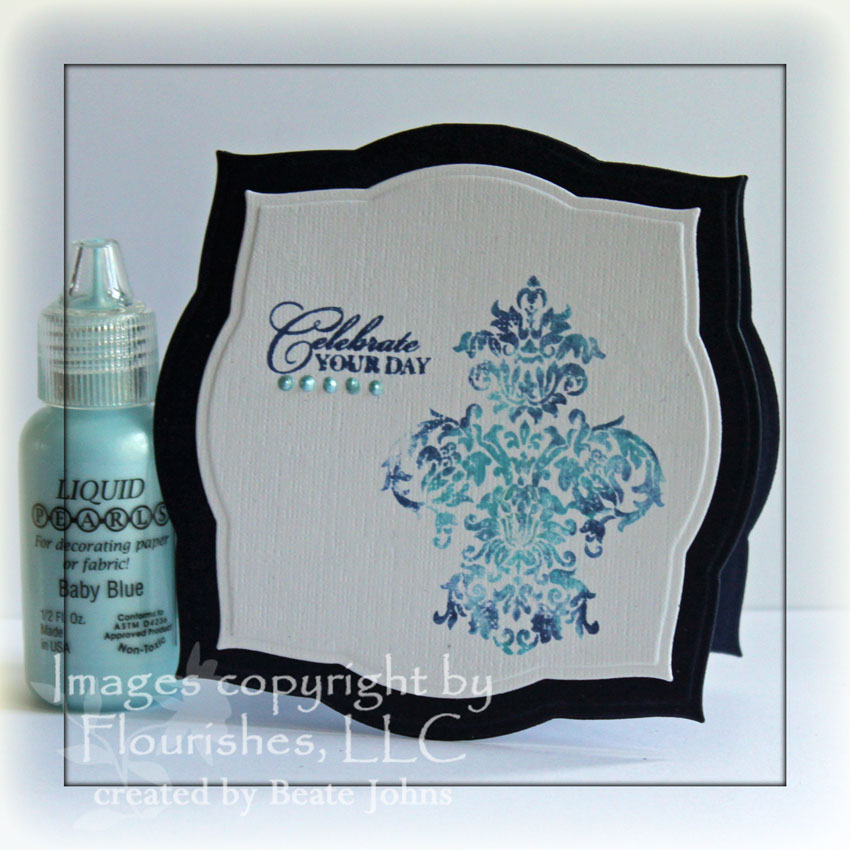
For this card I used Chipped Sapphire and Broken China Distress Re-inker. The Damask image was stamped on a Textured White Label 3 Nestabilitiesdie cut. I cut a card base with the largest Label 3 Nestabilities out of Night of Navy cardstock. The edges were sponged with Chipped Sapphire ink. The sentiment is from the same set and was stamped in Chipped Sapphire. Underneath I added little pearls with Baby Blue Liquid Pearls.
Thank you so much for stopping by! Have a wonderful day! Hugs and smiles
Beate
12 Responses to “Old Tutorial revamped – Baby Wipe Technique”
Sorry, the comment form is closed at this time.


Gorgeous! Love that butterfly! I think I’ll have to give this technique a try!
This is just gorgeous, Beate!! I forgot all about this technique! Hope your FL vacation is (was) wonderful!
This is GORGEOUS Beate! I haven’t thought about this technique in ages!!! LOVE this!
Oh SIGH…so beautiful Beate! Both of them! Love the tiny touches of straight and zig zag stitching on the first and the pretty liquid pearls highlighting the second one!
How lovely! The multicolored, sparkling butterfly is the icing on the cake as the whole card is wonderful! I admire the way you layer things and add stitching. I got a Sew Mini for my craft room but now I need to remember to use it! Lovely card, beautiful buttlerfly!
WOW Beate! You continue to amaze me! I am happy you brought this technique to my attention! I have never tried it but now seeing your stunning outcome – I am going to give it a shot! Thanks for the inspiration!
Wow – once again you make things seem so simple. Can’t wait to try this. Love all your tutorials. Thanks so much for sharing.
Ooooooh, beautiful! Funny, I was thinking about this technique the other day. Love how you revamped it. The sparkles make it even more fabulous!
Beautiful, Beate! Love this old technique! Fabulous that you made what is old new again! Must try this soon!
Super elegant!! Love the colors!
This is GORGEOUS!! I haven’t tried that in FOREVER!!
Gorgeous, love the sparkle you added too!