
Today’s tutorial on SCS is written by Lee Conroy. She shows us how to use the paper crimper (you know, the dusted over, unused tool you bought years ago) to create a diamond shaped background.
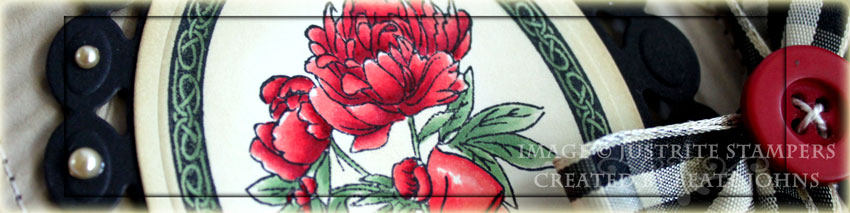
For my sample I stamped an image from JustRite Stampers Beautiful Blossoms set in Tuxedo Black Memento Ink on Classic Cream Neenah Cardstock. The image was cut and embossed with Classic Oval Nestabilities. The edges were sponged with Antique Linen Distress Ink. The images were colored with Copic Markers (Flower: R32, R35, R37, R39, bow: R30, R32, R35 Leaves and Frame: G21, G24, G85 ). The image was then layered on a piece of black cardstock, cut and embossed with the new Beaded Oval Nestabilities.
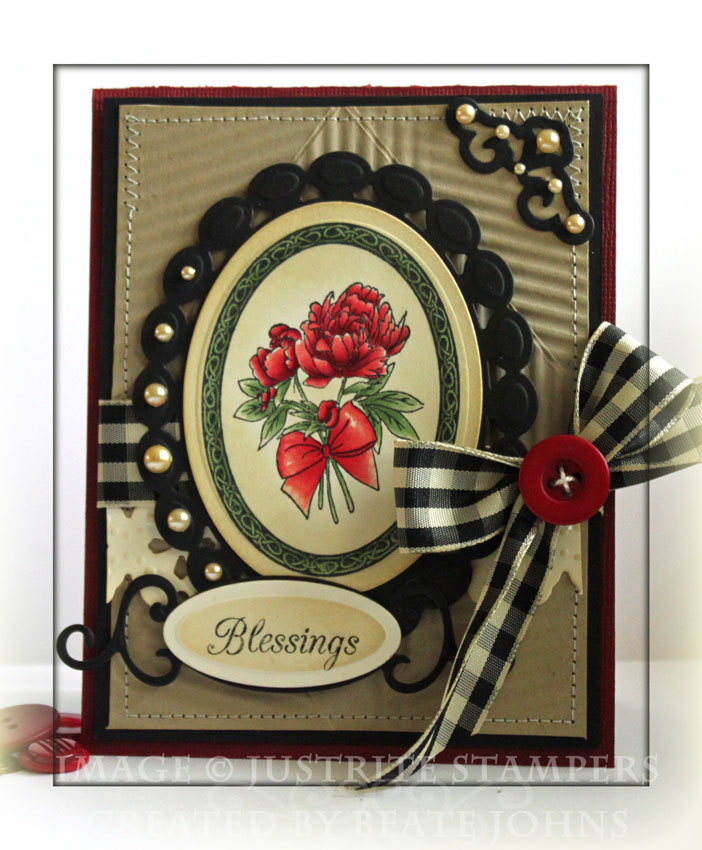
The card base is a 4 1/2″ x 11 1/2″ piece of red Core’dination cardstock folded in half. My crimped cardstock piece is a 4″ x 5 1/4″ piece of Kraft cardstock. It was stitched to a 1/4″ bigger piece of Black cardstock. A classic cream strip was cut and embossed with Fair Isle Borderabilities. The edges were sponged with Antique Linen and adhered to the lower half of the layers. May Arts Gingham Ribbon was tied over it and topped with a Basic Grey button.
The sentiment is from the stamp set Christmas Joy. It was stamped on Classic Cream Neenah cardstock. It was cut and embossed with Petite Oval Nestabilities and sponged with Antique Linen Distress ink. The sentiment was layered on a Fancy tag cut out of black cardstock.
Another black cardstock piece was cut with a Lace Pendant piece which was then adhered to the top right of the card. Latte Kaisercraft Pearls were added to that piece as well as on part of the Beaded Oval .
Here is a video for the visual learner:
[youtube]https://www.youtube.com/watch?v=TrgSpTZhIkM[/youtube]
Thanks for stopping by! Have a wonderful day!
Hugs and smiles
Beate
18 Responses to “Tutorial on SCS – Crimped Diamond”
Sorry, the comment form is closed at this time.


WoW! I’ve never noticed those blooms before. Your coloring is gorgeous! I want to color all day long…Hugs!
Oh so gorgeous!!
What a striking color combination!
What a beautifully classy card!!!
Love this! Awesome coloring and color combo, love the pearls too!
wow! This is so beautiful! Love the pearls!
Your card is absolutely beautiful!
Beautiful stamp and coloring Beate…and such a cool technique too!
Hi Beate! What an awesome card! Your image is beautiful, perfectly colored and looks gorgeous combined with your classy color palette and textured background.
GENIAL schön liebe Beate, der Hintergrund schaut zauberhaft aus, Deine Coloration ist umwerfend schön und die neuen Nestis passend hervorragend.
Einen schönen Tag
wünscht Dir
Anke
This card is FABULOUSLY BEAUTIFUL! I adore it! You’re amazing anyway … but this one is soooo fine! 🙂
What an elegant card, Beate! That technique looks very cool! I’ll have to try it this weekend!
gorgeous coloring on the flowers, Beate! very beautiful and elegant colors, too! love it!! =)
Beautiful!!! Excellent coloring and love the touch of pearls and your corner treatment!
What a stunning card!! Love it!!
Oh My Goodness!!! Really! This is so simple but I wouldn’t have thought of it in a million years. I love the effect, and I will practice it right away – so I don’t forget! Just amazing!!!!!! My crimper is probably the most under-utilized tool in my craft room – so I thank you!!!
This card is beautiful Beate. You’ve done a fabulous job of the colouring and the colours are gorgeous.
Gorgeous card!