
Today’s tutorial on Splitcoast is how to use Copic Markers along with Prismacolor Pencils. It will give you a slightly different look then coloring only with Copic Markers or only with Prismacolor Pencils. It’s great for people that just started buying Copics, but already have wax based pencils.
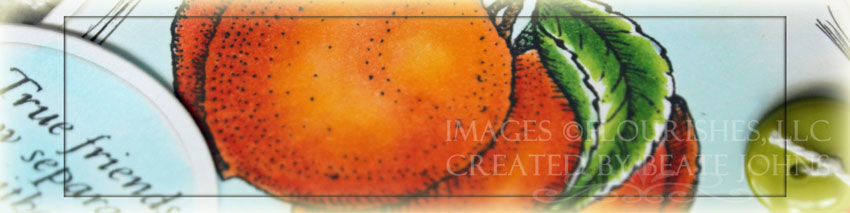
My image is from Flourishes Peaches and Cherries was stamped with Black Soot Distress Ink on Neenah Solar White cardstock. The image was colored with Copic Markers(YR12, YG25, E55, B000). Then the shading was created with Prismacolor Pencils (924, 946, 917, 1032). The pencil shading was blended with Blending Stumps and Gamsol. The image was cut with Label 2 Nestabilities. A frame was doodled with Copic Multiliner 0.3.
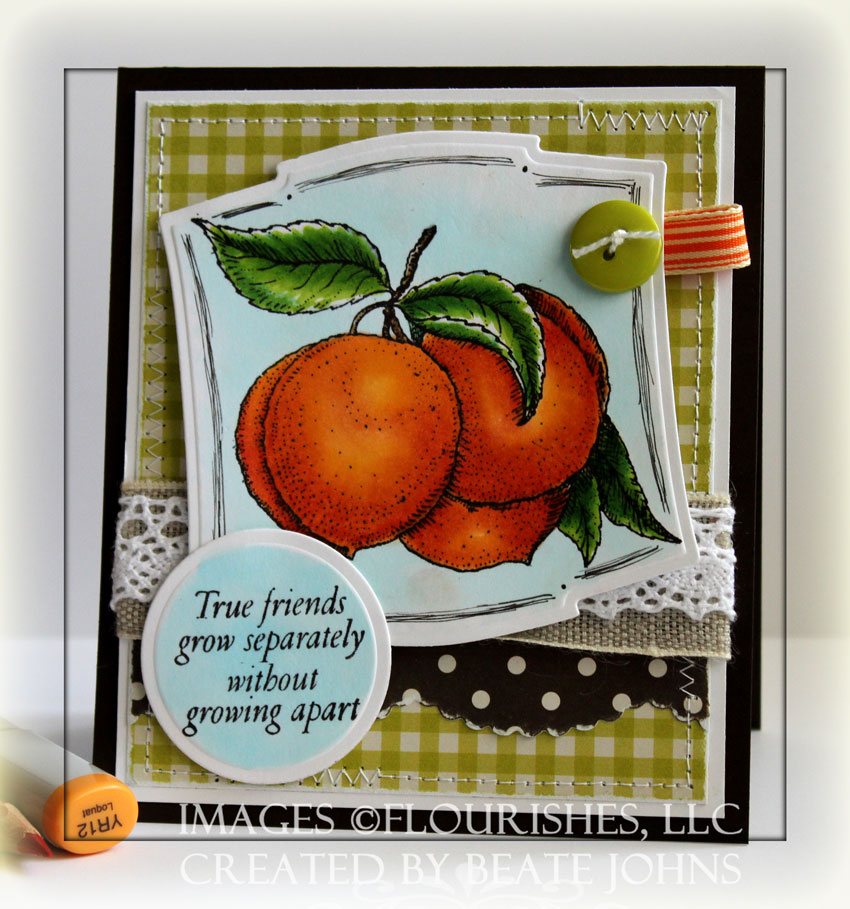
The card base is a 4 1/4″ x 10″ piece of Espresso cardstock (Stampin’ Up!) folded in half. A strip of Weathervane October Afternoon paper cut with the Scalloped Scallop Die-namics die and taped to the lower half of a 3 3/4″ x 4 1/2″ piece of a different Weathervane paper. Both paper were sandedbefore they stitched to a 4 15/16″ x 4 11/16″ piece of Whisper White cardstock. Natural Linen Ribbon and Melissa Frances Lace were layered over the horizontal strip before the image was adhered to the card base with dimensionals.
I love this sentiment. It’s from the peaches set and was stamped in Black Soot ink on Neenah Solar White cardstock. It was cut with Classic Circle Nestabilities and colored with B0000 Copic Marker. A green Basic Grey Button with a tiny strip of striped May Arts ribbon on the top right of the image finish off the card.
Here is a video for the visual learner:
[youtube]https://www.youtube.com/watch?v=kcTq2SSSc3E[/youtube]
Thanks for stopping by! Have a wonderful day!
Hugs and smiles
Beate
22 Responses to “Tutorial on SCS – Copic Markers with Pencils”
Sorry, the comment form is closed at this time.


Another BEAUTY of a card, Beate! Love everything you do. 🙂
WOW! This is gorgeous! I’ve started doing this technique and love the richness it shows.
Beate,
This is such a cool technique. Thanks so much for sharing it. Can you tell me more about the blending tool you used to blend the colors with? I’ve not seen one of those before.
Thanks!
I love this card! I just watched your wonderful video after reading the newsletter.
I have been combining Copics and pencils w/ gamsol for quite a while. Perfect for when you don’t have the right blend of Copic colors you need, and great for small areas.
Beautiful tutorial, Beate! Gorgeous card! Hugs!
Absolutely, Positively beautiful! WOW, Beate. You always seem to better your best! You Rock!
Great job With the layers
I just love those pencils
Hey Beate, this is gorgeous and what a great tutorial on how to use pencils with markers, which I have been wondering about, so thanks so much for doing this!!! Hugs…
Oh those peaches look deliciously yummy Beate. Such a pretty home-spun feeling!
Your talent is so extensive! Every day, I can’t wait to see what you are doing next. Is there anything you won’t try? Beautiful job!
This was a wonderful video. I used prismacolors for a long time before Copics arrived and it is great to be reminded that we can mix techniques! Your video was wonderful and I love your card. I have this set and I even live in Georgia and I have not inked it up yet – I think I need to give it some love, LOL!
Gorgeous, Beate! Those peaches look good enough to eat! What a neat technique! Not only is coloring relaxing, watching you color is relaxing! LOL
Gorgeous colouring, Beate! I’ve never combined the two mediums but will surely give this a try very soon! TFS~
Gorgeous card Beate! Great tutorial too~ I love coloring this way… since I don’t have all the Copic colors needed for perfect blending!
Gorgeous! Your colouring always looks so life-like!
I LOVE doing this.. I think it gives so much depth to your card.. Thank you for doing this tutorial.. It really makes your peaches POP.. Great job..
Eine traumhaft schöne Karte und lieben Dank für das Video, das muss ich mir mal in Ruhe anschauen.
Herzliche Grüße
von Anke
gorgeous coloring, Beate! you make me sooooo want some of those yummy flourish stamps! =) love your card!
Love this technique…it’s a must try. I have been contemplating getting a set of Prism pencils…hmmm!!
Gorgeous card Beate! Those peaches look mouth watering!
Those peaches look good enough to eat!! Love this!!
thanks I will have to give this a try because I am very limited on the amount of markers I have, your card and coloring is very pretty on this!