
Today’s tutorial was created by Lisa Somerville. She shows us how to create these darling holders for Test Tubes. What a fun treat idea!!! I had to order me some test tubes right away after receiving the tutorial. Then I went shopping for more Halloween paper, found some glittery tulle and BAM…I was ready. 🙂
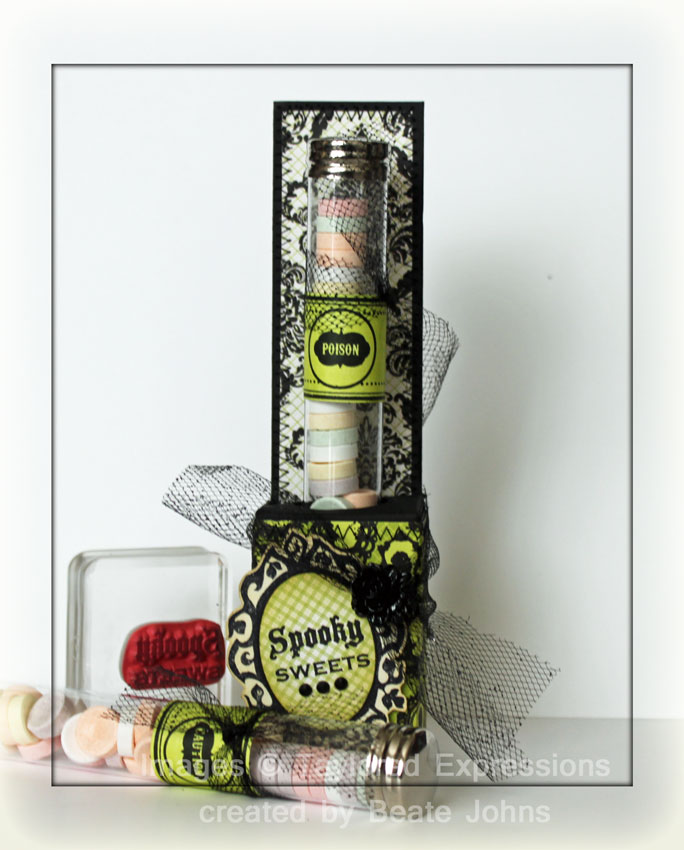
A label from Taylored Expressions Fright Night Favors was stamped in Jet Black Archival ink on a piece of Pink Paislee’s Phantom paper. The spider web from Toils & Trouble was stamped over the sides of the label with Shabby Shutter Distress ink. The caution/poison stamps are also from the Toils & Trouble set and were stamped in the center of the labels with Jet Black ink.
The labels were cut out, run through the Xyron machine and adhered to the test tubes. A small strip of glittery black tulle was tied above the labels to finish off the tubes.
The treat holder was created out of black cardstock. I started with a 4″ x 12″ piece of cardstock (instead of the 4 x 11″ as in the tutorial) because Taylor’s Test Tubes were a bit too long for the holder. The rest was done the same as the tutorial. I used a Classic Circle Nestabilities to cut the hole for the tube for a perfect opening (3/4″ circle punch was too small, 1″ too wide).
The mirror from Toil & Trouble was stamped in Jet Black Archival ink on Neenah Solar White cardstock, cut out and sponged with Antique Linen. Then it was stamped again on Phantom paper. The inner oval was cut out, a sentiment from Fright Night Favor was stamped in it’s center and the edges were sponged with Shabby Shuttter. The oval was adhered to the main mirror image and three Baby Bling Black Rhinestones were added to the bottom.
More tulle was tied around the holder and topped with a Halloween brad (last year Michaels). The sentiment panel was adhered next to it.
I hope you guys get to try this tutorial out. It makes the cutest treats. Thanks so much for stopping by! Have a wonderful day!
Hugs and smiles
Beate
9 Responses to “Tutorial on SCS – Test Tube Holder”
Sorry, the comment form is closed at this time.


This is SO darling! I can’t wait to try one of these!!!
Very festive and fun. I just saw this tutorial also and have to give it a try.
This is so cute! Yours looks so perfect, I wouldn’t even want to use it! Any idea where I could find test tubes in Canada?
Beate, this is so charming and elegant in a creepy way! LOVE the project and the papers and embellishments you chose are perfect. Who wouldn’t love to get one of these?
Who wouldn’t love to receive this darling gift….Lisa is a great inspiration with her crafty self…love it and thank you for sharing Beate…on my way over to Lisa’s….gotta have some of these tubes 🙂
Fabulous!!! I haven’t made these in a couple of years. Can’t wait to try it again!!!
very cool holder and love your tulle with it!
so cool! the tulle is perfect in this! fabulous project as always, Beate! love it!
Yes!! I’m agree with you!! Thanks for your sharing and i will drop here if i have time!!
That’s right!! Great opinion!! Thanks for your sharing!!
lhCRC4CK7N14Llh