
Today’s tutorial was a technique challenge recently. Joan Ervin, one of our Technique challenge hostesses, was kind enough to write the photo tutorial for Splitcoast. I had fun creating this sample for the video tutorial.
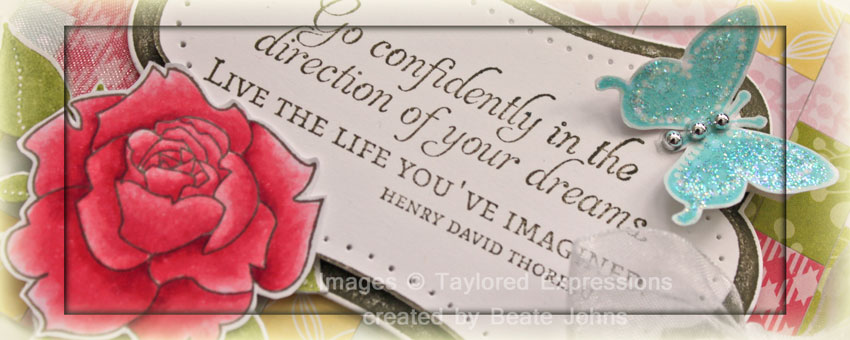
The frame from Taylored Expressions New Beginnings was stamped in Walnut Stain Distress ink twice on Solar White cardstock. I cut it once by hand, once with Taylored Dies – Frame it Up 1. A sentiment from the same set was stamped also in Walnut Stain ink in the center of the hand cut frame. The edge of that frame was paper pierced and adhered to the bigger frame with dimensionals.
A butterfly was stamped in Tumbled Glass ink on the light blue Springtime paper, cut out and adhered to the sentiment panel with dimensionals and Scor-Tape. Three Recollection silver pearls were adhered to the body of the butterfly. The wings were covered in Stardust Stickles.
The rose image is also from New Beginnings. It was stamped in Rich Cocoa Memento ink and was colored with Copic Markers (RV10, RV13, RV14, RV17). A branch is from TE’s Friendship Blooms stamp set. It was stamped in Shabby Shutters ink, cut with the Leafy Branch Taylored Die and adhered partially under the smaller frame. The rose was adhered over the branch.
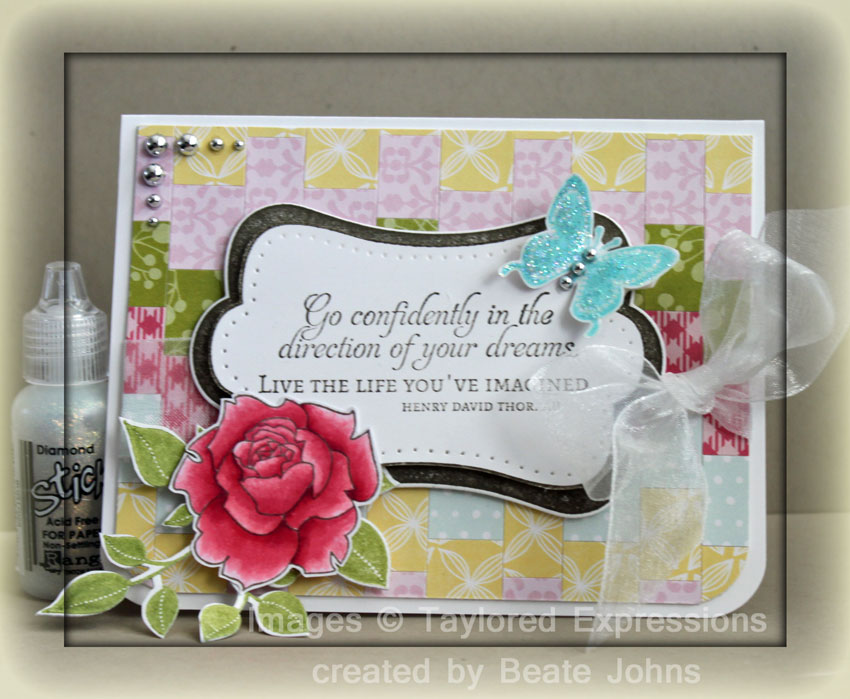
For the Bargello background I used Echo Park Springtime and Little Girl papers. It was down to 4″ x 5 1/4″ and the lower corners were rounded. White Organdy Ribbon was tied around the middle before the layers were adhered to the card base, a 5 1/2″ x 8 1/2″ piece of Solar White cardstock, folded in half. Again the lower corners were corner rounded. Silver Recollection Pearls on the top left of the Bargello layer finish off the card.
Did you notice that I didn’t sew on this card? I wish I had. I think it’s missing the sewn edge. LOL
Here is a video for the visual learner:
[youtube]https://www.youtube.com/watch?v=CgoFY38BFtQ[/youtube]
Thanks so much for stopping by! Have a wonderful day.
Hugs and smiles
Beate
31 Responses to “Tutorial on SCS – Bargello background”
Sorry, the comment form is closed at this time.


Beautiful as always! Love the background….gives it such interest!
Beautiful as usual Beate!
Sandra ltb
that’s so pretty! haven’t seen that before … thanks for the video! 🙂
How inventive! I always enjoy watching your videos Beate! Your ideas are so inspiring. The card is perfectly lovely and I love that rose and the leafy branch 🙂
This is SOOOOOOOOOOOOOOOOOOOOOOO gorgeous Beate! LOVE the background and your coloring on the rose is OUT of this world!!!
Love the Bargello idea. Made a quilt hanging with it years ago and it is still my favorite.
Great job here!
~Linda
Hi Beate, Another fabulous card and such a lovely rose and frame. Really like that bargello technique and it was nice to see how it was done.TFS
hugs
Marion
Beautiful card Beate… your video is great in showing how to do this. I have often wondered how they did that.. thanks for sharing ~ Pam
This is stunning! I love the background, and the elements you topped it off with are fabulous!
Beate, Your diversity amazes me. You create and make any paper craft look so beautiful. Your card today is no exception, it’s fabulous. Thank you, for another super video! x
That is GORGEOUS!! Love how you did the background….so fun and PRETTY!!
Very pretty!! I might have to try this technique!
Ohhhhhh, Beate, that is SOOOOO pretty and it looks so fun! I gotta try this one!
What a gorgeous sample! I need to pull out some pattern paper and give this a try!
This is so beautiful Beate, I love how you’ve used the technique. This stamp set looks so beautiful too the way you’ve colored it!
This is so pretty Beate! Love the staggered look of the strips. I do love a stitched edge. Now that I am totally addicted to it, I can’t do one without. 🙂
Hugs~
I just want to tell you how pretty this is! Love that background…..have put this idea away for use later. I need to try this for sure!
Was für eine hübsche Karte liebe Beate und der Hintergrund schaut ja genial aus.
Herzliche Grüße
von Anke
Seriously gorgeous girl! Wow! Love that flower! Your background turned out beautifully too! I think it’s beautiful just the way it is….sewing or no sewing!!
Luv it, it’s gorgeous! Thanks for the tutorial.
So pretty Beate.. The Bg is just beautiful and I {heart} the sentiment!!..Thank you for the tutorial 🙂
Eeeeeeeeeek! I absolutely love what you did here! What a fun technique! Imma gonna hafta try this one. lol! I have an idea (dunno if it’s been done already) but I’ll get it together and post it sometime so that you can take a look at it. As always, I have now gotten my daily inspiration from you and am itching to get back to the craft table. :)HUGS
Super cool technique! Love the colors you used..very pretty card 🙂
Mandy
this is beautiful Beate. I love the colors and love how you used the phrase as the main image.
xo
tina
beautiful background technique. gorgeous card, Beate. love all the details and colors. YUM! =) have a fabulous weekend!
Lovely card…think I’ll use up some scraps with your design. Ta.
Oh Beate, is there anything you can’t do? ;0) Love it. I’m defnatley going to attempt it. Thank you for sharing yet another inspireing video.
Traci Lord
[email protected]
What a fabulous technique. I will definatly have to keep this one in mind. Love it, and it’s so simple. Thanks!
Great technique and video tutorial! I love the stitching you do on your cards! 🙂
great background, such pretty papers, and love your coloring of the rose!
I love this method. I need to start saving my strips in coordinating colors. I hate to waste paper! As always, a beautiful creation.