Search Results : zutter

amc0109beate.jpgMost of you probably know Julie Ebersole. She is an amazing stamper, was a team member of SCS and is the Creative Teams Director of A Muse Artstamps. I had the pleasure of meeting her twice. She is such a sweetheart.

Well….Julie approached me and asked if I could make a sample for a fundraiser A Muse is starting today. I had to say yes! Not only would I do almost anything for Julie, but this fundraiser is for Leukemia and Lymphoma Society. My Dad died  of Leukemia one day before Rebecca was born. How could I say no?

Here is more information about this fundraiser:

Last year, Linda Carnell, owner of A Muse Artstamps, designed a calendar to raise funds for Scleroderma Research, an illness her mother suffers from.  The project was so successful, that she was determined to expand the variety of calendars, and find another great cause to support!In honor of Victoria Nelson, an avid fan of A Muse, who is undergoing treatment for Hodgkin’s Disease, 100% of the proceeds from the sale of this year’s calendar will benefit the Leukemia & Lymphoma Society.

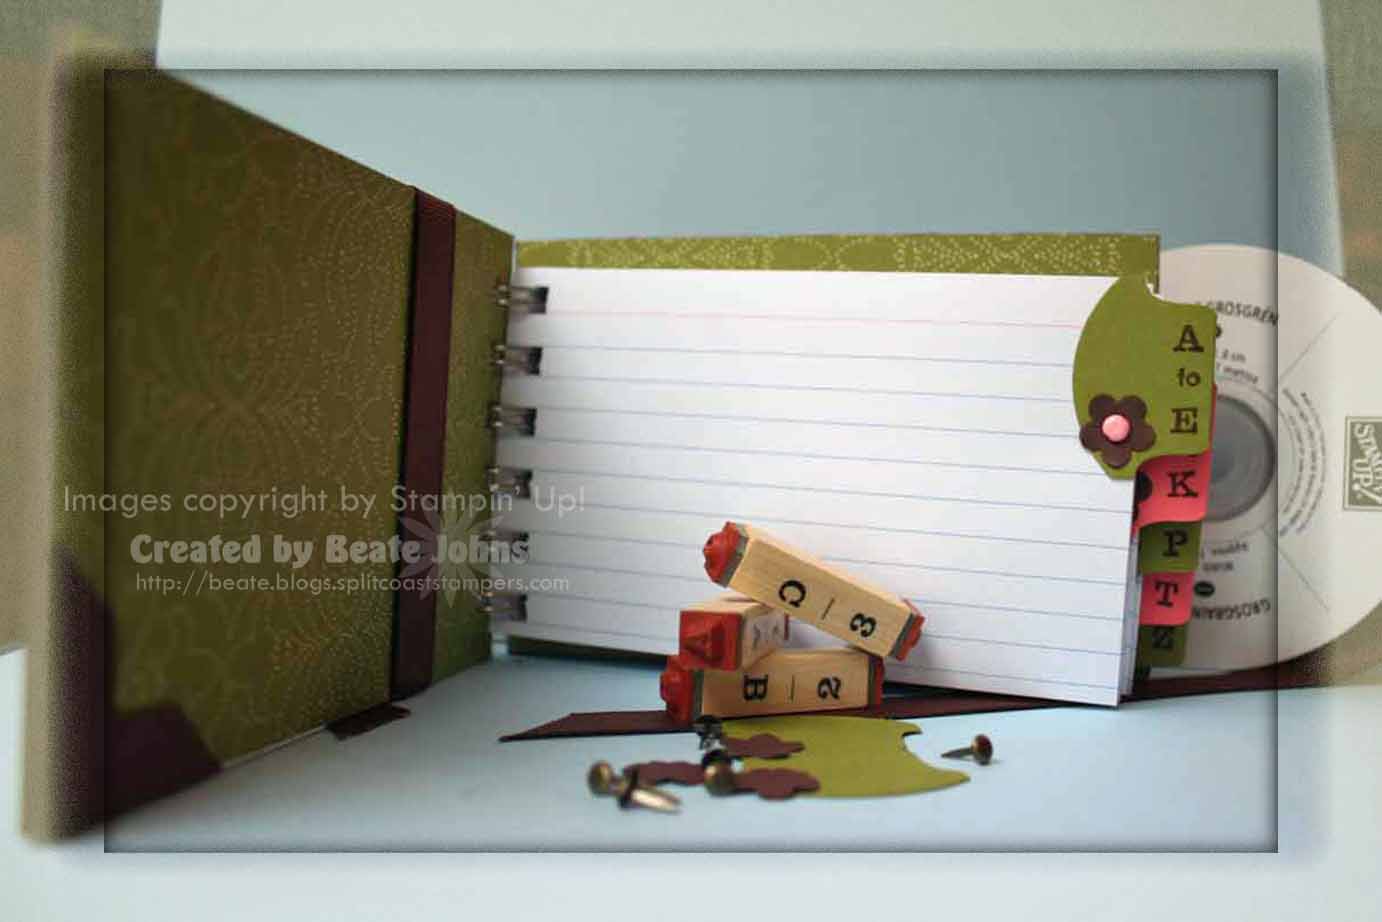
This year’s Calendar features 16 months and includes Sept 2008 through December 2009.  It also includes a perpetual calendar which is great for keeping track of birthdays and anniversaries. 

The calendar has been designed in several different sizes.There are THREE donation levels per calendar.  The minimum donation is $4 per calendar, but, there is also an option to donate $10 or $20 for each version.We hope people will enjoy stamping these calendars as fun projects and gifts for friends and family, while contributing to a great organization at the same time!

amcfrontbeatenoribbon.jpg

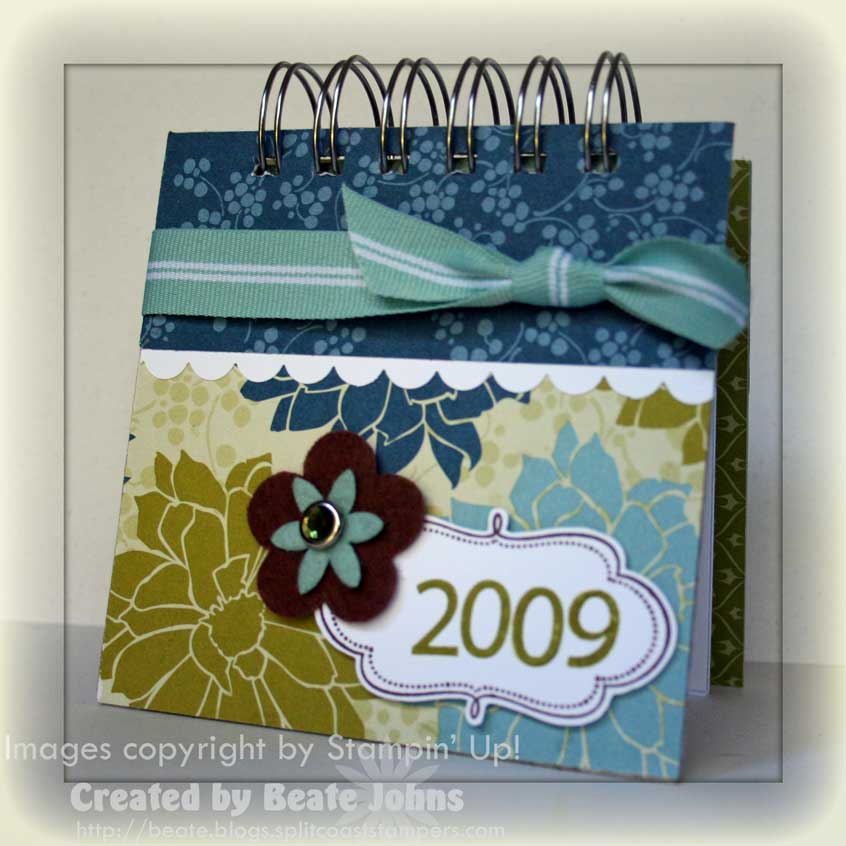
I printed out the beautiful square calendar pages, cut them down to 4″ squares and decorated them with Stampin’ Up! stamps and paper.

I just don’t have enough A Muse stamps to make it all A Muse.

The calendar was bound together with the Zutter Bind-It-All machine and a 1″ silver wire.

I order my postage stamps online from USPS.com. They always come with great sturdy cardboard pieces to keep the postage stamps sheets straight. I keep them for BIA projects. I cut two down to 4 1/2″ squares for my Calendar front and backing.

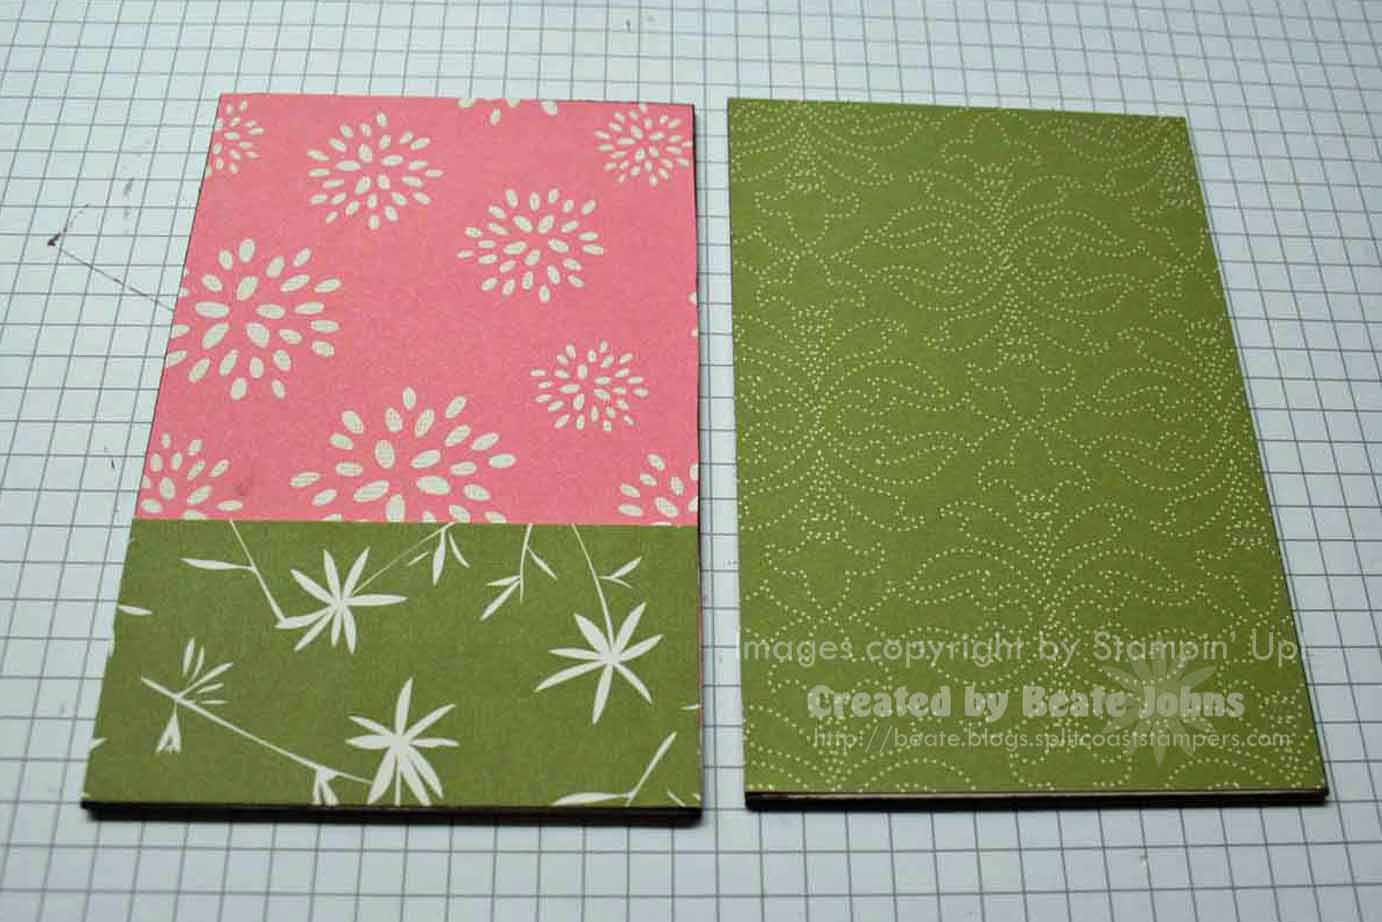
The cardboard front is covered with Urban Garden Designer Paper. The bottom part measures 3″ x 4 1/4″, the top 1 7/8″ x 4 1/4″. In between I taped a thin strip of Whisper White cardstock that was punched with the Scallop Edge Punch. I covered the front of the back cover the same way. The insides are covered with a 4 1/2″ square of the Olive paper from Ski Slope Designer Paper. I tied 5/8″ Baja Breeze Ribbon around the top.

The frame is from Frames & Flourishes and was stamped in Chocolate Chip ink on Whisper White cardstock. 2009 was stamped with the Short Order Numbers in Old Olive. I cut out the frame, added Flower Flusions II flowers with an Ice Circle Rhinestone Brad in it’s center to the left of the frame and taped everything down with dimensionals.

This will be a LONG post. If you want to see all the pages, click on more.

Continue reading »

Do you own a Bind It All (BIA) and you haven’t used it yet? Are you thinking about purchasing a BIA and you aren’t sure if you would like it?

I enjoy making these little Address books. They aren’t hard and don’t cost much once you have the BIA.

linen-prints-my-friends-book.jpg


I really like how this book turned out.  Here is the receipe:

Stamps: Linen, Simple Serif Alpha, Label Classic, Flowers & Flourish

Ink: Cameo Coral, Old Olive  and Chocolate Chip Classic ink, Chocolate Chip Craft ink

Paper: Cameo Coral, Very Vanilla, Old Olive and Chocolate Chip cardstock, Linen Prints Designer Paper

Acc.: BIA, 7/8″ silver wire, 5/8″ chocolate grosgrain ribbon, Ribbon Originals Beach front, Theatre and Fairytale, Clear Embossing powder, photo corner punch, vintage brads, SS and EE brads, Three for you Punch

img_8561-016001.jpg

If you are interested to see just how easy these booklets are, click on more and check out my quick tutorial.

Continue reading »

I had to get my new toys out again. I can’t have new stuff sitting here and not use it. My deadline for the secret stamping is still far off. I can squeeze some fun stuff in in between.

blog-friend-book-crate-pape.jpg

I started with two 4″ coasters. I think those are medium weight. I adhered Crate paper from the Girly girl selection to both sides of the coaster with Mod Podge. I clipped the corners of the paper with scissors and sanded all around the edges with a Sanding block from Stampin’ Up!. Then I added a layer of Mod Podge to seal the paper.

For the main image I started with a Whisper White circle and brushed Barely Banana craft ink refill over it with the big watercolor brush. I am very much into using craft ink and craft refill right now. I guess the Adirondack Acrylic Paint Dauber inspired me to reach for my craft ink more again.

Next I used white craft ink refill and a small watercolor brush to add a white line on each side of the circle. Then I used my gorgeous Fancy Pants Brush Bloom stamps with Tea Leaves Versamagic Dew Drop ink to add swirls to the sides and Pink Petunia for the flowers. Once the flowers and swirls were stamped, I added a thin line of Jumbo Java Dew Drop ink next to my white lines.

Blog Friends is stamped with Stampin’ Up!s Typeset Alpha Upper and Rough Edge Alpha in Java Dew Drop ink.

During my shopping spree in San Antonio with Jenn I picked up some Bling Brads. I added a small one in my big flower, and Amuse Creative Candy in the center of my two small flowers. After my flowers were dressed up, my words looked to flat. So I added a layer of Crystal Effect over them.

The ribbon is May Arts Ribbon (what else).

I then punched my covers with my new Bind-it-All. And wouldn’ t you know it, I goofed. My first cover was punched crooked. So I had to make a second. Then I punched my back cover….and punched it the wrong way. I tell you….my stamping would go a lot faster, if I wouldn’t make all those silly mistakes. When I finally had my front and back cover finished, it was time to create some pages.

blog-friend-book-crate-paper-open.jpg

I have a bunch of Confetti white cardstock, so I used that. I cut my cardstock in 4″x4″ squares and used my corner rounder on each corner. Then I used the swirl stamped that I had already used on the front page for each page.

I really like the way it turned out. Now I have to clean off the big mess on my table and maybe get one more “have to do” project done!

© 2012 fresh & fun Suffusion theme by Sayontan Sinha