Today’s tutorial on Splitcoaststampers is on how to make a paper cone. They are fun and versatile. You can use them as a treat bag or you can turn them around and use them as a party hat or base for a doll. What’s not to like, right?

justritepaperconeromantic.jpg

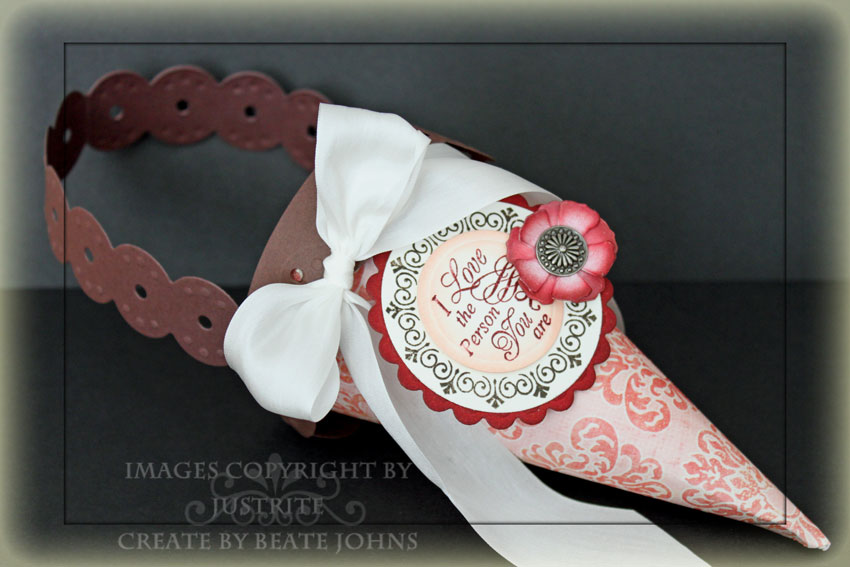
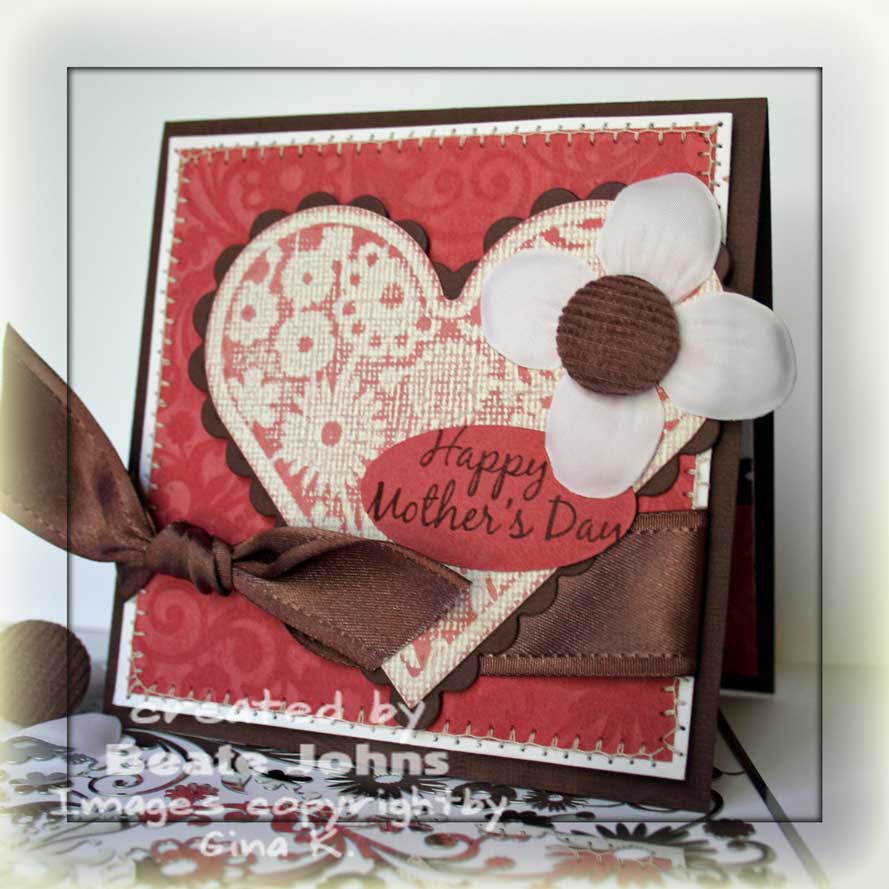
For my sample I used the new Jumbo Scallop Petite Borderabilities. Splitcoaststampers is posting a review on the new wide scallop dies Spellbinders came out with. I received these dies to play with. I LOVE Spellbinder dies, this one was no exception!

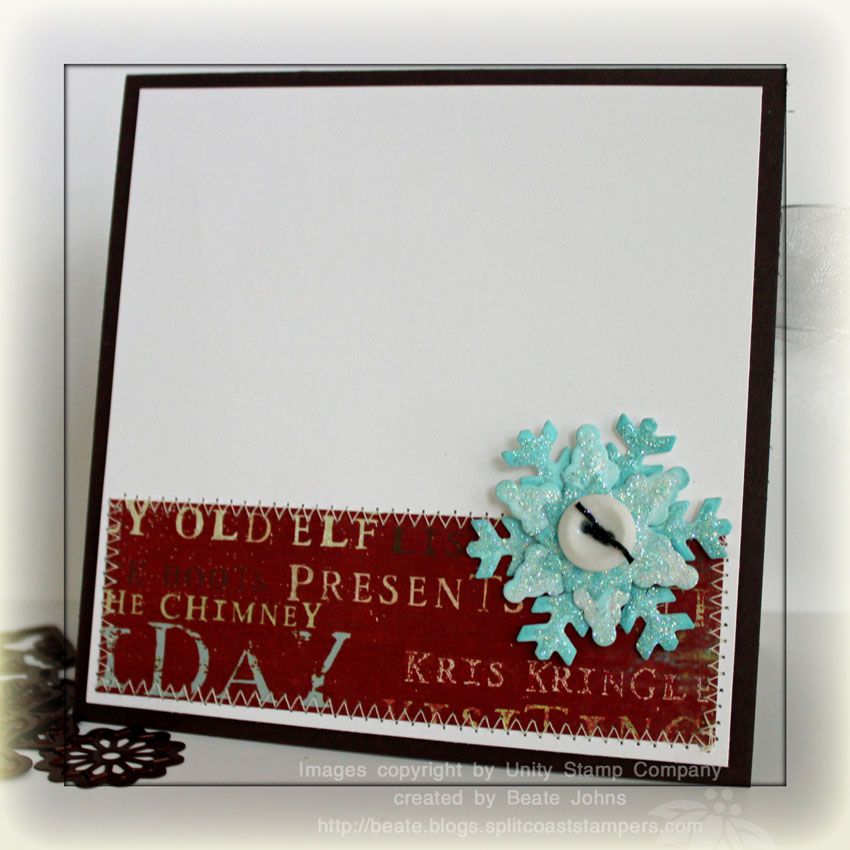
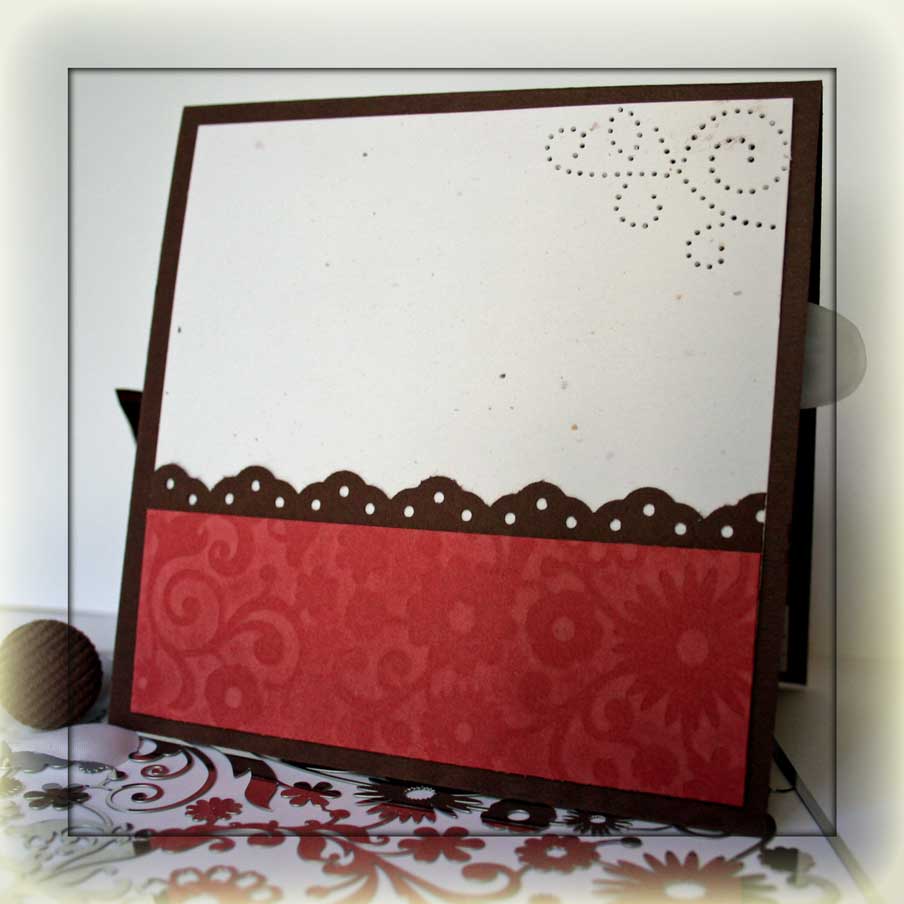
The paper used for this cone is from the Laundry Line from My Mind’s Eye. I cut and embossed two 11″ strips of Chocolate Chip cardstock with the Spellbinders Borderabilities. I used the double scallop one for the cone handle, the single one as a trim for the cone.

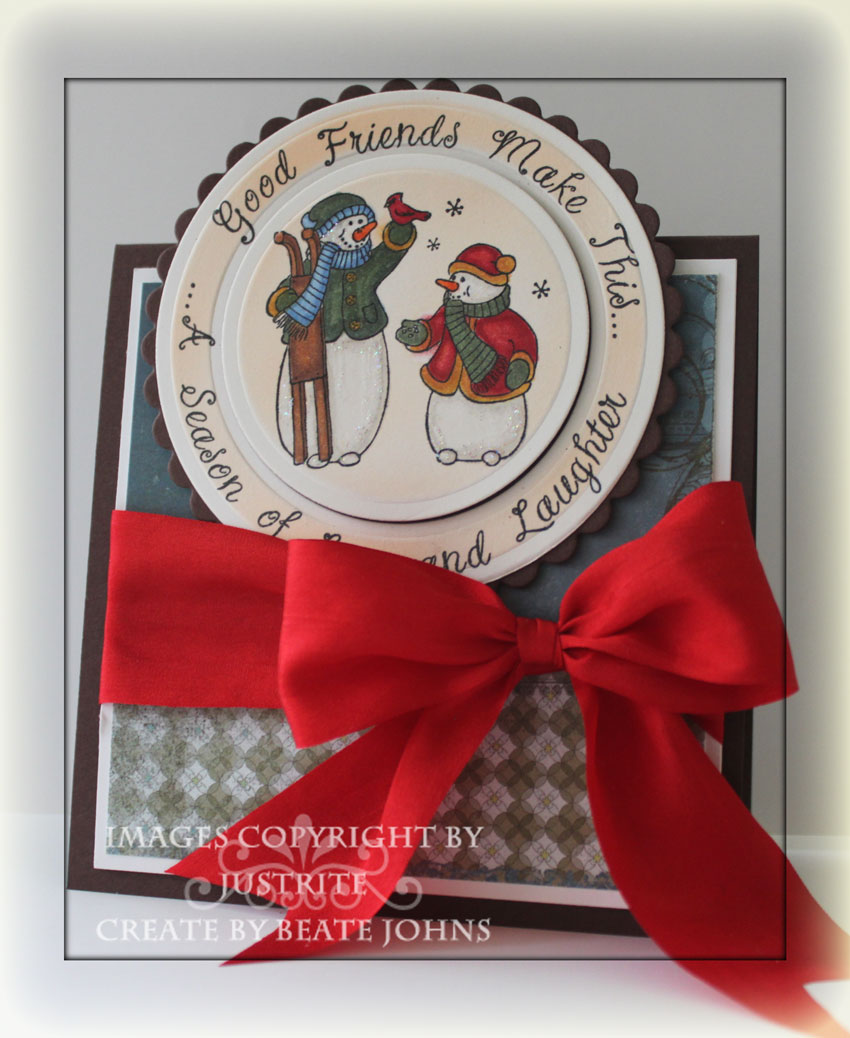
The sentiment is from JustRite’s Romantic Sentiments . It was stamped in Fired Brick Distress ink and sponged with Tattered Rose ink. The border was stamped in Walnut Stain Distress ink and is from as the Decorative Round Borders. The sentiment and border as well as the scalloped circle behind it were cut and embossed with the Circle Nestabilities.

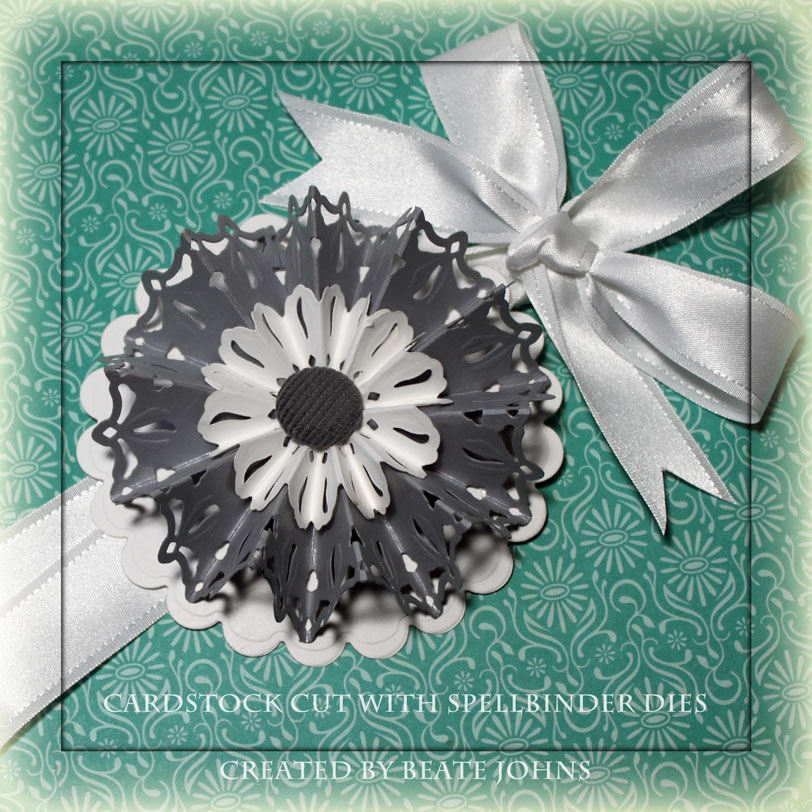
The flower is a little sneak peek of Tim Holtz’s Flower Tattered Floral Die. Daisy from Eclectic Paperie gave my a few cut outs when I met her at the CHA. I can’t wait to own that die!!! The flower cut-outs were sponged with Fired Brick Distress ink, layered and topped with a Making Memories Brad. Silk May Arts ribbon finishes off my cone.

Here is a video for the visual learner:

[youtube]https://www.youtube.com/watch?v=wF4dhfcsiQA[/youtube]

Have a wonderful day! Hugs and smiles

flowersoftufproudofyouwide.jpg

Flower Soft has a great new product out…well actually two. But the latest product review on SCS was all about the new Flower Soft Ultra Fine. I really like the much finer new product. It makes it easier to use on more detailed stamps. The other new product is their beautiful new line of stamps called Moments in Time

flowersoftufproudofyou.jpg

My image is from the Moments in Time stamp set called Man of the Hour. This image reminds me so much of my two boys when they were little. Kids grow up way to fast, don’t they? The image was stamped in Tuxedo Black Memento ink on Neenah White cardstock and colored with Copic Markers (Shirt and socks: R24, R27, R29, BG93, BG96  Ball E33, E34, E35  Shorts: E70, E71, C00 Grass: YG01, YG03, YG05  Skin: E50, E51, E53  Shoes: E44, E47  Hair: Y18, Y26, YR28, E15, E8). The image was cut out and embossed with Curved Rectangle Nestabilities. While leaving the die on, I airbrushed the sky with Copic Marker B24.

On the ground I added Flower Soft Ultra Fine Sand, for the grass I used the Flower Soft Ultra Fine Sage. The sand color was to light, so after the glue dried, I airbrushed that area with E47. The top right of the image was paper pierced.

The card base is a 4 1/4″ x 11″ piece of Always Artichoke cardstock folded in half. A 3 1/2″ x 4 7/8″ piece of Kraft cardstock was stamped with the ball from the same set in Frayed Burlap Distress ink. The edges were sponged with the same ink. That layer was stitched to a 1/4″ bigger piece of Chocolate chip cardstock. The stitched layers were attached to the card front with dimensionals.

The sentiment is from Verve’s Dare To Be You stamp set. It was stamped in Tuxedo Black ink on Neenah White cardstock, punched with SU’s large oval punch and sponged with Frayed Burlap ink before it was adhered to the image.

The rubber stamps from Flower Soft come as unmounted rubber sheets along with Kling-on cushion. I created a quick tutorial on how to mounting unmounted rubber stamps. I used my Flower Soft image for the photo tutorial and a Stamp’n Whiskers image for the video tutorial that you can see here:

[youtube]https://www.youtube.com/watch?v=WW6U-vPnqpU[/youtube]

embellishedseasonsnowflakew.jpg 

Today’s Product Focus was a really tough product to review. Spellbinders Seasonal Dies.  I LOVE Spellbinder Products. Love them and am addicted to them. It was fun to play with them and easy to review them. I wish I could have just posted one word, AWESOME! It describes what I think about them perfectly.

embellishedseasonsnowflake.jpg

Ever since I saw Sherry Cheever create her first Snow Flake Medallion, I knew I needed her to write a tutorial for it on SCS. Well, she has and it’s featured today. If you have the Spellbinders Create a Flake 1 dies, make one….they are so beautiful. If you don’t have those dies yet. You better buy them fast. They are only available until the end of November! I got mine on Monday! 🙂

embellishedseasonsparklesno.jpg

My card base is a 5″ x 10″ piece of Chocolate chip cardstock folded in half. The edges were sponged with Adirondack Expresso Dye ink (I bought all new inks. I am excited about the colors the Adirondack inks come in! November first I can start selling off my Stampin’ Up! merchandise. Look for a big for sale post.)

A 4 1/2″ square of My Mind’s Eye – the Merry Days of Christmas Patterned Paper was adhered to a 3/8″ bigger piece of Whisper White cardstock, sanded and stitched.

The sentiment layer was cut with Label 1 Nestabilities out of Whisper White and Chocolate Chip Cardstock. The greeting is from Unity’s Embellished Season stamp set and was stamped in Expresso Dye ink. Keeping the Label die on, I placed some snowflakes I had cut with the Create a Flake 1 dies over the layer with removable adhesive and sponged Adirondack Aqua ink over it. The white layer was adhered to the Chocolate chip label, after that had been sponged with Expresso ink. The white spots from the Snowflakes were covered with Crystal Effect and Dazzling Diamond Glitter was added over that.

My Snowflake layers were cut out of Neenah white cardstock ( I LOVE how thick this is), sponged with Adirondack Shell Pink, covered with Crystal Effects and Vintage Glass Glitter. I wish I had the Vintage Shard Glass Glitter Sherry used. I ordered it this morning from Cindy.  Once they were dry I added a Basic Grey Button with wire and adhered it to my card with dimensionals. 1″ White Organdy Ribbon finishes off my card front.

embellishedseasonsnowfinsid.jpg

The inside of the card uses the same paper as the front. The blue snowflakes are the ones I had used to sponge the sentiment layer. I added Crystal Effect over them and Dazzling Diamond glitter. The button is one from my Mom’s stash. It was tied with Dark brown waxed Linen.

Today’s tutorial is for a Tent Topper Card. Michelle Wooderson came up with it a few years ago. These cards are so adorable. The main image is taped so it stands over the top edge of the card.

We are also posting a new Product Review on SCS today. This time we checked out JustRite Stampers new Christmas stamps. Go on over and check it out. I have to tell you that I LOVE the new JustRite products. No more conditioning!!! How sweet is that. AND….the new 2″ wood stamp has room for a double border.

For this sample though I used one of their new bigger sets called Old Fashioned Christmas.

justritesnowmantopper.jpg

I stamped the image in Memento Black ink on Shimmery White cardstock and cut and embossed it with two circle Nestabilities. I left the circle Nestabilities over the cardstock and used my Air Brush and Copic Marker EE00 to add the shading. Then I colored the rest of the image with these Copic Markers: E25, E97, YYR07, R21, YR 24, B21, B23, BG96, G85, W1, R22, R27, R29. The outer rim was taped to a slightly larger Chocolate Chip scallop circle with adhesive, the image with dimensionals. I added a bit of Stardust stickles to my snowman to finish them off.

The card base is a 4 1/4″ x 8 1/2″ piece of Chocolate chip cardstock folded in half, followed by a 3 15/16″ square of Whisper White. Both patterned paper strips are from BasicGrey’s Periphery Collection.

The ribbon, oh the ribbon….it’s gorgeous, beautiful silk ribbon from MayArts. You can email Starlitstudio to order it by the roll, or you can order it from Sharon Johnson. I am hooked….wait until you feel it.

justritesnowmancloseup.jpg

One good thing about living up North where it’s cold…..I can use snowman images without feeling silly about it. And yes, the I went outside the lines a bit on the sleeve of one snowman. I still like them anyway…

Have a wonderful day! Hugs and smiles

Here is a video for the visual learner.

[youtube]https://www.youtube.com/watch?v=_Iod59knIbM[/youtube]

Today’s tutorial goes hand in hand with the Spellbinder Borderabilities and Pendant review. Becca Feeken created a gorgeous Ornament with Fleur De Lis Pendant dies and was kind enough to share it with us today. Unfortunately I don’t have those dies yet (I so have to order them!!!).  So I created a different ornament out of the Kaleidoscope Pendant dies I do have.

spellbinderkaleidoscopeorna.jpg

I cut three Kaleidoscope Pendant shapes out of Brushed Silver cardstock. I didn’t like the way the die cuts looked when I folded them like Becca did with her Fleur De Lis, so I just folded mine mountain valley fold and taped three together to create my base. I cut three smaller pendants out of Whisper White cardstock and repeated the mountain/valley folding and taping with these die cuts. I placed the smaller version over the bigger one and secured them with a big Basic Gray Corduroy Button. The white satin ribbon is from May Arts.

I am sure I don’t have to tell you that I LOVE the Spellbinders new Borderabilities and Shapebilities Pendant dies. Check out what the rest of the team thought and their gorgeous creations.

Have a wonderful day! Hugs and smiles

P.S.: Here is a video on how to cut, emboss and stencil with Borderabilities.

[youtube]https://www.youtube.com/watch?v=g_WMkAN1rwg[/youtube]

I have to say I was excited when the review team had a chance to play with Spellbinders new Impressabilities. I had heard a lot about them. Check out how we liked them in today’s Product Review on SCS.

impressabilitiesmothersdaybeate.jpg

I wrote two different tutorials with Impressabilities. Here is the sample for my first tutorial: Embossing with Impressabilities.

The card base is a 4 1/4″ x 8 1/2″ piece of Chocolate chip cardstock folded in half, followed by a 4″ square of Whisper White cardstock.

The red cardstock 3 3/4″ square as well as the white cardstock heart are both from the same sheet of Core’dination Cardstock. It is super cool cardstock that has a different colored core. This particular piece is from the White Wash Collection.

The Flower is from the Pretties Kit from Stampin’ Up!, so is the Chocolate Corderoy Button and the Chocolate Satin Ribbon (retired). The sentiment is from Gina K.’s stamp set “Framed Flowers“. It was stamped on the same cardstock in Chocolate Chip ink and punched out with Stampin’ Up!’s large oval punch.

impressabilitiesmotherinsid.jpg

Even if I don’t stamp a lot these days, I had to create a matching inside.

I used a leftover scrap from my embossed red cardstock from the front, added a Chocolate Eyelet Border underneath and taped both to the bottom of the bottom of a 4″ Whisper White Square.

The top right was paper pierced with an Ornare Paper piercing guide.

Have a wonderful day! Hugs and smiles

Today we actually have three tutorials on Splitcoast. They all show you different ways to use Flower Soft. Rose Ann Reynolds wrote one on Flower Soft on stamped images, I wrote two:

Flower Soft Bouquet

Flower Soft on Chipboard

Check out our Product Focus page on Flower Soft in the Resource section as well. It is a cool, but slightly messy product.

oclflowersoftbouquetbeate.jpg

My card base is a 5 1/2″ x 8 1/2″ piece of Basic Black cardstock folded in half,  topped first with a 4″ x 5 1/4″ piece of Whisper White cardstock, then with a 1/4″ smaller piece of Walk in the Park Designer Paper.

The horizontal paper strip is from the same designer paper pack, which can be found in the Occasional Mini catalog from Stampin’ Up!, and measures 2 1/4″ x 3 1/4″. It has a strip of Whisper White cardstock underneath that had been punched with the Eyelet Border Punch. The top edge was paper pierced and all edges were distressed with a sanding block. The gorgeous red ribbon is from May Arts and was tied around the designer paper.

The sentiment and image stamps are from Our Craft Lounge’s Growing Gratitude set. It’s perfect for adding Flower Soft Bouquets in either the watering can image or even the flower pot.  I used Copic Markers to color the image. BV20 and BV23 for the watering can, YG03 and YG05 for the leaves and B00 to airbrush the background.

oclflowersoftbinsidebeate.jpg

On the inside I added a 4″ x 5 1/4″ piece of Whisper White cardstock. It was layered with a 1 1/4″ x 5 1/4″ strip of Walk in the Park Designer paper that had been slightly sanded. Between both layers is a strip of Basic Black cardstock that had been punched with the Eyelet Border punch.

The image on the small oval is also from the Growing Gratitude set. It was stamped with Tuxedo Black Memento ink and colored with Copics (R10, R11, YG03, YG05). The edges of the oval were paper pierced and Stardust Stickles was added to the flower heads.

Have a wonderful day! When you read this, we are already on our way to Germany. We arrive their in the early morning (1:40 a.m. Florida time, 7:40 a.m. German time). Let’s just say the next two days will be long and blurred together! Wish us no rain!!! That’s what the forcast calls for there.

Hugs and smiles 

Sorry I didn’t post yesterday. I still have some cards to show you, but I was waiting for the SCS Newsletter to come out. Then mine didn’t come at all (see, it happens to team members too. LOL) and I didn’t post.

 Yesterday we published our Product Review on Scor-Pal Products. I LOVE THEM all! I love the Scor-Pal and don’t know how to do multiple cards without them. It saves soooo much time. I LOVE the tape. I don’t like the Sticky Strip no more. That red liner is always sticking on me. Not with the tape. The liner goes in the trash can the first time you throw it there. And then there is the mat and the new Scor-Bug. That tool won’t come out until April, but it will be worth the wait. It makes quick paper pierced rows. The piercing isn’t quite as definite as with the piercer, but it only takes as long as a score to do it! LOVE it!

I am not sure if you know, but the Scor-Pal has markings for a Gate Fold Card. I wrote a quick tutorial for that for SCS. I love that! No more having to remember the measurements or having to do math to figure it out. Your gatefold will be ready to decorate in 5 seconds!

flourishesdaffodilgatefoldb.jpg

I colored the image after coming home from the Copic Class two weeks ago and really wanted to use it for this card.

The stamps are from the Flourishes set Signs of Spring. It seems to be sold out right now, or I would link to it. The little chickies come as single stamps and the flowers are in a basket. I only linked the flowers, masked the chicks and stamped the flowers behind.  The images were stamped with Memento ink on Neenah cardstock and colored with copics. It was cut out with Nestabilities dies.

After the image was cut out, I left the Nestabilities die over the cardstock and added the sky with my air brush tool. I am using cans now, but I ordered myself a compressor. I can’t wait to get that in. My poor children…air brushing is so much fun. Nothing will be save from me. LOL

The card base is a 4 1/4″ x 8 1/2″ piece of Basic Gray cardstock. The designer paper is from the Kiwi Kiss Pattern Pack.

flourishesdaffodilgatefoldi.jpg

I kept the inside pretty simple. I just added more designer paper on the sides and a 4″ Neenah square in the center.

Two more chicks were stamped and colored. The banner was stamped and cut out. A black brad was added and it was adhered to the card inside with dimensionals.

Have a wonderful weekend!

We had sunshine and warm weather here for the last three days! I snug out for a couple of hours each day to read in the sun. I can’t help myself. I love to lay in the sun like a lizard. And I better catch the rays while I can before I move up north. I am sure I won’t be layout out in a two piece in the beginning of March in Ohio. Sigh….getting used to change is hard!

Make sure to check out Jenn’s blog tomorrow morning to see the sketch for the weekend sketch challenge! It’s a good one.

Today’s Tutorials on SCS is on how to make a triangle box. It’s simple, it’s quick and easy changeable to different sizes. For my tutorial sample I started with a 5″ x 10″ piece of textured Baja Breeze Designer Paper.

justriteclassicovalchristma.jpg

I stamped the cardstock with the snowflake from the Stampin’ Up! Winter Post stamp set. I stamped the snowflake first in Baja Breeze classic ink, then in Whisper White Craft ink all over the cardstock.

Since we are also running a new product focus page about the new JustRite Harmony stamp ensembles, I decided to use one of the the stamp sets I received for the tutorial as well. The sentiment and the oval frame are both from the Classic Harmony Oval II stamp ensemble. After conditioning the stamps (check out Sharon’s awesome tutorial also published today on SCS) I stamped them in Chocolate Chip ink on Ski Slope Designer Paper. I cut them out with my Oval Nestabilities. The stamps fit great in those die templates.

I layered it on a Whisper White circle and Chocolate Scallop circle, both were cut with Circle Nestabilities. The inside of he oval frame was paper pierced. I added a silver paper clip from the Paper clip assortment from Stampin’ Up! to the top left of the sentiment and tied Pink Taffeta Ribbon around it. On the bottom right I added a Snowflake from the Little Felt Flurries, added a Jumbo Eyelet in it’s center topped with an Fire Circle Rhinestone brad.

I created smaller sample with a 2 1/2″ x 5″ piece of cardstock. I will share that with you tomorrow.

Have a great day! Hugs and smiles

Today’s tutorial on Splitcoast is another oldie, but goodie: Gate Fold Card. I used a stamp from the stamp set Butterfly Beauty from Unity Stamp Company.

s unitystampsgatefolddragonfl.jpg

I promise to use Stampin’ Up! stamps again on my next card.

I have been a bit sidetracked since those Unity stamps are on my stamp table in a little wicker basket. They will go in big SU clear cases, as soon as I receive them. They are already ordered.

I am sorry to say that I forgot to write down which Copics I used.

The Wasabi panels were stamped with the Tea Time Pattern background in Chocolate Chip and the edges were sponged.

The main image was stamped in Brown Palette Ink on an  Shimmery White oval cut with Oval Nestablities and layered on a Chocolate Scalloped oval that was created the same way.

Now…how I got those Unity Stamps early.

Nope, I am not on their design team. I am not on any design team. With being a single mother until the end of the year, working for SCS and the upkeep of this blog, I just can’t commit to something like that. Besides, I am first and formost still a Stampin’ Up! demonstrator who LOVES Stampin’ Up! products (I just don’t like the long summer lull of no new stamps!!!).

Splitcoast is introducing a new feature with today’s newsletter: Product Review.
Once a month a team of six stampers will review a product and tell you what they think about it. Our first product to review: Unity Stamp Companies great new Mounting system.

That’s how I got handles and some stamps before they are available! To check out the whole review team and what we thought about the product, click on product review. 

© 2012 fresh & fun Suffusion theme by Sayontan Sinha