Yesterday’s Limited Supply Challenge was indeed challenging, but very cool . It was called Can’t Help Lovin’ Dat Man. The challenge was to create a card for a teen or man in your life. Masculine cards are always challenging. I decided to get a head-start on Austin’s birthday card.
At first I was thinking about creating a little Bind-it-All book with photos of him growing up (he will be 15 this November) with little anecdotes of him growing up or special memories that made me go all mushy. Well…somehow along the BIA book changed into an altered tin. Stampin’ Up! offered those tin last years to purchase and I still have quite a few.
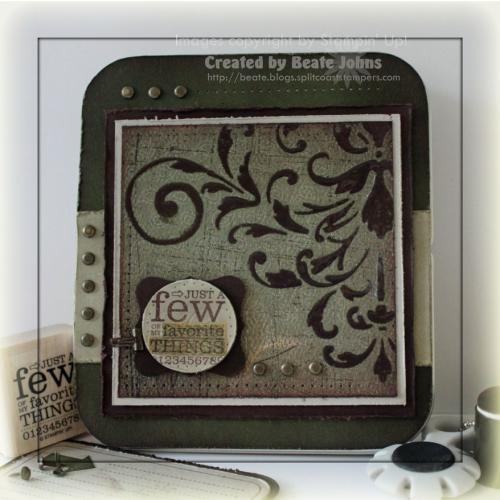
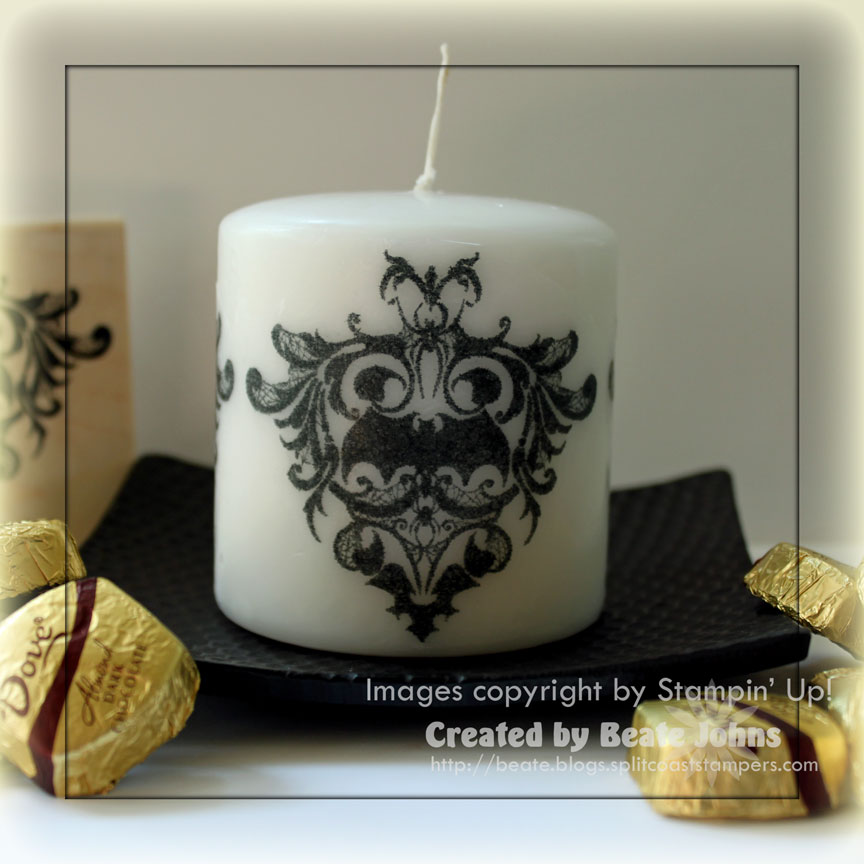
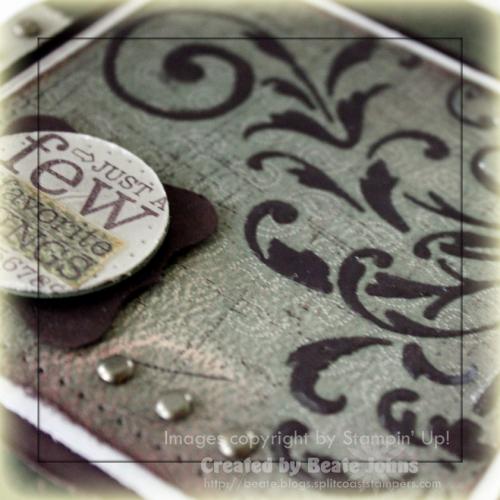
I started by sanding a 3 3/4″ square of To the Nines Specialty Paper, then sponging it with Creamy Caramel. Next the Kind Thought Stencil was laid on top of the Designer Paper, and Chocolate Chip craft ink was sponged through it with a sponge dauber. The stenciled image was embossed with Glassy Glaze Enamel.
The background Sanded was stamped over everything in Chocolate Chip ink and the edges were sponged with the same ink. Then the edges were distressed with the Cutter Kit. It was layered on a 4″ square of Sahara Sand, the edges of which were distressed as well. The next layer is a sponged and distressed 4 1/4″ square of Chocolate Chip.
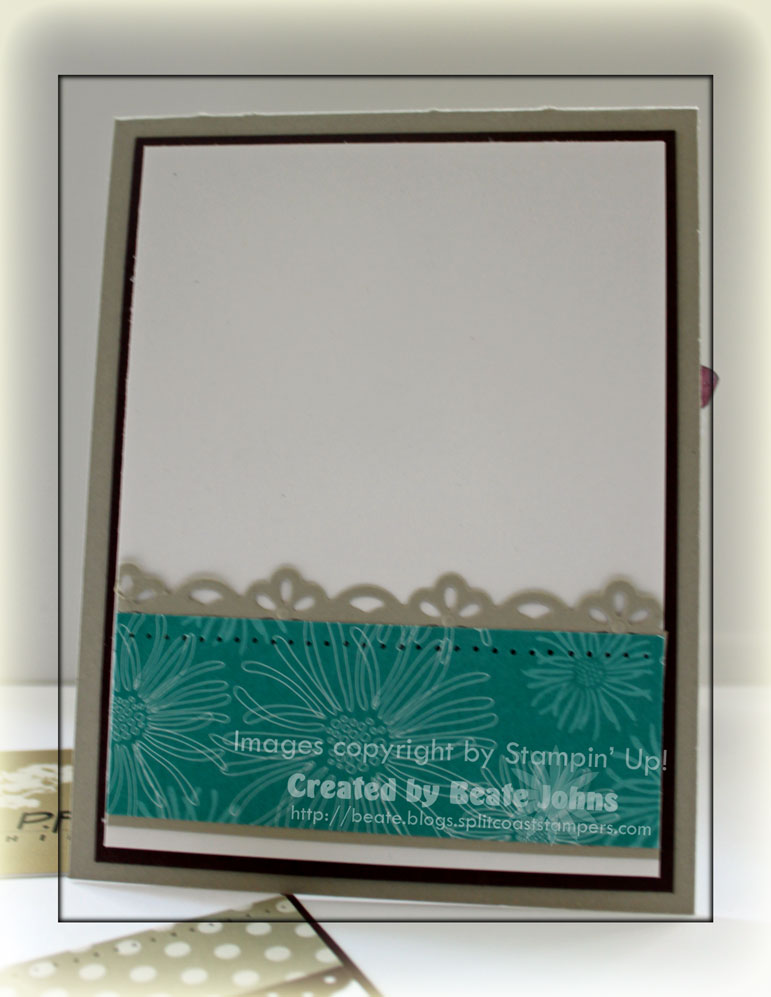
I traced the lid of the tin on a piece of Always Artichoke, cut it out, sponged it first with Always Artichoke, then sponged the edges with Chocolate Chip. On the lower half I added a 1 3/4″ wide sponged and distressed strip of Sahara Sand Cardstock. Then I added several Antique Brass Brads from the Vintage Brad collection. Three on top, five on the Sahara Sand strip and three more on the left hand side of my sentiment.
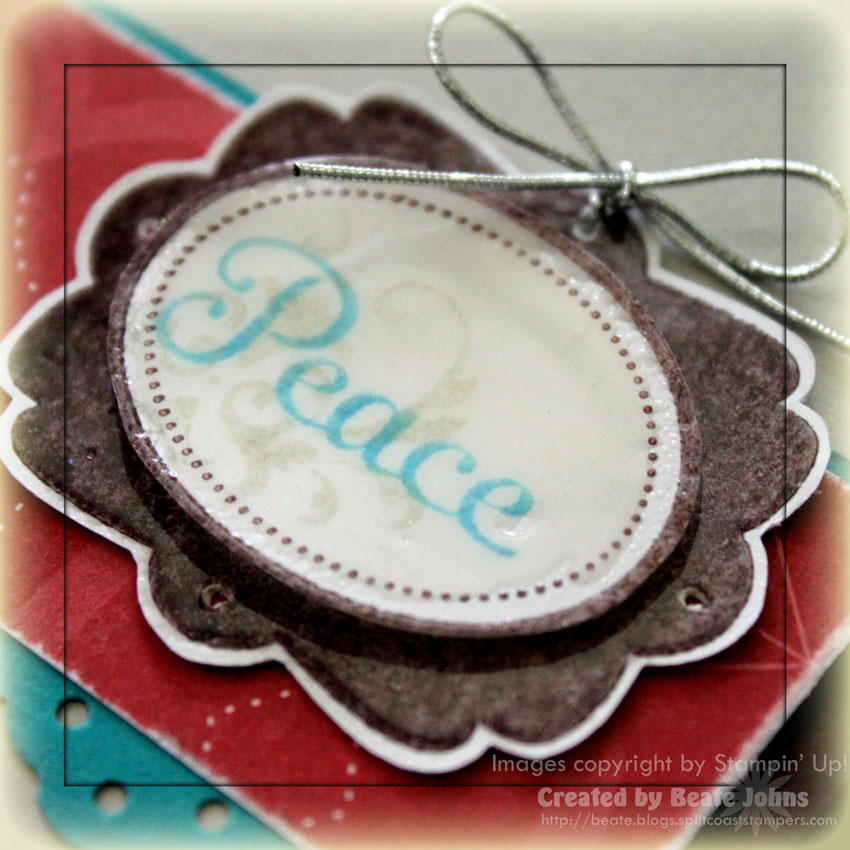
The sentiment is from the set Favorite things. It was stamped in Chocolate Chip on Sahara Sand. It was stamped again on a piece of To The Nines Specialty paper that had been sanded and sponged just like the bigger square. I cut out Favorite things and layered it on the main sentiment layer. The sentiment was punched out with the 1 1/4″ circle punch and layered on a sponged Chocolate Chip Curly Label Punch-out. The sentiment layer as well as the main layers were attached to the tin front with dimensionals. The tin front was adhered to the tin with Scor-Tape. Last I added Crystal Effect over the sentiment and set it aside to dry.

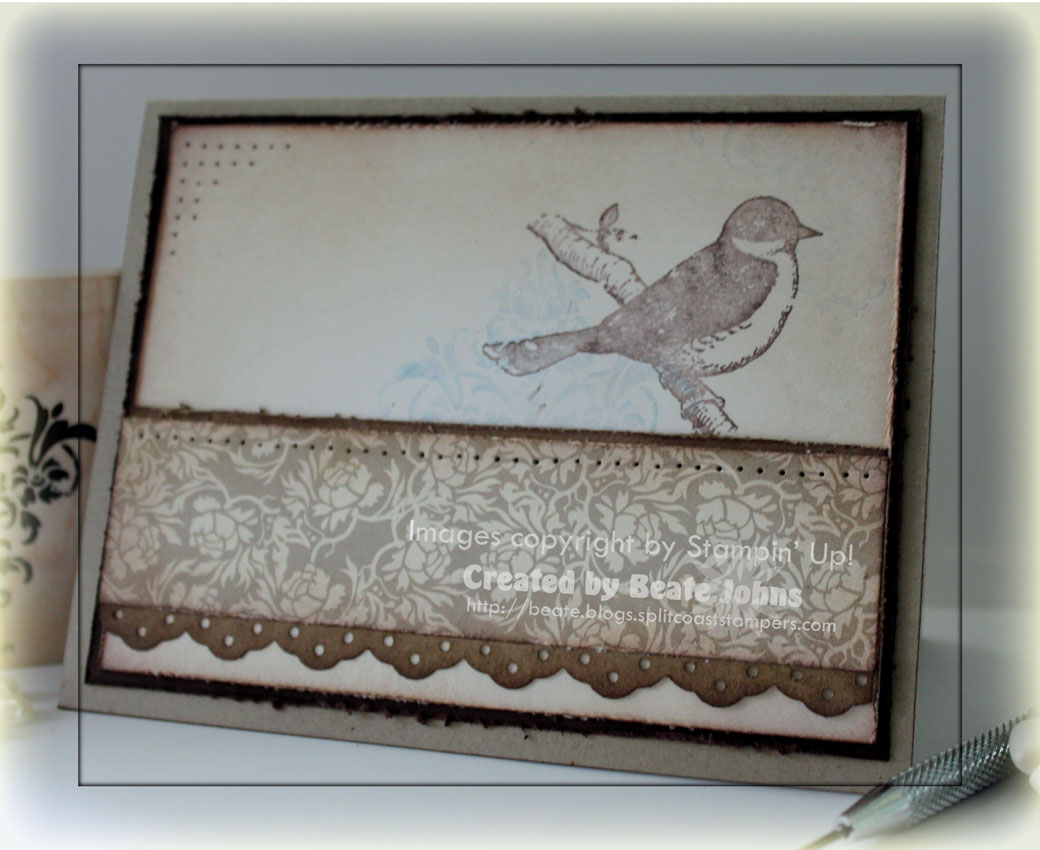
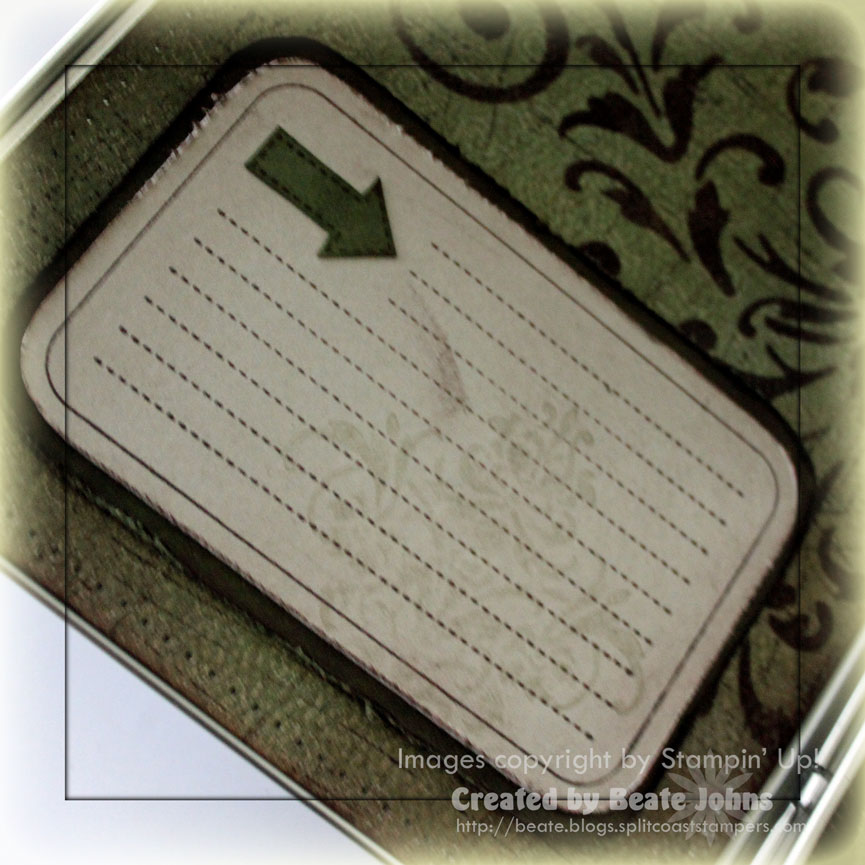
For the insides of the tin, I cut two more pieces of To The Nines Specialty Paper and treated them the same way as I did the square in the front. The only difference is that I used Chocolate Chip Classic ink to sponge the stencil. I used Snail Adhesive to tape the paper to the inside of the tin after paper piercing the edges. On the left hand side I stamped the sentiment from Upsy Daisy ink Chocolate Ink.
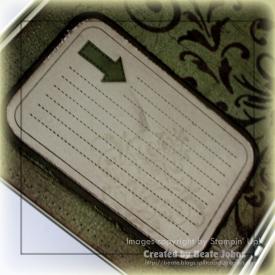
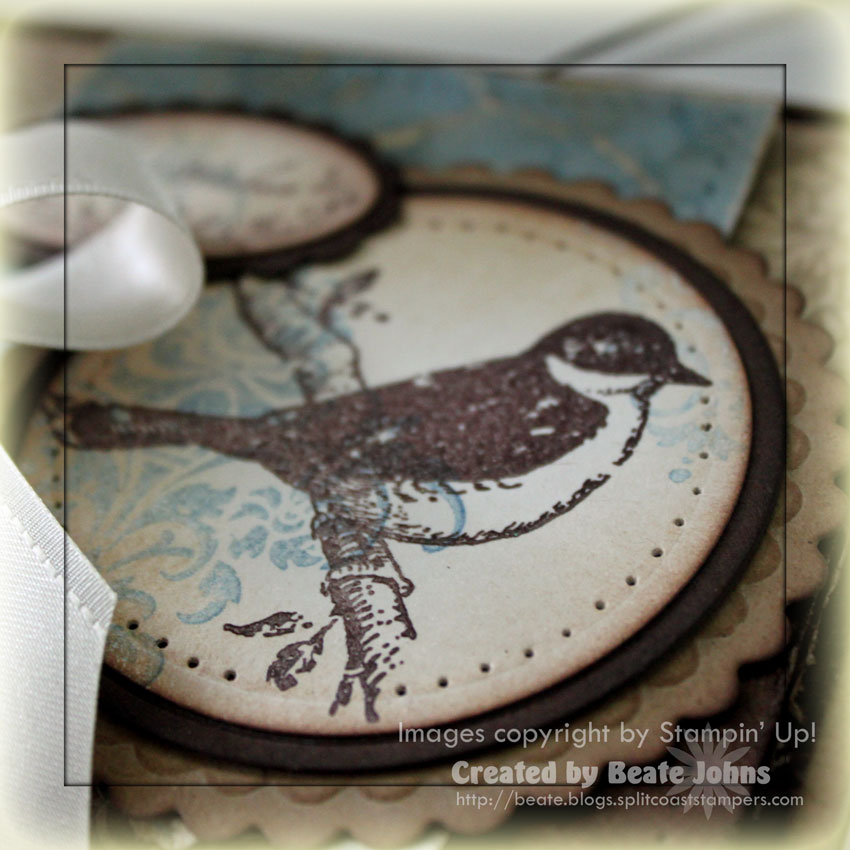
Then I created a little index card with Favorite Things stamp set. The index card stamp was stamped in Chocolate Chip on Sahara Sand cardstock. It was cut out, distressed and layered on a sponged Chocolate Chip layer. The arrow of the index card was stamped again in Chocolate Chip on Always Artichoke, cut out and layered on the index card. Last I stamped the gorgeous stamp from Friends 24-7 on the lower right hand side in Sahara Sand. I thought it would fit well with the Kind Thought Stencil.
I am planning to create one for each family member (minus Austin) and let everyone write down some of the things we love about Austin the most. I think I will add a few pictures (him as a baby, toddler, kindergarten….and so on) into the tin as well. I can’t believe my little chubby baby will be fifteen soon and is 6′ 2″. Crazy!
Have a wonderful Saturday. Hugs and smiles