Julie Buhler wrote today’s great tutorial on SCS. I had to put my own spin on it an use one of the blank Accent & Element tins Stampin’ Up! demonstrators could order a little while go.
My first challenge was to cut the clear envelopes down to fit the tin. The inside of it only measures 5 1/4″ x 4 3/4″. I cut the envelopes down to 4 1/4″. Then cut the top layer down 1″, to create another flap like backing. I taped the envelopes together with snail adhesive.
Next I created the “page holder” by cutting Designer paper from the Ski Slope Designer paper to a 4 1/2″ x 6 1/4″ and scored it at 1″.
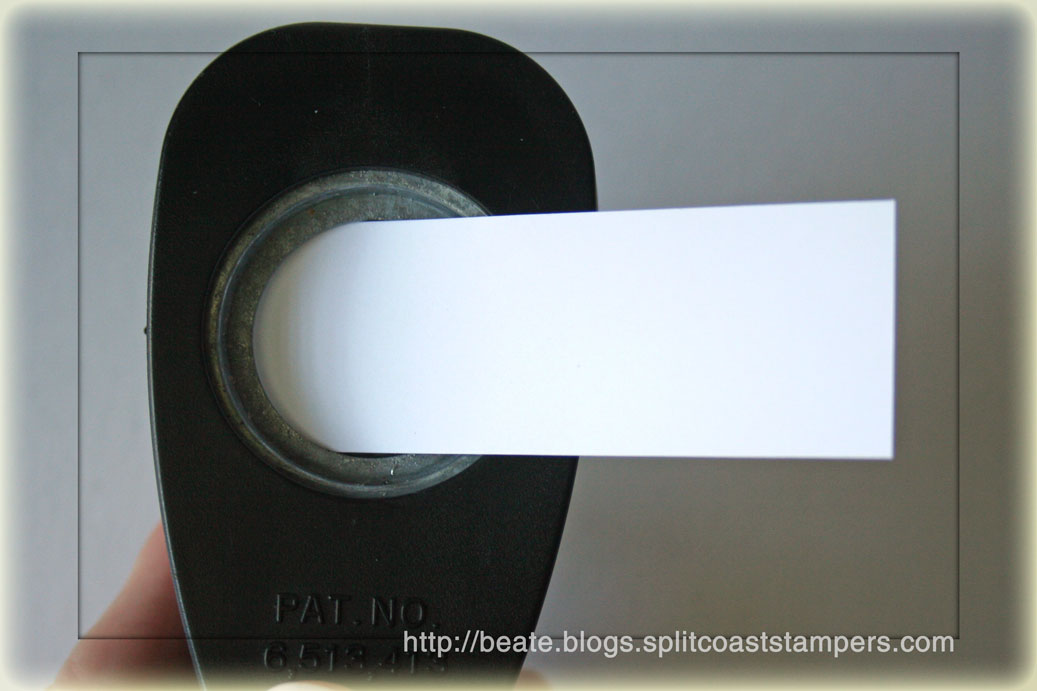
I folded over the flap and used the retired large corner rounder from Stampin’ Up! to round all four corners.
Before adding the jumbo eyelets, I cut a 1″ x 4 1/2″ piece of Whisper White cardstock, punched it with the Scallop Edge Punch and taped it behind my Designer Paper flap. I used Antique Brass Jumbo Eyelets to hold the flaps down and tied Kiwi Kiss Satin Ribbon.
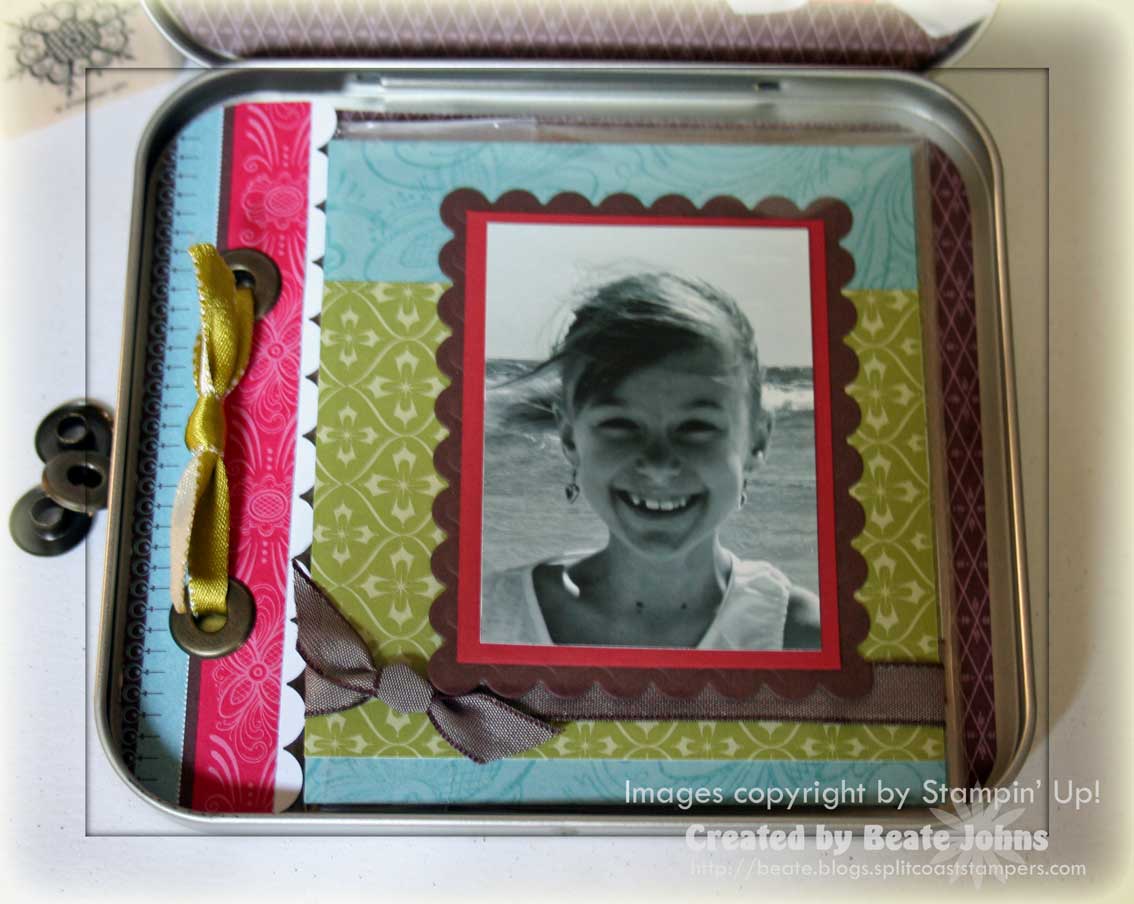
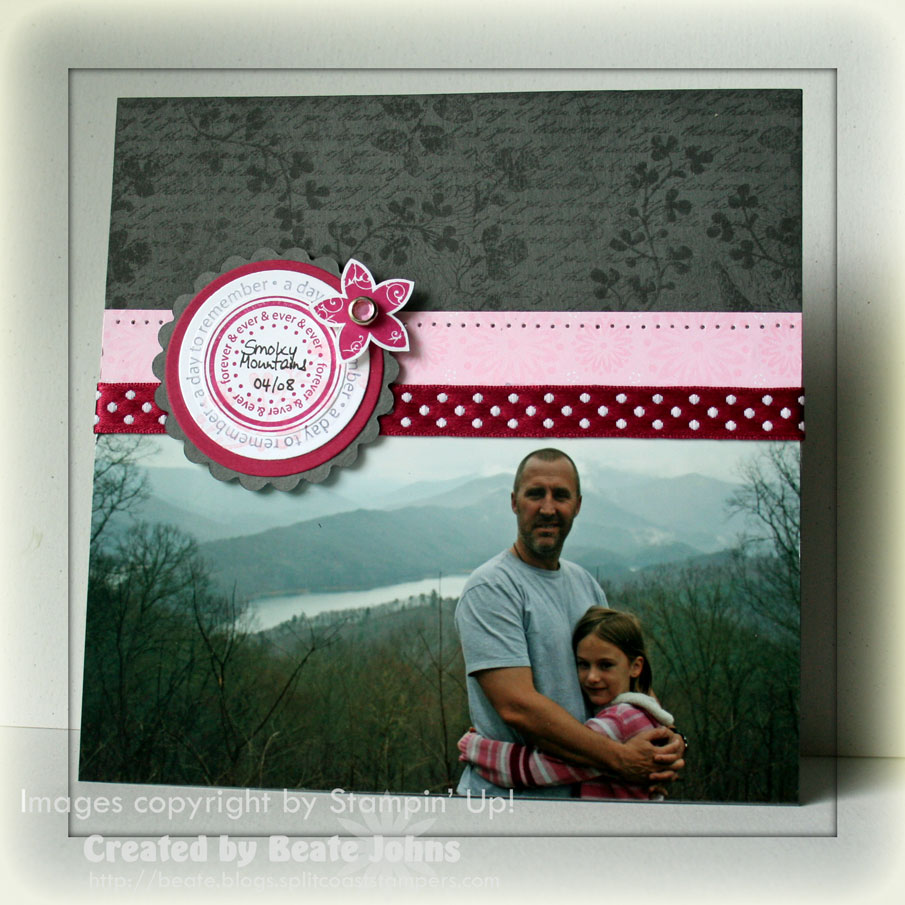
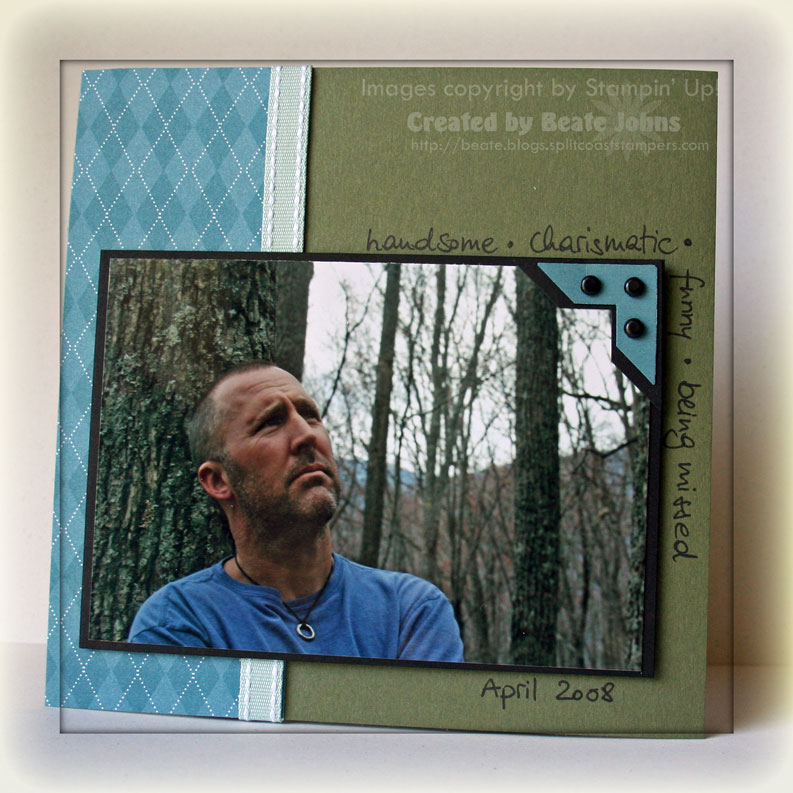
My pages measure 3 3/4″ x 4 1/4″ and are cut from Baja Breeze cardstock. I wheeled the Scandinavian wheel on both sides with Baja Breeze. The horizontal layer of Ski Slope Designer paper measures 3″ x 3 3/4″. Again, it is placed on both sides 1/4″ above the bottom of the page. Chocolate Chip Tafetta Ribbon was tied around the pages. The knot is facing the top of the page.
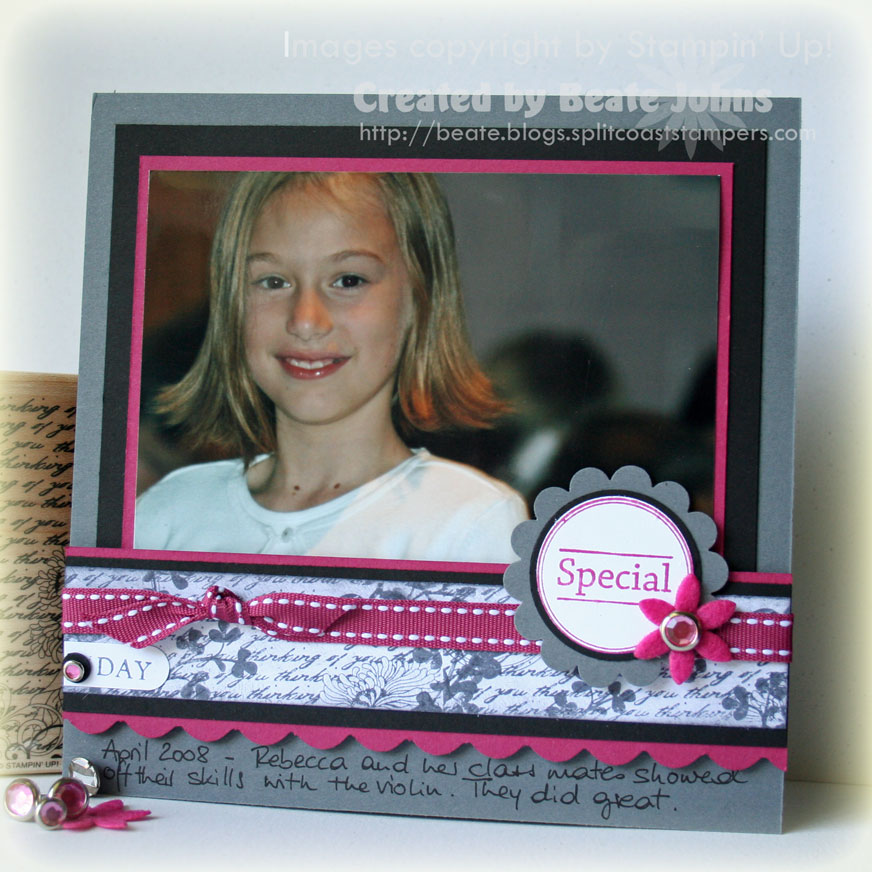
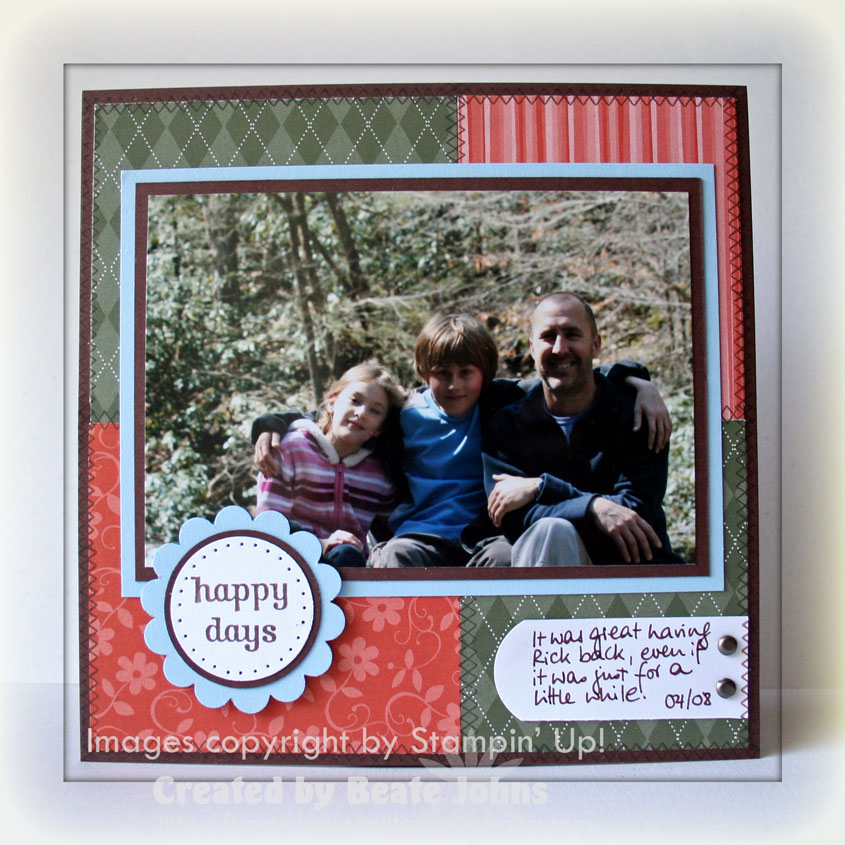
I cut scallop rectangles out of Chocolate Chip cardstock with Rectangle Nestabilities.
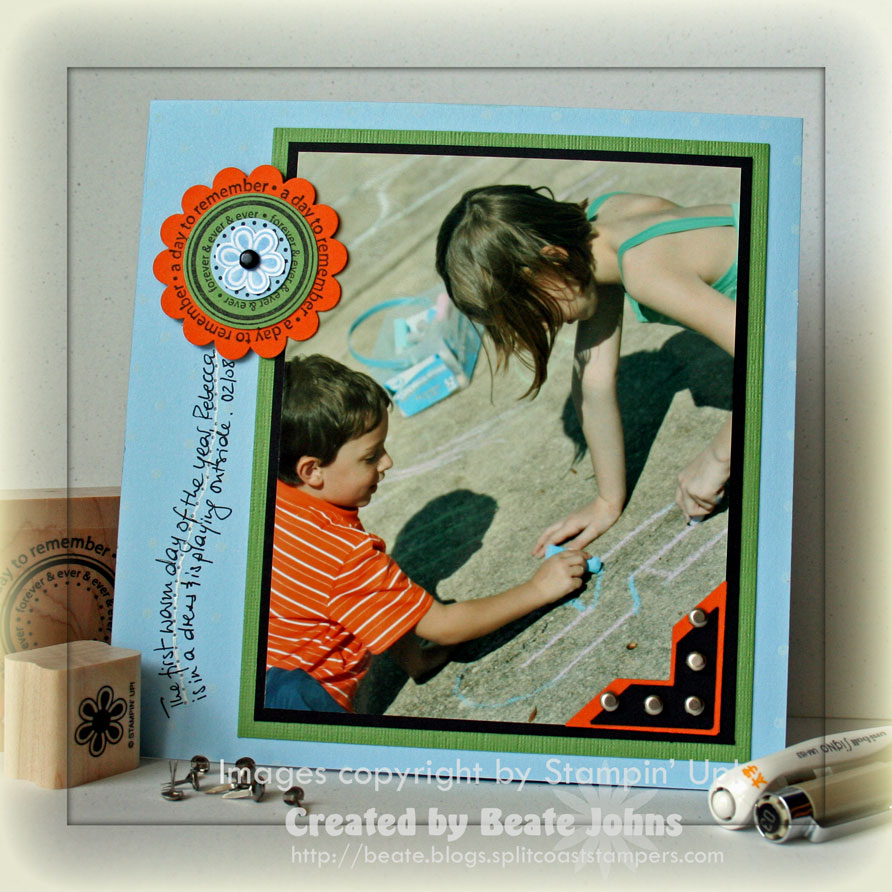
For the front of the page they were layered with 2 1/4″ x 2 7/8″ pieces of Riding Hood Red cardstock.
I will add new wallet size pictures there (as soon as I take them. First we all need serious hair cuts! Appointments are made. The pictures in here right now are old ones to make the pages look finished). These layers are attached vertically to the front.
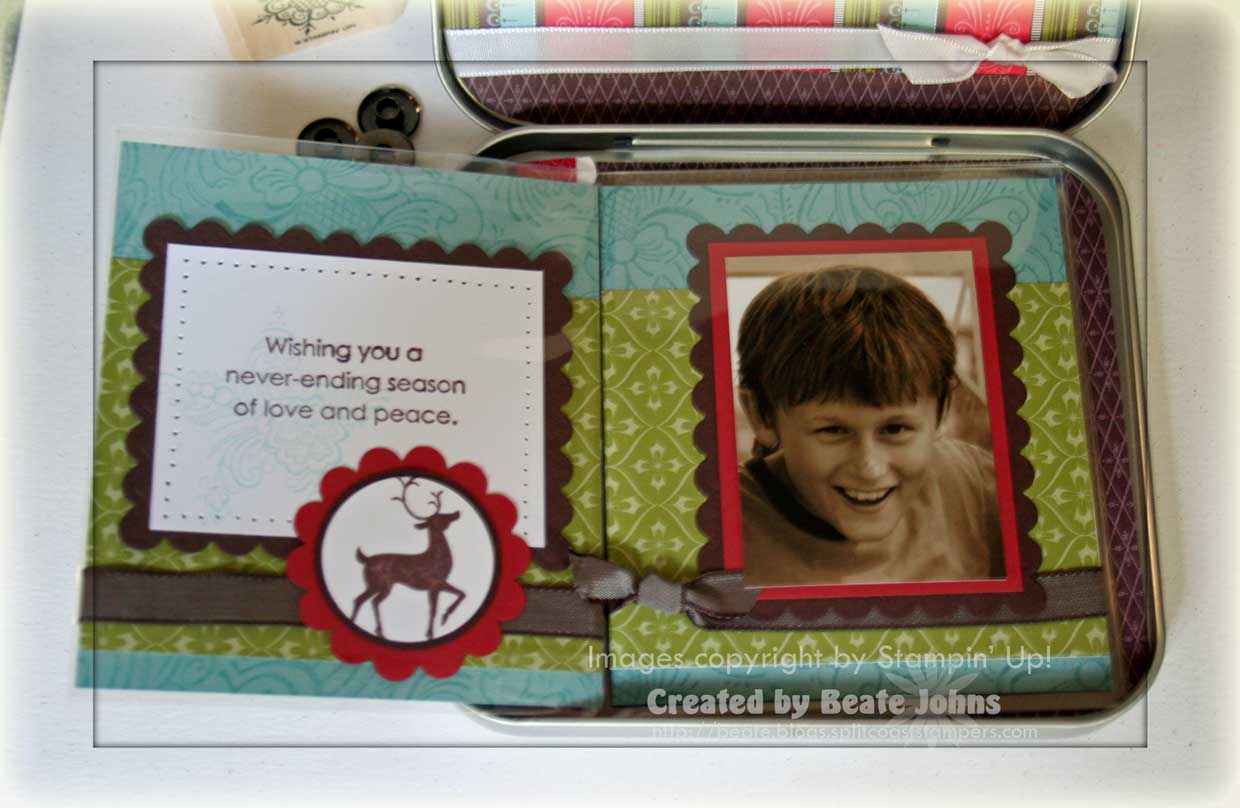
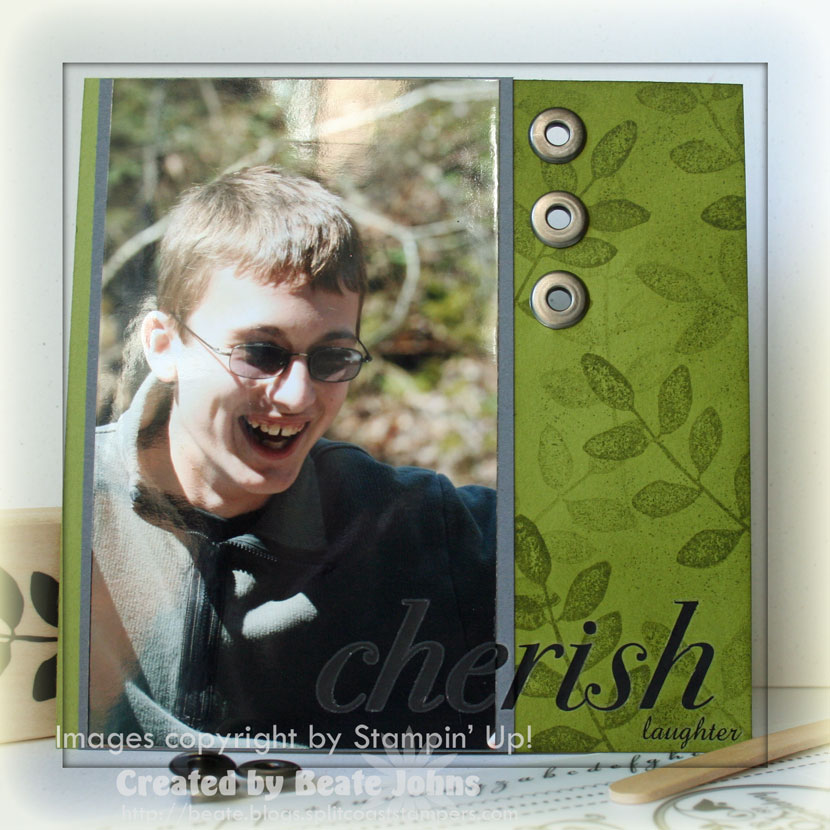
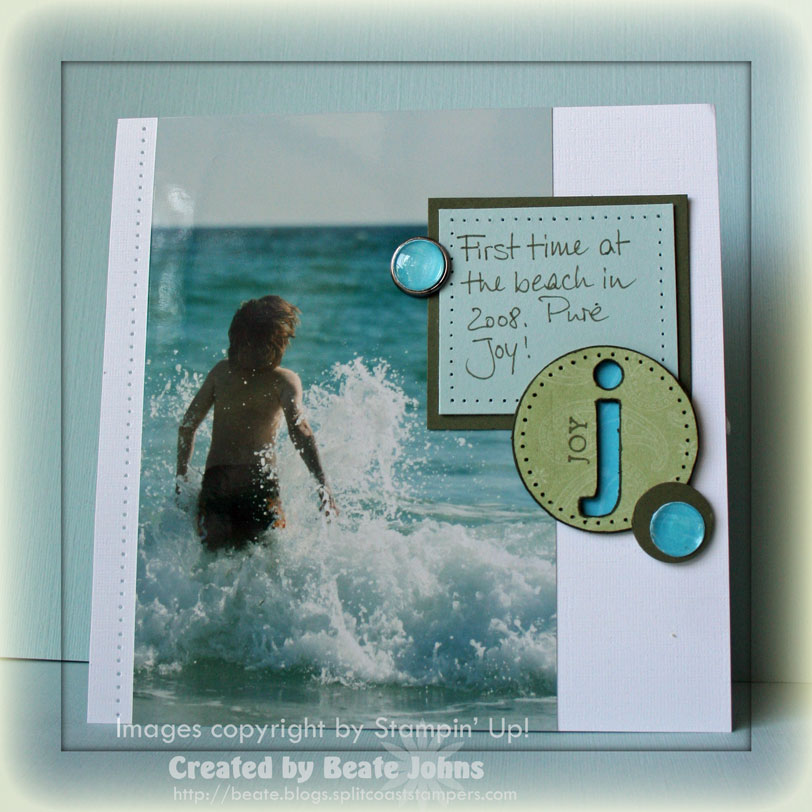
On the back of the page I attached the rectangles horizontally. They hold a 2 1/4″ x 2 7/8″ Whisper White layer that was stamped with one of the stamps from Scandinavian Season in Baja Breeze (stamped off once) and paper pierced.
I will add little embellishments on the bottom right over the ribbon. I have finished one page to make a sample. I will order the new felt snowflakes and might add some of those. The back page will hold little written messages from the kids to their grandparents.
HINT! If you are planning on making on of these tins, you might not want to add ribbon or thick embellishments on the pages. I started out making five pages, but the tin will only close with thee….good thing I have only three kids. LOL
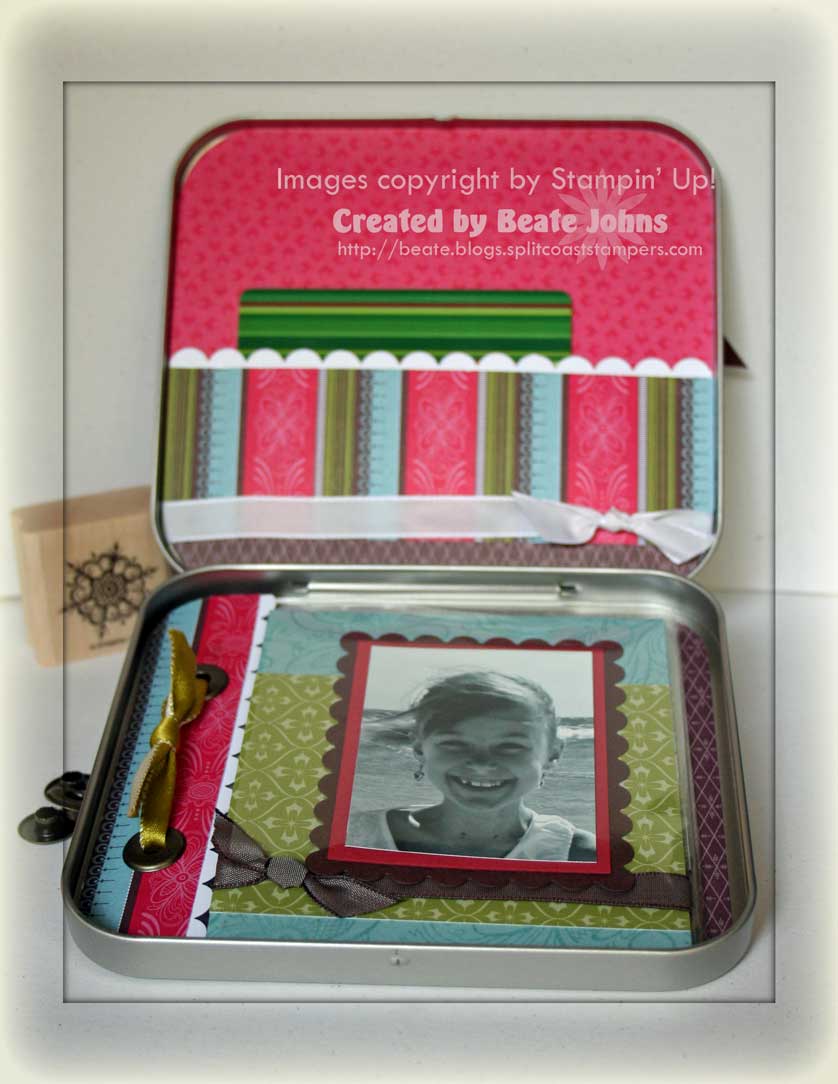
To finish off the inside I cut a Ski Slope designer paper piece down to 4 7/8″ x 5 1/2″ and rounded the corners.
I taped a 1/2″ strip of chocolate Ski Slope designer paper on the bottom and rounded those corners.
Next I cut a 1 3/4″ x 4 7/8″ striped piece of the same designer paper pack, taped a strip of White Whisper cardstock punched with the Scallop Edge punch on top and added Sticky Strip to the bottom and the sides of the strip.
I taped the strip down, lining it up with the chocolate strip to create a pocket. It will hold a gift card to P.F. Changs. (Subway card is only in there to show off the pocket better.) The booklet with my kids pictures and a gift card to the restaurant will be my In-Laws Christmas present. What could be better then pictures of grandchildren and delicous food as a gift?
White Taffeta Ribbon was tied around the designer paper layers and the entire piece was adhered with Sticky Strip to the inside of the lid of the tin.

For the tin front I cut another 4 7/8″ x 5 1/2″ piece of Ski Slope Designer paper, rounded the corners and sanded the edges.
The striped designer paper measures 1 3/4″ x 4 7/8″ and is adhered to a 3/8″ wider piece of Chocolate Chip cardstock.
The bottom of the Chocolate strip was punched with the Scallop Edge Punch (yes, I know I use it a lot. I LOVE it!). 5/8″ wide Chocolate grosgrain ribbon was wrapped around all layers. Everything was taped down with Sticky Strip.
I stamped the label from Winter Post in Chocolate Chip three times; once on Whisper White, once on Kiwi Kiss and once on Ski Slope DP. I cut and layered them into one label, attached it with dimensionals to an wide Oval Punchout out of Whisper White cardstock and taped everything under the ribbon.
Sorry today’s post is so long. Have a wonderful day! I have to go grocery shopping (boooo). Hugs and smiles


