Last Wednesday Splitcoaststampers posted a new product review. This time we reviewed the Perfect Layers tools. Before I stamped I was a quilter. I love exact measurements and math. I love my paper cutter and don’t have any problems figuring out the size of my next layer. But…if you are not like me, this is a pretty nifty tool.


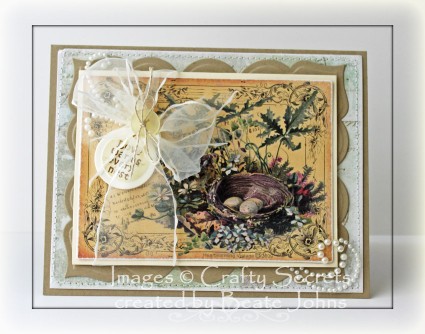
One of my samples was this card. I used to the 1/16″ edge to layer the image from Creative Scraps Birds & Blossoms on a piece of Neenah Classic Cream Cardstock after the edges of the image had been sanded. I used the 3/8″ edge to cut a piece of Prima Natural Garden paper for my layer on the card base.

May Arts ribbon was tied around the image layers. A sentiment from Crafty Secrets Bird Notes was stamped in Rich Cocoa Memento Ink on a piece of Classic Cream cardstock, that had been cut and embossed one of the Home Sweet Home dies. The edges of the tag were sponged with Frayed Burlap Distress ink and a bird from Bird Notes was stamped over the sentiment in a second generation Frayed Burlap ink. The tag was tied around the bow along with a button with Linen Thread.

The layers were adhered to a piece of Kraft cardstock, cut and embossed with the smallest of the Grand Label 23 Nestabilities die.  The edges of the Prima paper were sanded and stitched before the piece was adhered to the card base. The image layers were adhered to the card base. Parts of a Finesse Pearl Swirl finish off the card.

Thanks so much for stopping by! Have a wonderful day!
Hugs and smiles

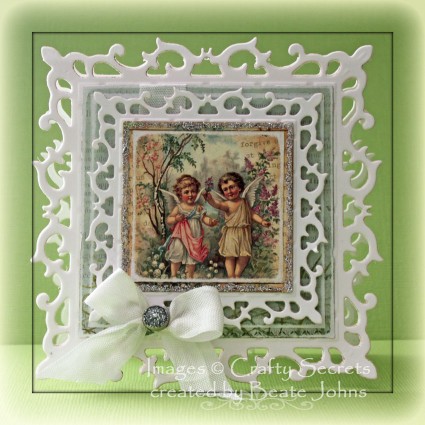
Last week we posted a new Product review on Splitcoaststampers. The team was lucky enough to receive 6 of the 8 available colors of Smooch Glitz. It is glitter mixed with clear Smooch ink that comes in darling little nail polish bottles. The applicator is a brush inside the lid. I wasn’t sure if I would like it, but let me tell you, I do.

You have seen several samples I made with the product last week already. For this sample I cut down an image from Creative Scraps Little Blessings with one of the Classic Square Nestabilities. The edges were sanded and Starlight Smooch Glitz was added around the edges. The square was adhered to a piece of Neenah Solar White cardstock, cut and embossed with a Fleur De Lis Square Nestabilities die.

A piece of MME Lost and Found Market Street Patterned paper was cut and embossed with a Classic Square Nestabilities die. The edges were sanded, seam binding was tied around it and topped with a Recollections (Michaels) glitter brad.  The image layers were adhered over the layer with dimensionals.

I card base was cut and embossed out of the largest Fleur De  Lis Square die. A single piece of white cardstock was cut with the same die and adhered over the card base and the layers were adhered on top of that.

Here is a video about the Product:

[youtube]https://www.youtube.com/watch?v=sg6U4AyYuU0[/youtube]

Thanks so much for stopping by! Have a wonderful day!
Hugs and smiles

This weeks “From the Archives” Tutorial in the Weekly Inkling was the Tunnel Card. I used to love these cards and I haven’t made one of them in years.

For my sample I started by creating the card front. The mannequin image of Crafty Secrets Sew Special was stamped in Rich Cocoa Memento Ink on Neenah Solar White cardstock. It was colored with Copic Markers (Corset: R00, R11, R12, R14 Body: E50, E51, E53 Stand: E21, E23, E25, E27) and cut out. Clear Spica Pen was added over the lacy part of the corset.

A piece of white cardstock was cut and embossed with a Beaded Circle Nestabilities die. A sentiment from Sew Special was stamped in it’s center with Rich Cocoa ink and the panel was sponged with Antique Linen Distress ink. Images from the same set were stamped in it’s center with Antique Linen to give it some texture. The inner edge of the circle was paper pierced.
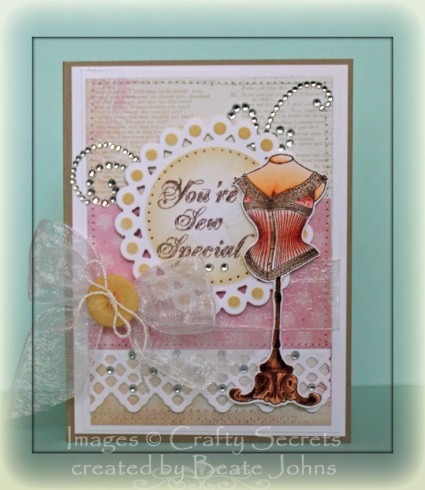
A 3 1/2″ wide strip of white cardstock was cut and embossed with a Lace Doily Accent Die. It was adhered under a 2 1/4″ x 3 1/2″ piece of MME Lost & Found Madison Street Patterned Paper which was in turn adhered to a 3 1/2″ x 5″ piece of the same paper pack. The layers were stitched to a slightly bigger piece of white cardstock.

White organdy Ribbon was tied around the horizontal layer and a yellow button was tied on top of the bow with embroidery floss. The sentiment panel was adhered over the panels with dimensionals and the mannequin was adhered slightly over it that. Baby Bling Rhinestones and a Finess Swirl finish off the card front layers. They were adhered to the card front,  a 8 1/4″ x 5 1/2″ piece of Kraft cardstock folded in half.
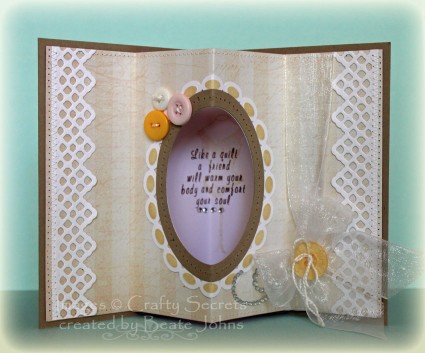
The inside of the card was created out of a 5 1/4″ x 8″ piece of MME Lost & Found Madison Street paper. It was scored at 2″, 4″, 6″ and 8″. A window was cut in it’s center with a Classic Oval Nestabilities die. A frame was cut with Beaded and Classic Oval Nestabilities dies out of Neenah Solar White cardstock and sponged with Antique Linen Distress ink. It was topped with a slim frame cut out Kraft cardstock. The Kraft frame was paper pierced before it was adhered around the window.

The top and bottom edge of the layer was stitched before two pieces of white cardstock, cut and embossed with the Lace Doily Accent die, were zig zag stitched to the side edges. Three buttons were stitched to the upper left of the frame. Before the inner layer was adhered, a sentiment was stamped in the center of a piece of  5″ x 7 3/4″ white cardstock in  Rich Cocoa Memento Ink. The mannequin image was stamped lightly over it in Antique linen. The white cardstock piece was adhered to the inside of the card, before the inner, scored layer was adhered just to the side edges of the card.

White organdy ribbon was tied on the left hand side and topped with a yellow button. I get a lot of questions on how to mail my cards. Usually I just send them in a slightly bigger envelope. This one is quite bulky because of the inside of the card. I will either mail this card unfolded in a 6″ x 9″ envelope with crimped cardstock pieces on top and bottom of the card, or in a small box along with a gift.

Here is a video for the visual learner:

[youtube]https://www.youtube.com/watch?v=V8w9waiPUKw[/youtube]

Thanks so much for stopping by! Have a wonderful day.
Hugs and smiles

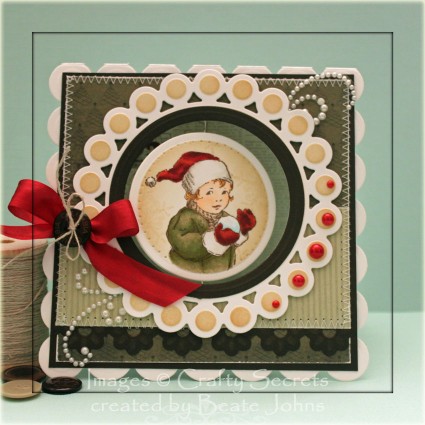
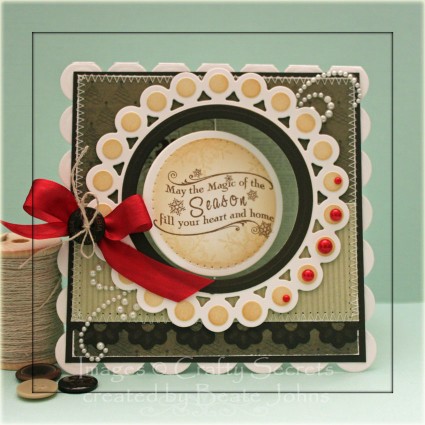
I created this card as a sample for the video tutorial for the Suspension card as well as another HYCCT challenge. Wanda is the hostess of that challenge and she challenged us to have a hanging element on your project. I thought it was the perfect occasion to create a suspension card.

I cut and embossed two circles out of Neenah Solar White cardstock. On one I stamped an image from Crafty Secrets Winter Wishes in Rich Cocoa Memento Ink, on the other a sentiment from the same set. The image was colored with Copic Markers (Hat/Gloves: R05, R24, R29, R39 Coat: YG91, YG93, YG95 Skin: E0000, E00 Hair; Y23, E33) before it was masked and the circle was sponged with Antique Linen and Vintage Photo Distress ink. A snowflake image of that set was stamped over the circle with Antique Linen.

I created a frame for my window on the card front with a Beaded Circle Nestabilities die as well as a Classic Circle die out of Neenah Solar White cardstock. The frame was sponged lightly with Vintage Photo distress ink before a slim circle frame cut with Classic Circle dies out of Canyon Brown cardstock was added over the frame.

A strip of Canyon Brown cardstock was cut and embossed with a Floral Doily Accent die. It was adhered under a 1 7/8″ x 4  1/2″ piece of MME Lost & Found Christmas paper that was adhered to a 4 1/2″ square of the same paper pack. The layers were stitched to a 3/16″ bigger piece of Canyon Brown paper. A window was cut into the layers with a Classic Nestabilities die. It didn’t quite cut through the three layers and I used a Hobby Knife to finish the cut. A pearl swirl was cut in pieces. Part of it was adhered to the top right, part to the lower left of the window.

The card base was cut with one of the Grand Scallop Square Nestabilities dies out of white cardstock. Again a window was cut in the center with the same circle die used to cut the window in the other layers. The card front was adhered to the card base.

Here is a video for the visual learner:

[youtube]https://www.youtube.com/watch?v=i1geoRxwtEQ[/youtube]

Thanks so much for stopping by! Have a wonderful day.
Hugs and smiles
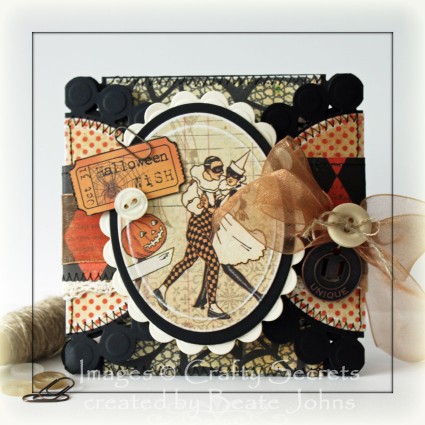
I got the idea for this weeks tutorial from Ellen Hutson. She posted a similar one several years ago. I thought it was a great card idea and wanted to share it with all of you and have it in the SCS resource section. You use 4 circle die cuts to create a Petal Card.

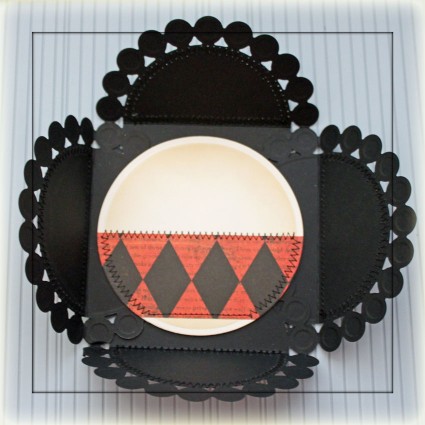
For my sample I cut and embossed the four circles out of black cardstock with the largest of the Beaded Circle Nestabilities dies. 2 circles were cut and embossed with a smaller Classic Circle Nestabilities die out of Glowing Authentique Patterned Paper. The patterned paper circles were cut in half and sanded before one half was stitched to each of the four Beaded circles. The circles were scored in half and adhered with glue dots.

A piece of Crochet Lace was stitched to a 2″ x 10″ strip of Authentique Paper before it was adhered around the card as a belly band. Gold Organdy Ribbon was tied around the band. A Muse Token was tied around the bow with Linen Thread and topped with a button.

An image from Crafty Secrets Halloween Creative Scraps was cut with a Classic Oval Nestabilities die. The edge of the image was sanded before it was first adhered to a slightly bigger black cardstock oval, then to a Scallop Oval layer cut and embossed out of Classic Cream Neenah cardstock. A sentiment ticket from the  same Creative Scraps was cut out and attached to the image layer with a Mini Paper Clips. A small button was stitched underneath the sentiment.

For the inside of the card I cut and embossed another piece of Classic Cream cardstock with a Classic Circle Nestabilities die. A strip of Authentique paper was stitched to the layer after the edges had been sponged with Antique Linen Distress ink.

Here is a video for the visual learner:

Thanks so much for stopping by! Have a wonderful day!
Hugs and smiles

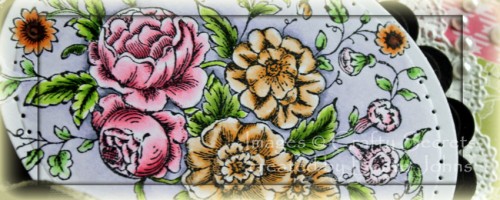
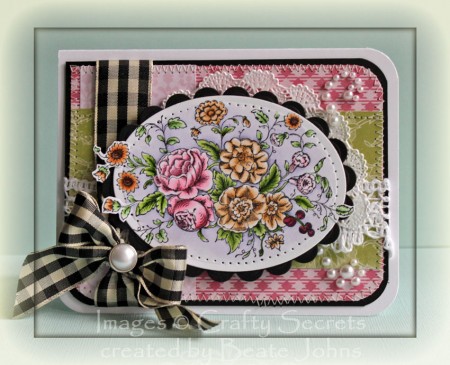
I created this card for a color challenge back in February while cyber stamping in with Jenn one night. I started out with a stamp from Crafty Secrets Floral Art. It was stamped in Tuxedo Black Memento Ink on Neenah Solar White cardstock, cut and embossed with a Classic Oval Nestabilities die and colored with Copic Markers (Flowers: RV10, 13, 14, YR12, Yr15, E33, E25, RV000, RV10, Berries: RV19, RV69, Leaves: YG11, YG13 + YG01, YG03, YG17, Background: BBV0000, BV31, BV23).  It was layered on a piece of black cardstock, cut and embossed with Classic Scallop Oval Nestabilities die and the edges of the image of the image were paper pierced.

A 2″ x  3 3/4″ piece of light pink Echo Park Springtime paper was adhered vertically  to a 3 3/4″ x 5″ piece of pink paper from the same collection. A 2″ x 5″ green piece of the Springtime paper was adhered horizontally over both layers.  All corners but the top left were rounded before the layers were stitched to a 3/16″ bigger piece of black cardstock, after Melissa Frances White Lace was taped over the horizontal layer.. The matching corners were rounded as well.

May Arts Gingham ribbon was tied around the vertical layer and topped with a Pearl Recollection Brad. Before the image was adhered to the layers with dimensionals, half of a doily was adhered under it.

All layers were adhered to the card base, a 5 1/2″ x 8 1/2″ piece of Solar White cardstock folded in half. Again three of the four corners were rounded. Snow Kaisercraft Pearls finish off the card.

Thanks so much for stopping by! Have a wonderful time.
Hugs and smiles

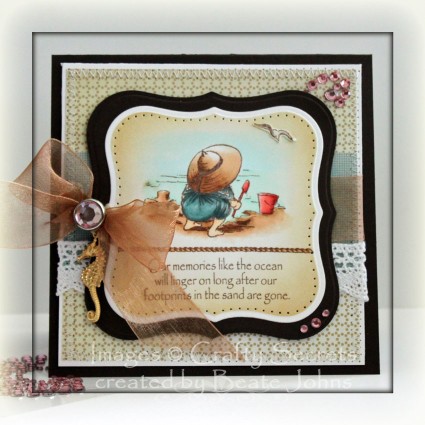
Here is another card I created during the February VSN on Splitcoast. The challenge was to create a card picturing your dream. That was easy for me. I LOVE summer time and I LOVE the beach. So here is my take on that challenge.

I had the gorgeous Seaside set from Crafty Secrets at home for a while, but hadn’t inked it up yet. It was perfect for my challenge card. I stamped the image with Rich Cocoa Memento Ink on Neenah Solar White cardstock. The rope as well as a sentiment from that set were stamped underneath the image. It was cut and embossed with Label 1 Nestabilities and colored with Copic Markers (Dress: BG72, BG75, Hat and Sand: B30, B31, B33, Ocean: G0000, G000, Sky: B0000, Bucket: R21, R22, Skin: E50, E51). The edges of the label were sponged first with Antique Linen, then with Vintage Photo Distress ink.  The image was layered on a piece of Canyon Brown cardstock, cut and embossed with the next size die and the edges were paper pierced.

A 2″ x 4 1/2″ piece of Fruehlingserwachen Patterned Paper was adhered to a 4 1/2″ square of the same paper pack. White lace (bought at JoAnn’s) was layered over the bottom of the horizontal layer and everything was stitched to a 3/16″ bigger piece of Solar White cardstock. Gold May Arts Organdy ribbon was tied above the lace. A sea horse charm was tied to the bow before the bow was topped with a Recollections brad.

The layers were adhered to the card base, a 5″ x 10″ piece of Canyon Brown cardstock folded in half. Soft Pink Kaisercraft Rhinestones finish off the card. I cased this card later to create a similar one as my sample for the Triangle Trifold Card Video tutorial. I liked how the image came out that much.

Thanks so much for stopping by! Have  wonderful day!
Hugs and smiles

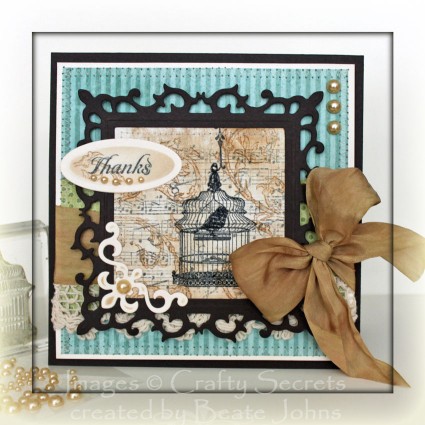
I created this card for the video tutorial for Faux Linen. I had just received the Crafty Secrets Birds at Home set and was itching to try it out.

I started out with a piece of Glossy Cardstock and stamped the notes from Artsy Banners in Jet Black Archival ink. After the ink dried, the cardstock was sanded and sponged with Vintage Photo Distress ink. The swirl from Birds at Home was stamped in Vintage Photo ink. After everything dried, the cardstock was sanded again.

The bird cage, bird and hanging rod were stamped in Jet Black Archival ink and embossed with clear embossing powder.

A frame was cut out of Canyon Brown cardstock with Fleur De Lis Squares and Classic Square Nestabilities dies and adhered over my Faux Linen piece.

A piece of Natural White Neenah cardstock was cut with a Fleur De Lis Accent die as well as with the smallest of the Petite Oval Nestabilities dies. The dies were left on and both pieces were lightly sponged with Vintage Photo distress ink. The oval was also stamped with the swirl from the bird set in second generation Vintage Photo distress ink as well as the sentiment in Jet Black Archival ink. The oval was adhered to the frame to the upper left hand side of the frame.

A 2 1/4″ x 4 3/4″ piece of Graphic 45 Once Upon a Springtime paper was adhered to a 4 3/4″ square of the same paper pack. Beige lace from Melissa Frances Beige Ribbon Collection was adhered under the horizontal strip before the layers were stitched to a 3/16″ bigger piece of Natural White cardstock.

Ivory Silk Ribbon was dyed with Vintage Photo Re-Inker  and tied around the horizontal layer.  The layers were adhered to the card base, a 5 1/4″ x 10 1/2″ piece of Canyon Brown cardstock folded in half. Latte Kaisercraft pearls finish off the card.

Here is a video for the visual learner:

[youtube]https://www.youtube.com/watch?v=ojCUUGxsLI8[/youtube]

Thanks so much for stopping by! Have a wonderful day!
Hugs and smiles

We are back home in Ohio. Ohio greeted us with a horrible rain storm and of course….gray skies. It was WONDERFUL to lay at the white beach at Destin, staring at turquoise water and blue skies. I miss living there a lot! Hopefully Oklahoma City will be nicer to us then the Ohio weather is. I miss seeing blue skies every day. Two more month…

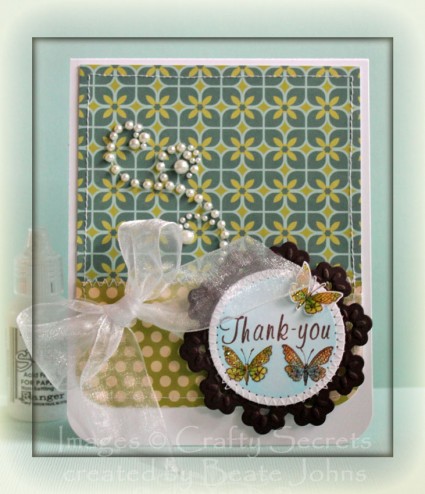
I created a card this morning for yesterday’s Clean and Simple Rule of Third challenge as well as today’s Color challenge Certainly Bashful Breezes.

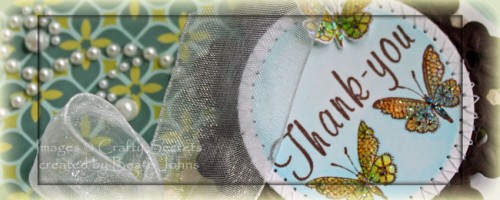
I started by stamping the thank you sentiment and double butterfly image from Crafty Secrets Sew Special in Rich Cocoa Memento ink on Neenah Solar White cardstock, that had been cut and embossed with a Classic Circle Nestabilities die. The image was colored with Copic Markers (Butterflies: YR21, 1/5th YR31, YG21, YG23, 2/3rd BG72, BG72, BG75    Background: B0000, B000). The layer was stitched on a piece of Canyon Brown cardstock, cut and embossed with one of the new Floral Motif Spellbinders dies.


The card base is a 4 1/4″ x 11″ piece of Solar White cardstock folded in half. The bottom corners were rounded with my Corner Chomper.

A 1 3/4″ x 4″ piece of Early Bird Cosmo Cricket Paper strip was stitched to a 4″ square of the same paper pack. The bottom corners were rounded and May Arts Organdy ribbon was tied around the strip before the layers were adhered to the card base.

The image layer was adhered to the card with dimensionals. Stardust Stickles over the the butterflies and a Recollections Pearl swirl finish off the card.

Thanks so much for stopping by! Have a wonderful day!
Hugs and smiles

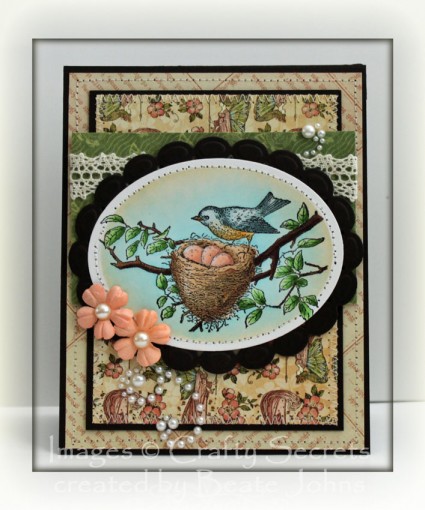
Yesterday’s Sweet Stop Sketch was an easy one. A few layers and an oval, I can do that! I still had the Love You Mother set out from creating the Stamping with Bleach sample I posted earlier this week. So I decided to use this gorgeous bird nest image in my oval.

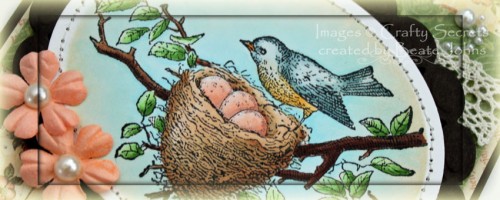
The image was stamped in Tuxedo Black Memento Ink on Solar White cardstock, cut with Classic Oval Nestabilities and colored with Copic Markers (Bird: BG70, 1/3rd BG72 – 2/3 Blending Solution, BG72, 1/5th YR31, YR31   Nest: E30, E31, E33   Branch: E23, E25, E27, E29   Eggs: R01, R11, R12   Leaves: YG11, YG13, YG17   Sky: B0000, B000). The image was sponged first with Antique Linen, then Vintage Photo Distress ink and then stitched to a piece of Canyon Brown cardstock, cut and embossed with a Beaded Oval Nestabilities die.

A 3 1/2″ x 4 3/4″ piece of Once Upon a Springtime Graphic 45 was stitched to a 3/16″ bigger piece of Canyon Brown cardstock. A 2 1/2 x 4 1/8″ green piece of paper from the same paper stack was adhered on the upper half of the layer after May Arts beige crochet ribbon was adhered to it.

The image was adhered over the layers with dimensionals. A recollection pearl swirl was cut apart and adhered to the lower right and upper left hand corner. Two Prima Flowers were adhered to the lower left edge of the oval and topped with a Kaisercraft Pearl.

A 4 1/4″ x 5 1/2″ piece of Once Upon a Springtime paper was stitched to the card base, a 4 7/16″ x 11 3/8″ piece of Canyon Brown cardstock, folded in half.

Thank you so much for stopping by! Have a wonderful Easter Sunday! Think of us…we are on the road home today. 12 hours in the car. But it was so worth it. Laying on the beach in Destin reading is one of my favorite things to do. That fine white sand, the gorgeous water and the blue, blue sky….I am having a hard time going back to Ohio.
Hugs and smiles

© 2012 fresh & fun Suffusion theme by Sayontan Sinha