
Today’s tutorial on Splitcoast is written by the wonderful Joanne Basile and it’s for a Paper bag book. I didn’t have time before leaving on vacation to make one, but I hope you check it out. I hope to make one when I get back from Florida with new beach pictures! 🙂
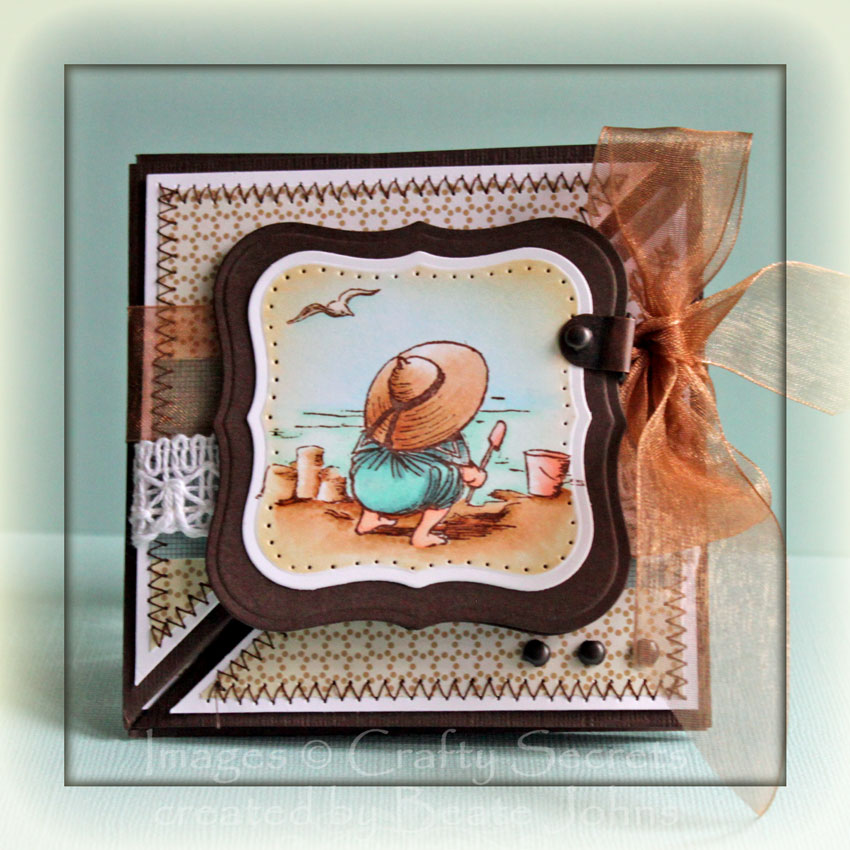
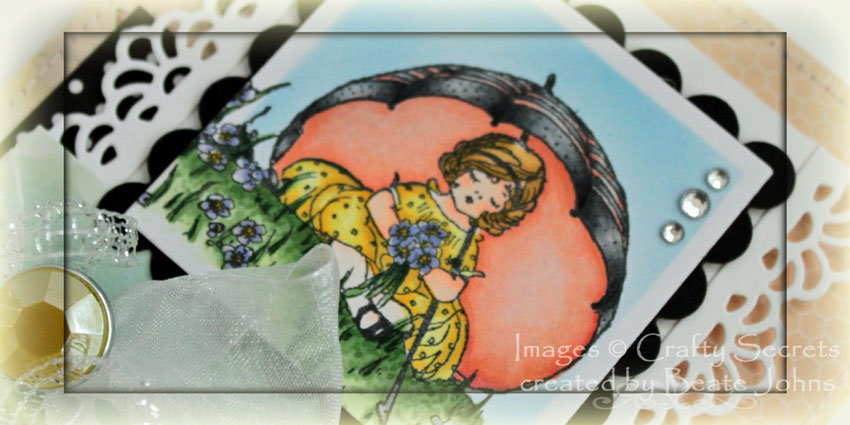
For the “From the Archives” section I decided to shoot the video for the Stamping with Bleach tutorial. I had just gotten the new Crafty Secrets Love You Mother stamp set in the mail. I love this set and decided to use the Mother/child image for the technique.
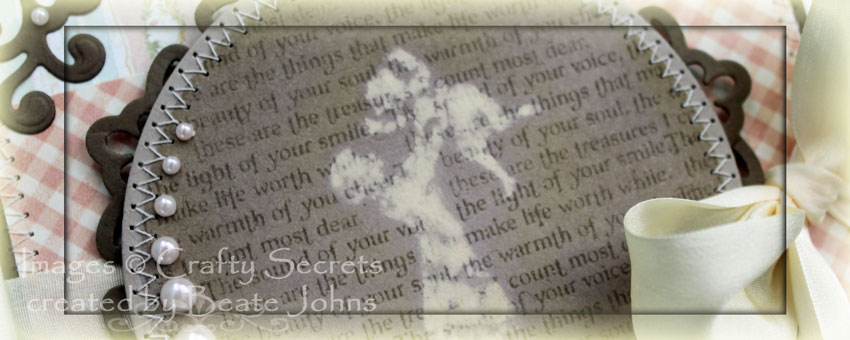
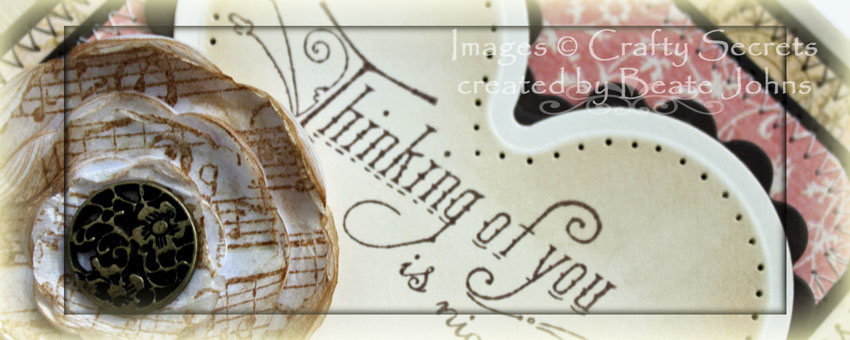
I started by cutting a piece of Kraft cardstock with Classic Circle Nestabilities dies. The background stamp was stamped in Frayed Burlap Distress ink all over the Circle, while the die was still on the cardstock. Next the circle was sponged with the same ink. The mother/child image was inked with bleach and stamped in the center of the circle. I cleaned the stamp right away after stamping with bleach. I was wondering if I could use clear stamps for this technique and was a little worried about using this darling image. But it worked out great.
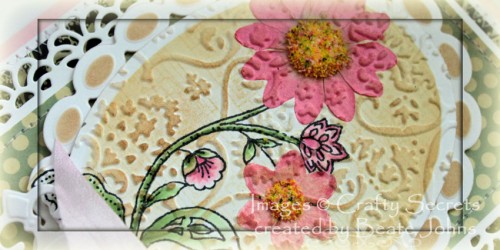
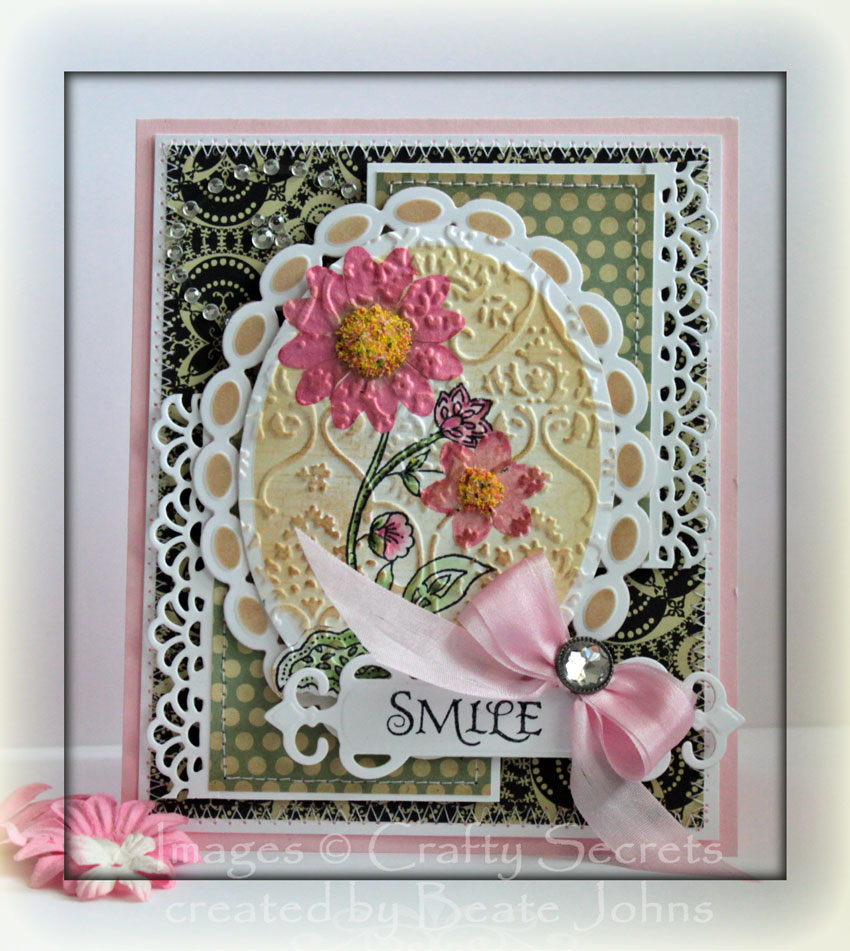
The circle was stitched to a piece of Canyon Brown cardstock, cut and embossed with the new Spellbinders Parisian Motifs die. Blush Kaisercraft Pearls were were adhered to the left and right to Recollection flowers.
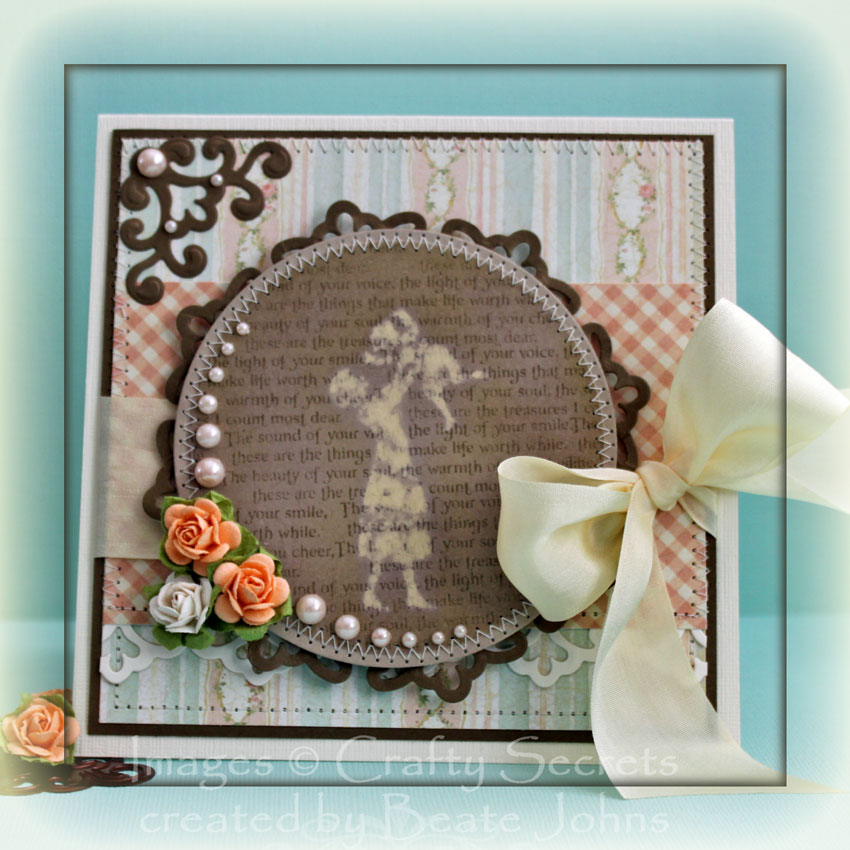
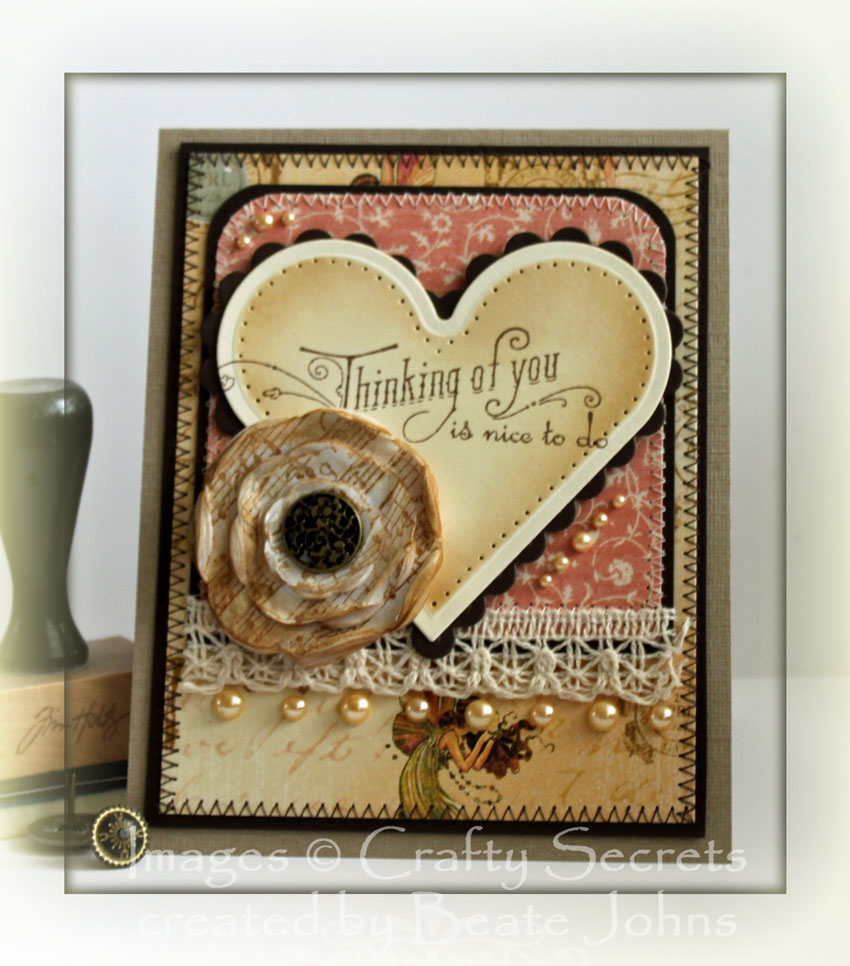
a 4 3/4″ piece of Vanilla cardstock was cut and embossed with one of the Parisian Accent dies and adhered under a 2 3/4″ x 4 3/4″ piece of Once Upon a Springtime Graphic 45 paper. The layers were adhered to a 4 3/4″ square out of the Baby 2 Bride Graphic 45 collection. The layers were stitched to a 3/16″ bigger piece of Canyon Brown cardstock.
Another piece of Brown cardstock was cut and embossed with the corner die from Parisian Accents and adhered to the upper right cover. May Arts Silk ribbon was tied around the horizontal layer before the layers were adhered to a card base, a 5 1/4″ x 10 1/2″ piece of Textured Vanilla cardstock.
The image layers were adhered to the card base with dimensionals and a few more Blush Kaisercraft pearls were added to the corner die cut to finish off the card.
Here is a video for the visual learner:
[youtube]https://www.youtube.com/watch?v=X6mCkdfamUw[/youtube]
Thanks so much for stopping by! Have a wonderful day!
Hugs and smiles


