Hello and welcome to Day 3 of Whimsy Stamps January Rubber & Die Release Showcase!
On Wednesday (23 January) Whimsy Stamps released this month’s new rubber designs, Shapeology dies, Whimsy Designer Paper packs, Shape EZ templates and *new* Whimsy Prints pre-colored toppers. From then until 29 January the Whimsy Stamps DT and Special Guests are showcasing these fabulous new goodies with a daily mini blog hop and I am part of today’s hop!
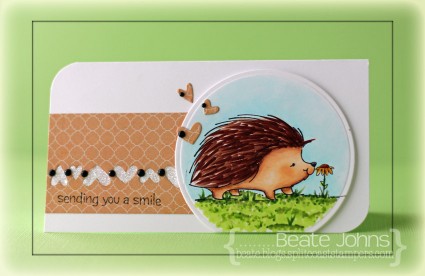
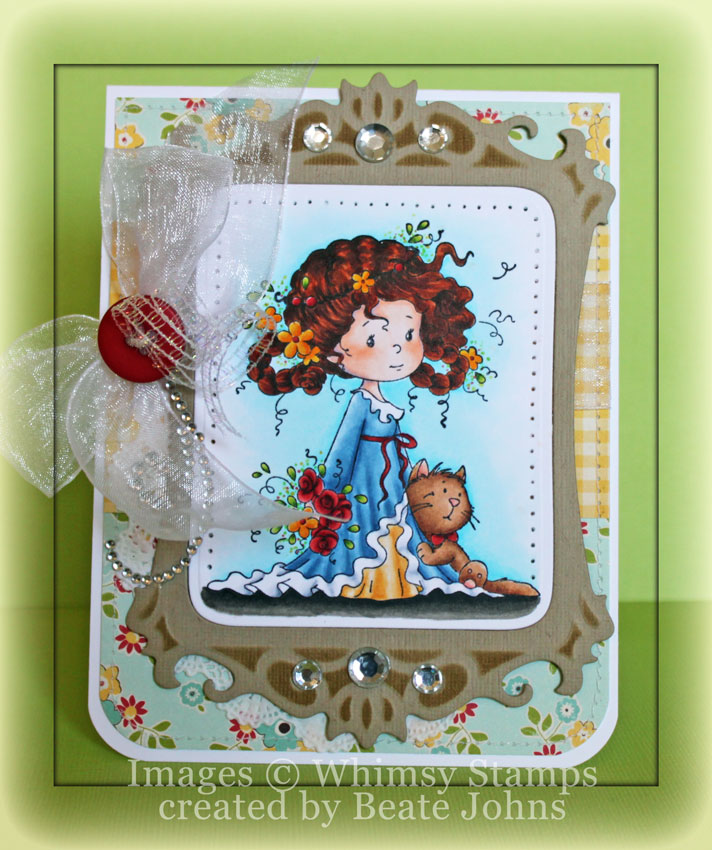
For my card I stamped an image from the darling Furry Friendship inTuxedo Black Memento Ink on Neenah Solar White cardstock. The image was cut and embossed with a Standard Circle Nestabilities die. The bottom was cut straight and the image was colored with Copic Markers (Hedgehog: E50, E21, E33, E25, E18, E29 Ground: YG01, YG03, YG17, W1, W3, E30 Flower: Y13, Y15, Y17, E18 Sky: B0000, B000, B00).
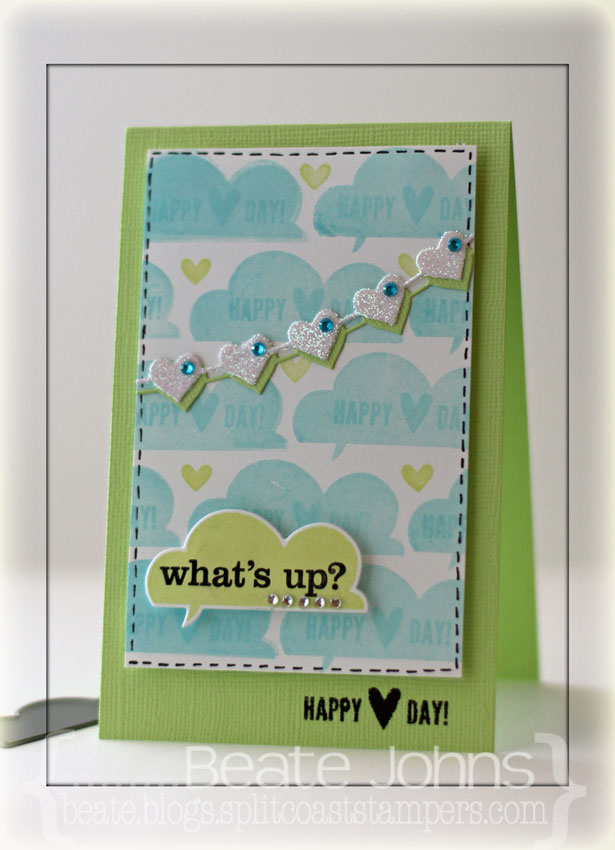
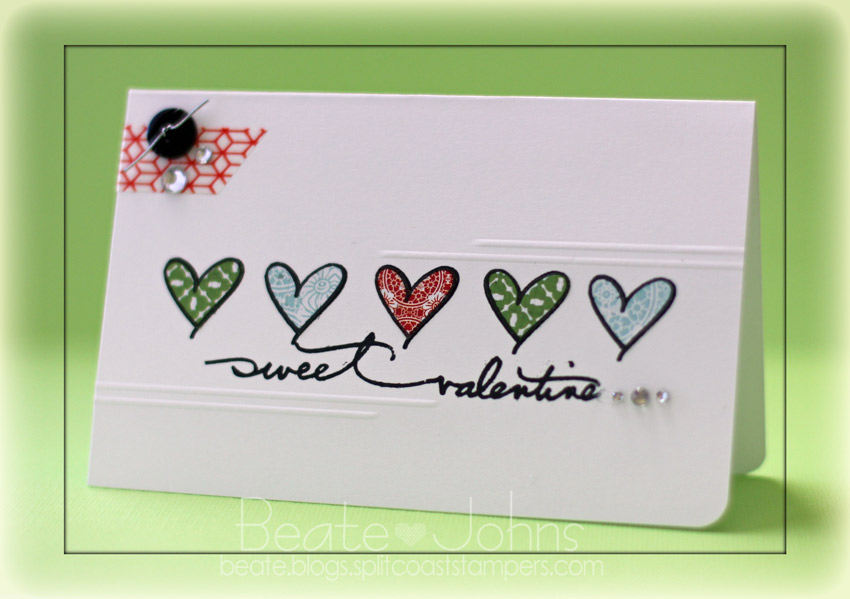
Hearts from Mini Hearts Simon Says Craft die were cut into a 1 3/4″ wide strip of My Mind’s Eye Six by Six A Mother’s Love paper. The strip was adhered on the lower left of the card base, a 5 1/2″ x 6″ piece of Solar White cardstock folded in half. The hearts were filled with Glossy Accents and topped with Glitter before the image circle was lined up with the bottom of the card and adhered to the lower right hand side with foam adhesive squares. Black Baby Bling Rhinestones were added between each heart. Three of the hearts that were cut out the strip were added as accent to the card.
Each mini blog hop has a new release prize hidden somewhere along the way and you have 24hrs to enter each prize draw.
To be entered into today’s mini blog hop prize draw, be sure to leave a comment on ALL of the DT’s posts listed below by 12.00PM EST tomorrow. All winners will be announced on the Whimsy blog on 30 January.
To take a peek at today’s fabulous new release creations, please click on the links below…
Remember that the entire new release is available to buy right now from the Whimsy Stamps store along with all your Whimsy favorites.
If you would like to join us as our
Guest Designer for our March 2013 release please go to our
Guest Designer Contest page to read all about how to enter. Entries close at 12.00pm (EST) on Wednesday 30 January 2013.
Thanks so much for stopping by! Have a wonderful day!
Hugs and smiles


