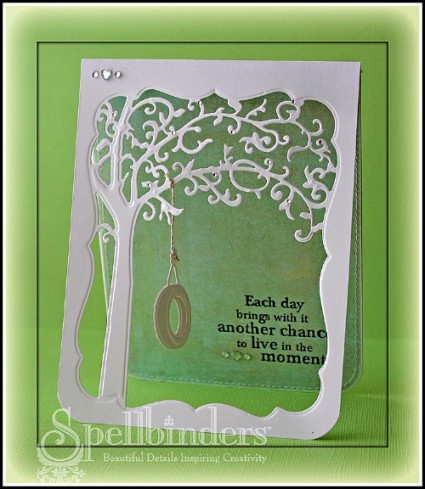
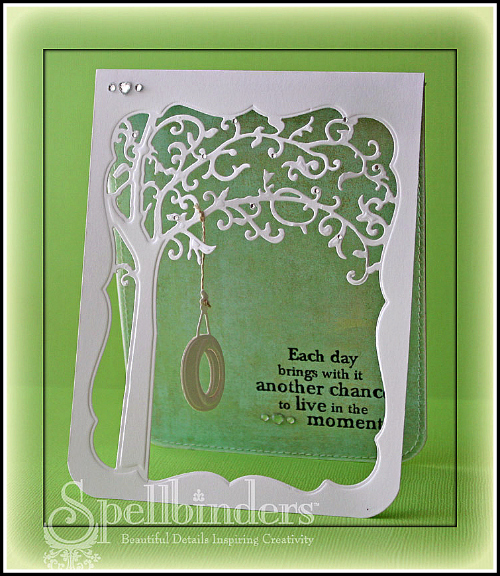
Hi everyone! I am very excited to be able to give you a sneak peek of a soon-to-be released Spellbinders Paper Arts die called Just Swingin’. I love this die set. You can use it several different ways, making it very versatile.
Supply List:
Cross Promotional Partners:
- Basic Grey: Aspen Frost 6″ x 6″ paper pack
- Flourishes: Country Road
- Want2Scrap: Fancy Bling Border
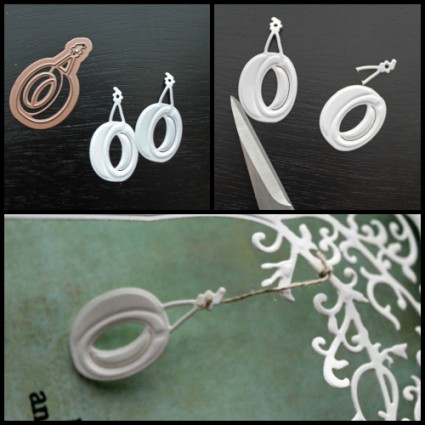
I started by folding a 4 1/4″ x 11″ piece of white cardstock in half and round the bottom corners. Unfold the card base and place wax paper over the front. Adhere the die down with removable tape (or Post-It notes).
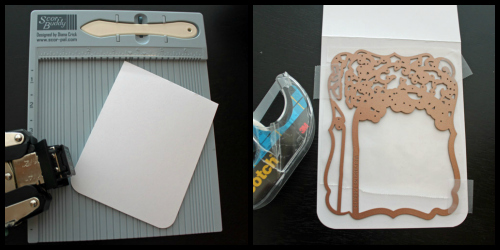
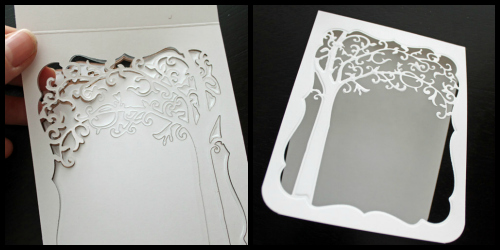
I ran the die/cardstock combo through my Grand Calibur, first with the cutting, then with the embossing sandwich. (Hint: This is an intricate die, you might have to run it through your machine twice to get the detail cut completely.) I carefully pulled the die off the card front.
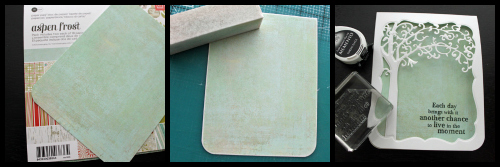
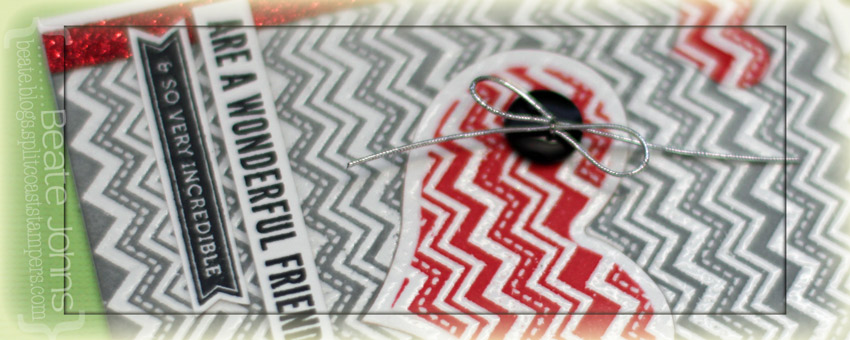
I cut a piece of Basic Grey Aspen Frost paper a tiny bit smaller then 4 1/4″ x 5 1/2″. The corners we rounded and the edges were sanded, then stitched. It was adhered into the inside of the card and a sentiment from Flourishes Country Road was stamped with black ink on the bottom right corner.
I cut and embossed the tire swing twice out of white cardstock. On one I cut off the hanger before I adhered it to the back of the other tire. I wanted to have the embossed tire on both sides, since I planned on hanging the tire from the tree with a piece of linen thread. This way, even when the tire swings, it looks great, no matter what side is showing.
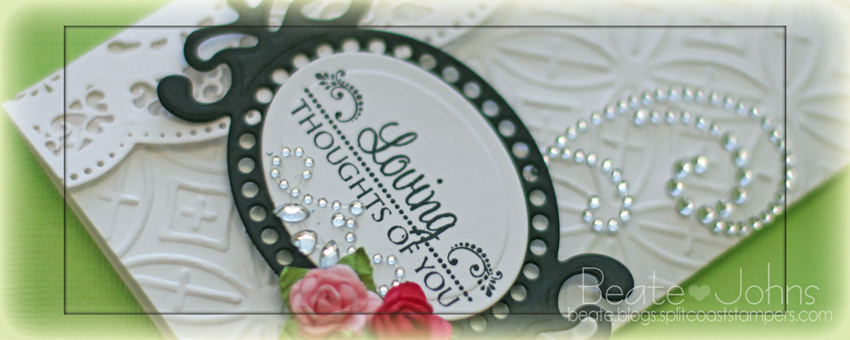
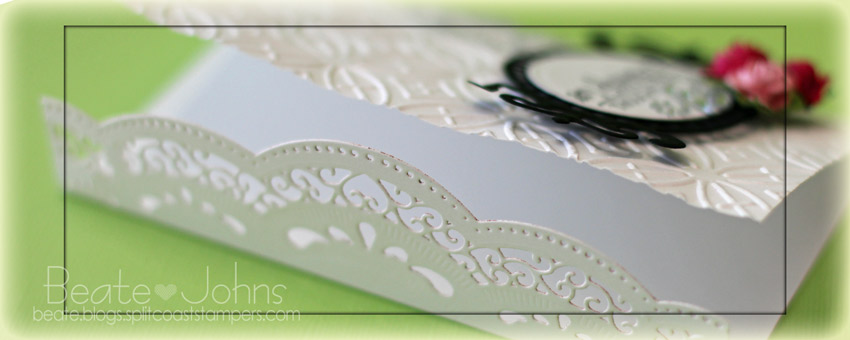
To show you a different way to use the dies, I created a shaped card with the outline die that comes with the frame. I love creating shaped cards. Have you tried creating shaped cards with Spellbinders dies yet?

For the official giveaway rules, click HERE.
To enter the Giveaway, enter HERE! The entry is now closed!
I hope you have time to check out the other Spellbinders blog posts today. I personally can’t wait to see what everyone else has created! Thanks so much for stopping by! Have a wonderful day.
Becky Fleck
Debbie Olson
Hugs and smiles
Questions? [email protected] No entries will be accepted at this email address.


