Yesterday we posted a new tutorial and a new Product Focus on Splitcoaststampers. The tutorial was a basic one on Inking with Markers. The product review goes hand in hand with the tutorial and is about the Distress Markers.

[youtube]https://www.youtube.com/watch?v=1mQc_9S5PQs[/youtube]

My son is coming home for Labor Day. I am so excited and can’t wait to cook all his favorite food!  🙂

Today’s tutorial on Splitcoast is written by Janet Yates. She shows how to dress up a plain old lollipop into a broom. Here is a video I shot for it:

[youtube]https://www.youtube.com/watch?v=YzRUwVIkJRM[/youtube]

I hope you had a wonderful summer. I sure did. My oldest started college last week. He loves it. I am glad he took to it so well. I still have to get used to the fact that I don’t see him every day.

Hugs and smiles

Hi everyone!

Did you see the Spellbloggers Team Call posted by Kellie on Tuesday? This is a wonderful opportunity to work with an amazing group of people. Spellbinders is not just a company, but it feels like family! I was so excited when I got to join last year and am really sad that it is time for me to leave.

We have major changes coming up with our family. Rick is either being deployed, or has to work in a different city for a year starting this summer. I am staying put with the kids so Lucas can finish high school here. Austin is starting college this summer. So I want to focus the time I have left, before Austin and Rick are leaving, on our family. And after this summer, I will need more time being a single parent for that coming year.

I don’t have a last new Spellblogger tutorial for you since I was sick for the last two weeks. So I picked three of my favorite Spellblogger projects. It was not easy to just pick three! 🙂 You can find them on the Spellbinders blog. I hope you have time to check it out.

You know I will continue to use and post projects created with Spellbinders dies. I LOVE their products. I just won’t post very regularly this year, taking my time to hang out with Rick and the kids.

Have a wonderful day! Hugs and smiles


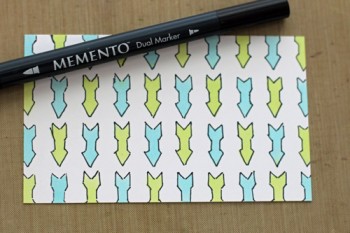
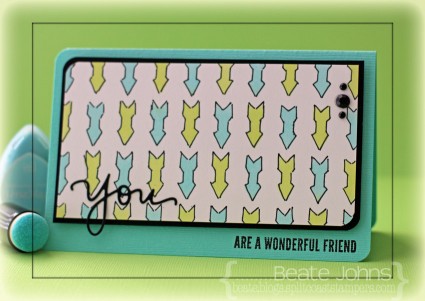
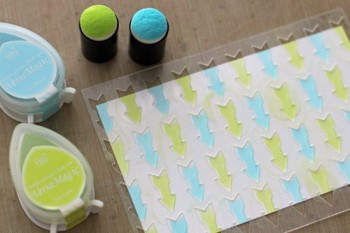
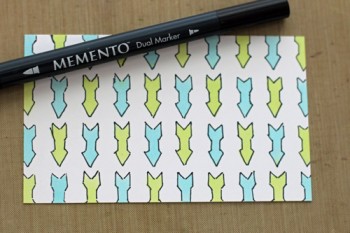
For my third Imagine Crafts project this month I thought I use my favorite VersaMagic ink colors (Key Lime and Sea Breeze) along with a new Arrows stencil from Donna Salazar.

I started by placing the stencil over a 2 5/8″ x 5″ piece of white cardstock and sponged the arrows alternating Key Lime and Sea Breeze VersaMagic Inks.

The arrows were outlined with Tuxedo Black Memento Marker.

Round top left and bottom right corner and adhere to a slightly bigger piece of black cardstock.

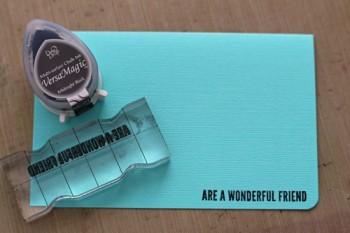
Stamp sentiment in Midnight Black VersaMagic Ink on the bottom right of the card base, a 5 1/2″ x 7″ piece of Patina Bazzill cardstock, folded in half.

Round bottom right and upper left corner and adhere arrow layer with dimensional adhesive. Finish off card by adding three black rhinestones on the top right of the arrow layer.

Thanks so much for stopping by! Have a wonderful day!
Hugs and smiles

Hi guy! Sorry I have been so quiet lately. I have been out cold with a nasty cold. Ears ringing, nose running, head and body aches, coughing….it has it all. I wish I was well enough to create some cards for the Love Fest Challenges currently going on at Splitcoaststampers!

I hope you are well and you have time to play along! The challenges are sponsored by our wonderful member companies and you can win prizes!!! You don’t have to use the member companies products, if you don’t have any. But of course we would love to see samples with them if you do own some.

Have a wonderful day! Hugs and smiles

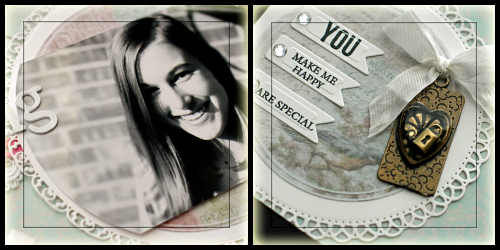
It was my turn to share a Savvy Saturday Video on the Spellbinders blog yesterday. I usually don’t scrapbook, so this weeks theme “Grand Layouts” was a bit nerve racking for me. I hope you have time to check out the page and let me know what you think.

Thanks so much for stopping by! Have a wonderful weekend!
Hugs and smiles

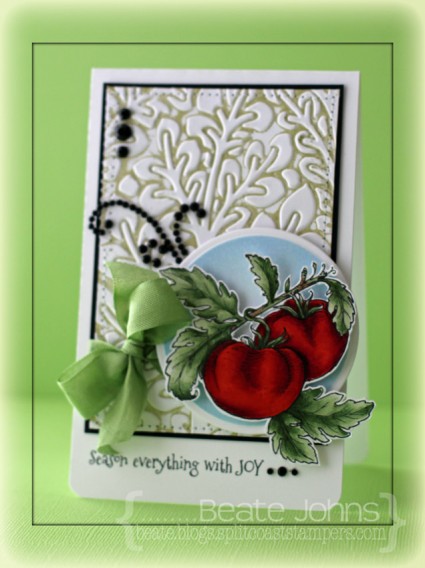
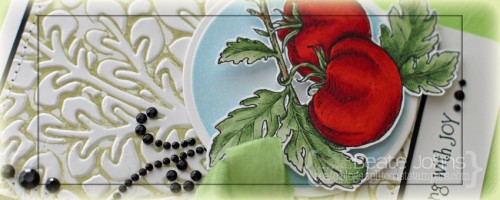
I created this card for Imagine Crafts.  We were to create a card with a theme, picking one of the new Kaleidacolor pad names as the theme. I knew I wanted to use Flourishes Italian Garden tomato image for my card.

Here are stamp by step instructions:

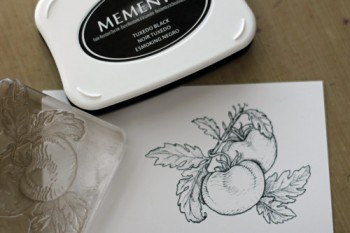
Stamp image in Tuxedo Black Memento Ink.
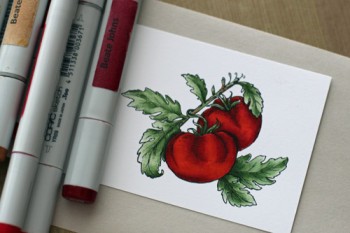
Color image with Copic Markers (YR09, R24, R29, R39, YG61, YG63, YG67, E31, E33, E35) and cut out.
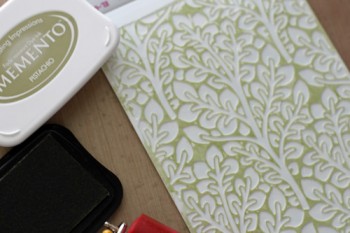
Brayer Pistachio Memento Ink over the inside of the Flora M-Bossabilities folder and emboss a 2 1/2″ x 4 3/8″ piece of white cardstock.
Cut and emboss a piece of white cardstock with the 3rd largest Standard Circle Nestabilities die and sponge the edges of the circle with Summer Sky Memento Ink.
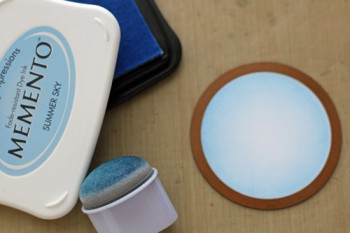
Adhere image over the circle with dimensional adhesive. Stitch embossed background to a slightly bigger piece of black cardstock. Tie ribbon around the lower edge of the embossed layer and tape circle to the lower right of that layer.

Stamp sentiment on lower left of the card base (3 1/2″ x 11″ piece of white cardstock, folded in half) with Tuxedo Black Memento Ink. Finish off the card with black rhinestones.
Thanks so much for coming by! Have a wonderful day!
Hugs and smiles

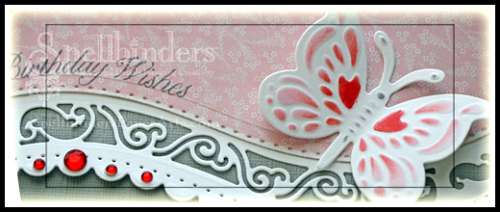
It’s my turn to share on the Spellbinders blog. This week it’s all about those gorgeous new border dies. I love how easy they dress up a card.

I hope you have time to check it out and tell me what you think. Thanks for stopping by! Have a wonderful day!
Hugs and smiles
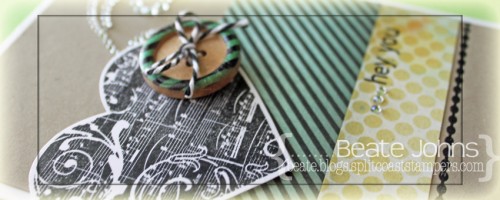
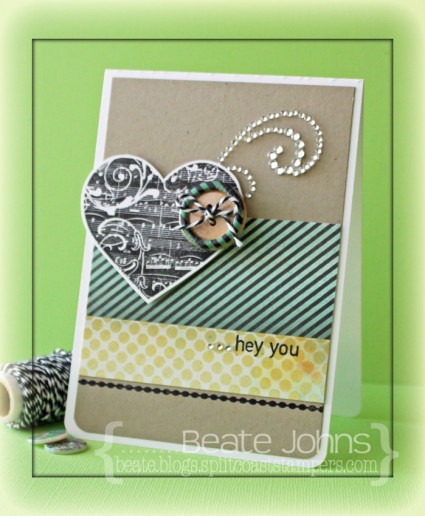
I created this card back in November with the Simon Says Stamp November Card kit.  I started by stamping the heart from Music to my Ears (stamp set included in kit) in Midnight Black VersaMagic Ink on white cardstock (from kit). After the ink dried, I cut out the heart.

Two strips of BasicGrey Serenade patterned paper were adhered to a 3 3/4″ x 5 1/4″ piece of Neenah Desert Storm cardstock (included in kit). The border strip from the set was stamped underneath the paper strips and a sentiment on top. The layers were adhered to the card base, a 4″ x 11″ piece of white cardstock, folded in half.

Doodlebug black twine was tied to a BasicGrey button (both included in kit) . The button was adhered to the heart and the heart was adhered to the left hand side of the card. Want2Scrap rhinestones finish off the card.

Thanks so much for stopping by! Have a wonderful day!
Hugs and smiles
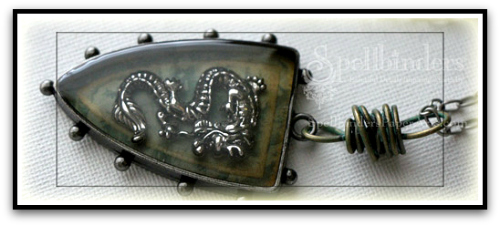
I have another post on the Spellbinders blog today. Rebecca and I created a necklace for her. It was fun and easy. I hope you have time to check out the post and let me know what you think.

Thanks so much for stopping by! Have a wonderful day!
Hugs and smiles
© 2012 fresh & fun Suffusion theme by Sayontan Sinha