Today’s tutorial on Splitcoaststampers was written by Trudy Sjolander. She shows how to use dimensional adhesive as an embellishment. You can check it out HERE.
Since Trudy’s tutorial shows off Perfect Pearls, I thought I update our Poppin’ Pearls Tutorial and add it in the newsletter as Tutorials you might have missed. It’s been 6 years since I wrote it the first time around and it needed a makeover. I switched from Pearl-Ex (which need to be sealed) to Perfect Pearls.
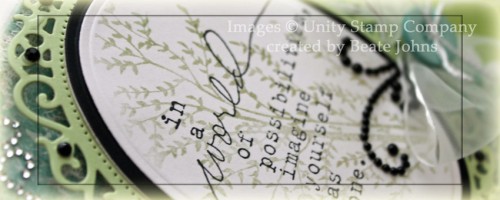
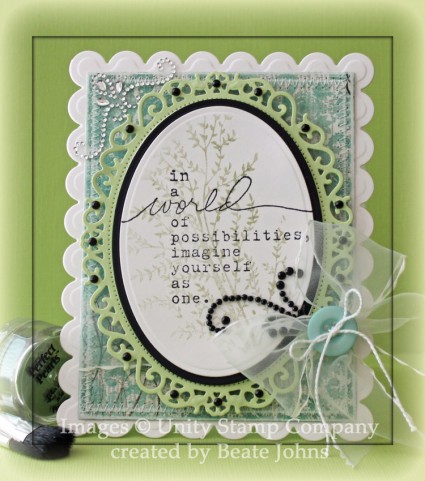
I stamped an image from Unity’s The Artist in You in Perfect Medium ink on Neenah Solar White cardstock, cut and embossed with a Petite Oval Nestabilities die (they are unfortunately retired now) and brushed over it with Forever Green Perfect Pearls.
The oval was layered first on a piece of black cardstock cut and embossed with the next size up Petite Oval Nestabilities die, then on a piece of Celery Neenah cardstock, cut and embossed with the largest Floral Oval Nestabilities die.
A piece of My Mind’s Eye Lost &Found 2 Breeze paper was cut and embossed with a Grand Rectangle Nestabilities die. The edges were sanded, stitched and May Arts ribbon was tied around the horizontal strip. The paper was adhered to the card base, white cardstock, cut and embossed with a Grand Scallop Rectangle die. The ribbon was topped with a button, tied on with embroidery thread. Part of a black Finesse Rhinestone swirl and some Black Baby Bling Rhinestones finish off the card.
Here is a video for the visual learner:
[youtube]https://www.youtube.com/watch?v=kAeMsNFh3q0[/youtube]
Thanks so much for stopping by! Have a wonderful day.
Hugs and smiles


