
This is a fun and easy card fold. I saw it the first time, when Valerie Stangle uploaded her birthday card for Daven last year on SCS!
I posted a sample yesterday and will post more later today, when I the sun is out!
If you are interested in a tutorial for this fold, click on more. All images posted are thumbnails. Click on the image if you would like to see the bigger version.
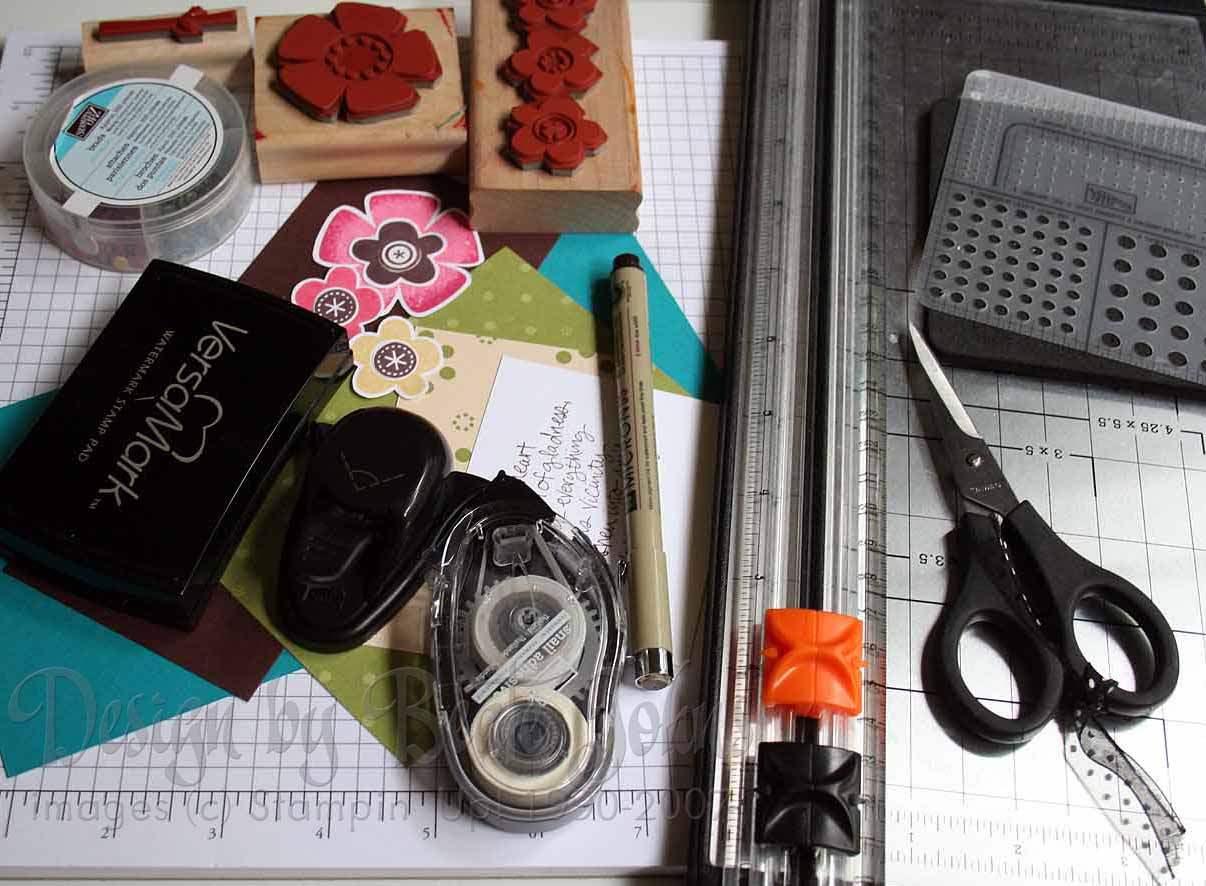
Supplies:
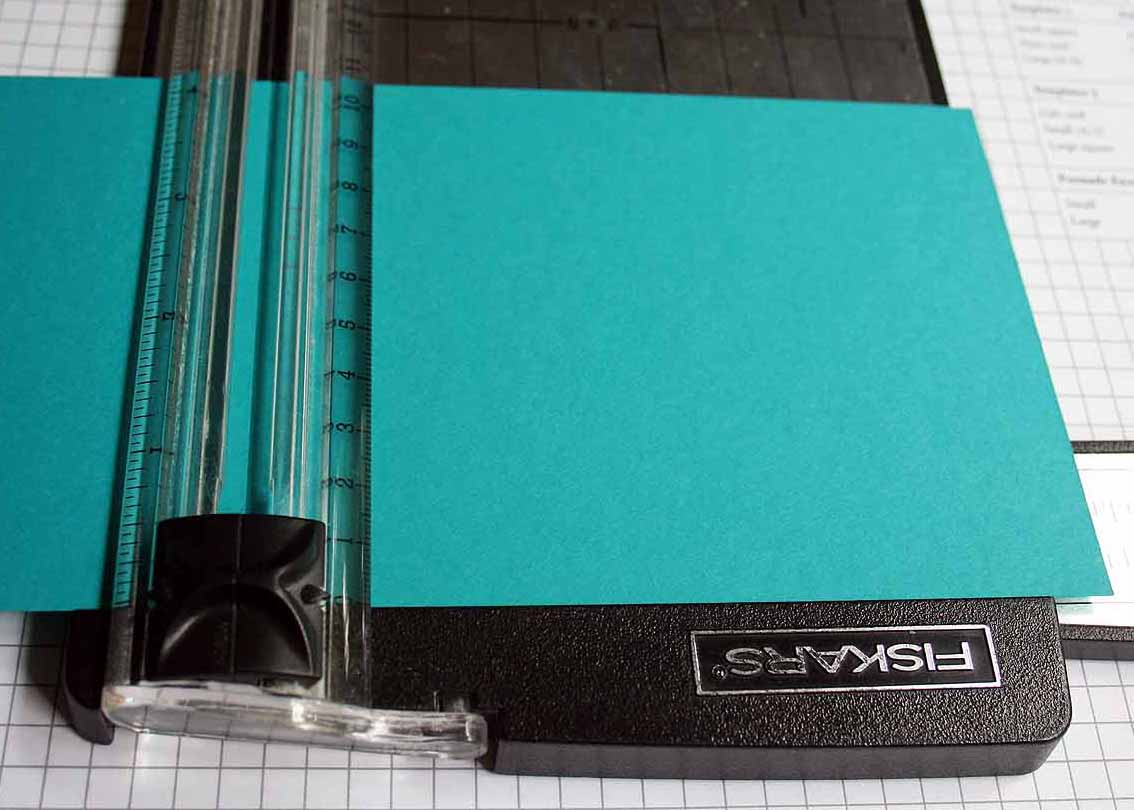
- One 4 1/4″ x 8 1/2″ piece of cardstock for card base
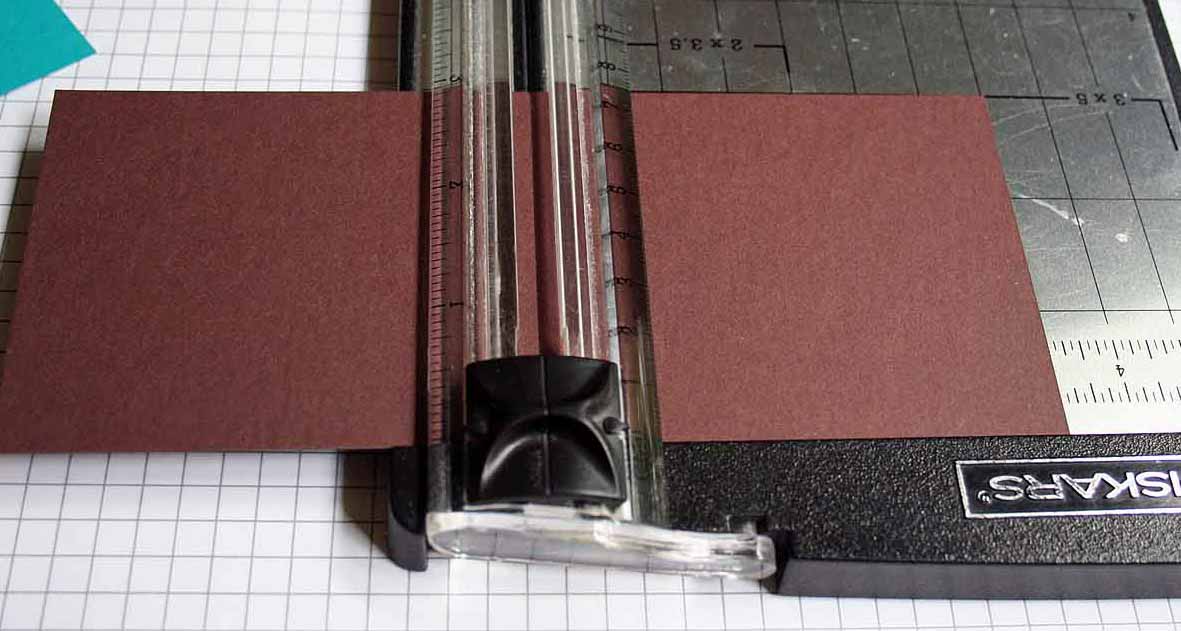
- One 3″ x 7″ piece of cardstock for center fold
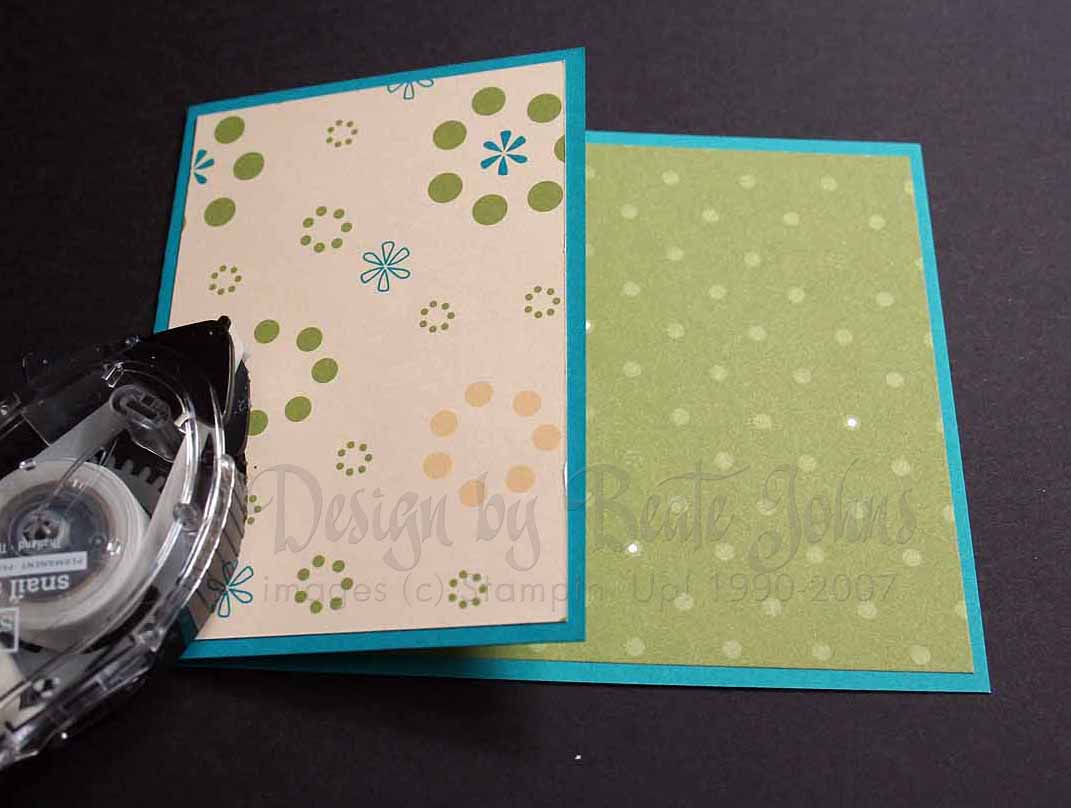
- One sheet of patterned paper or coordinating cardstock 2 3/4″ x 4″ for the left fold (optional)
- One sheet of patterned paper or coordinating cardstock 4″ x 5 1/4″ for inside card (optional)
- Paper cutter with scoring blade
- adhesive
- stamps, ink, embellishments
Step one:
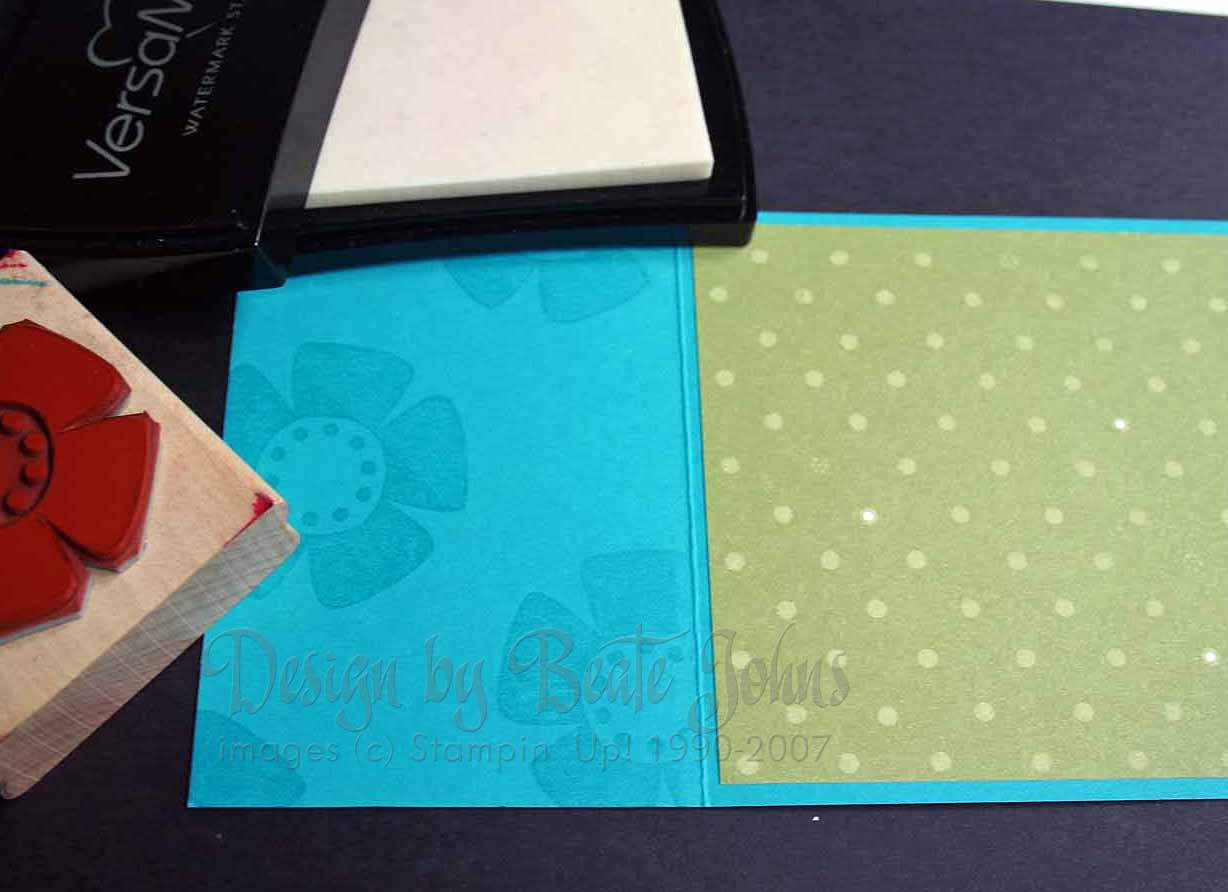
Score your 4 1/4″ x 8 1/2″ at 5 1/2″.
Step two:
Score your 3″ x 7″ piece of cardstock at 3 1/2″.
Step three (optional) :
Adhere your patterned paper to your card base and card front.
You could also stamp both your card base and front.
Step four (optional):
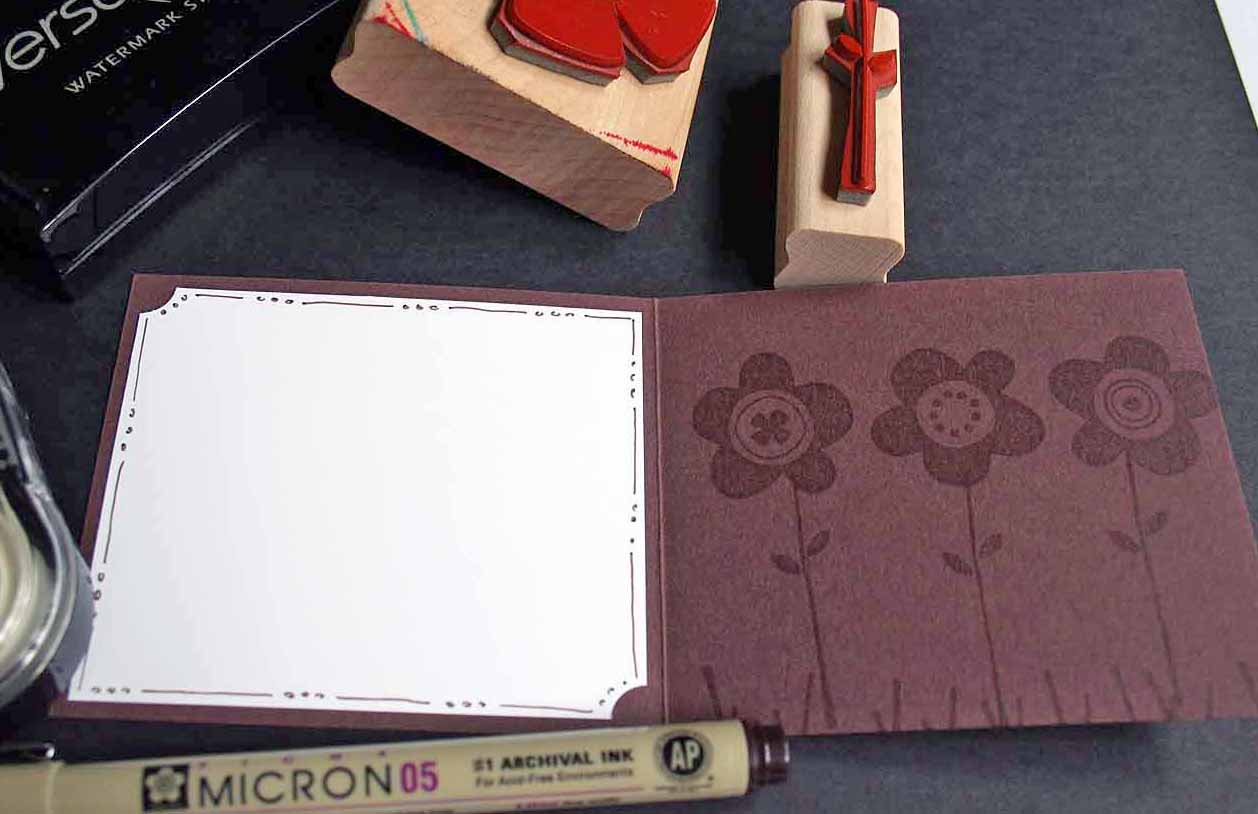
Stamp the inside of your card flap.
Step five:
Stamp and decorate the inside of your smaller flap.

Step six:
Add tape to the back of the flap and adhere it so that the fold points to the right.
Step seven:
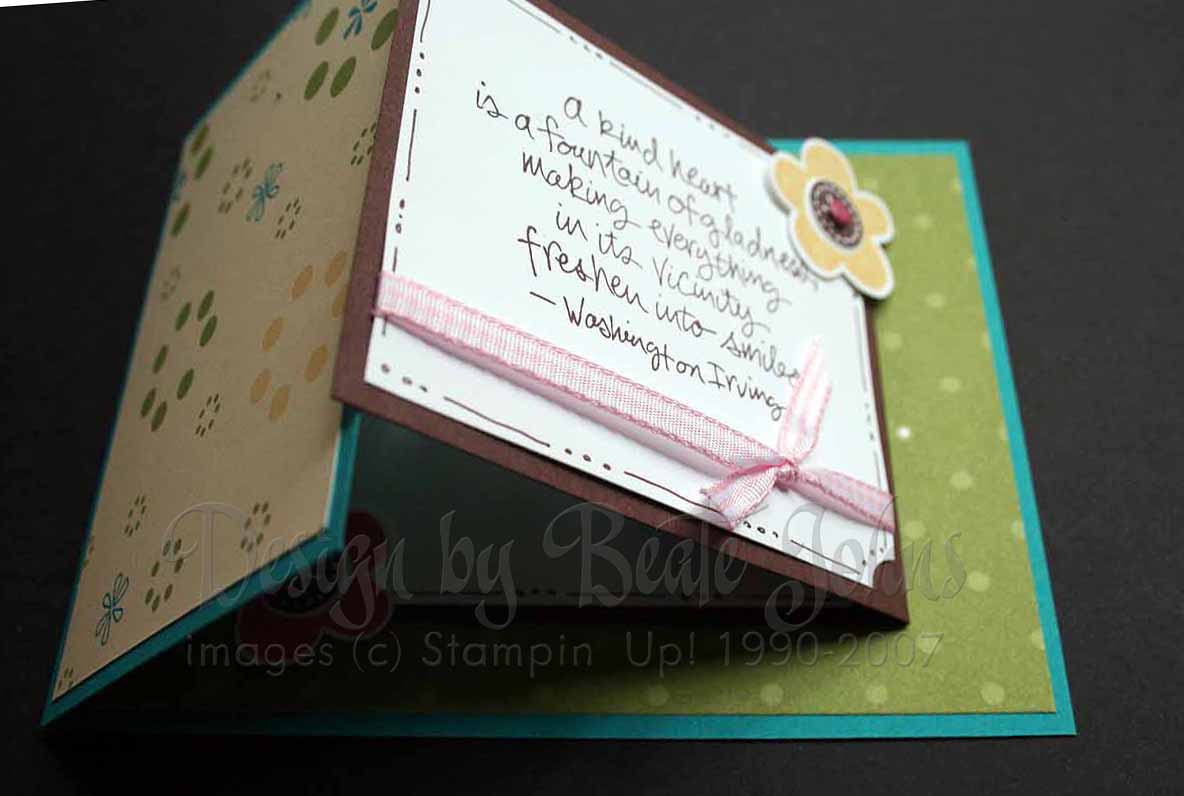
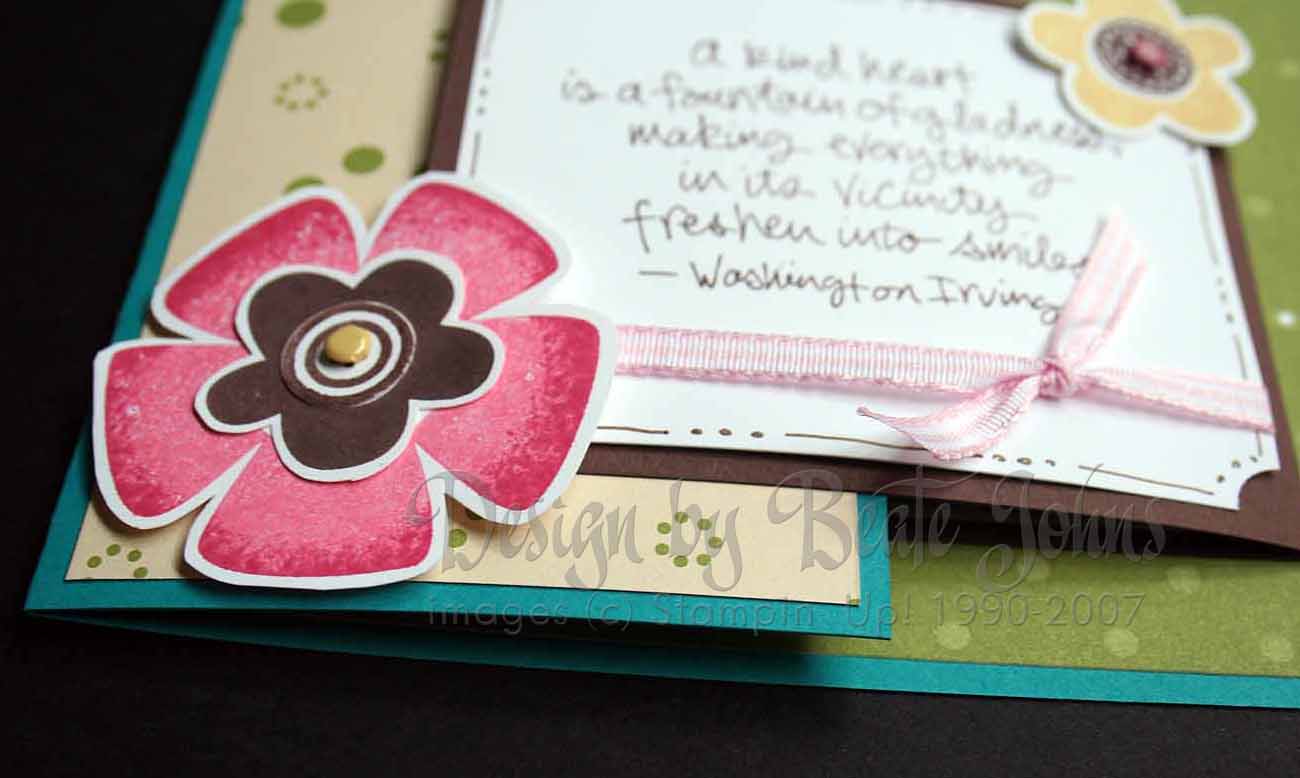
Decorate the front of the flap.
Step eight (optional):
If you would like to secure the flap a bit, add a tag, flower or another cutout with dimensional partly over the center flap.
Beate
28 Responses to “Joy Fold tutorial”
Sorry, the comment form is closed at this time.


Well no wonder you were a little slower than Cambria…you were making a TUTORIAL!!! Crazy woman!! Isn’t it bed time over there???
Thanks for the Tute! It’s awesome as usual.
Huggs,
J
Thanks Beate…I am going to try it out when time allows!
This looks GREAT! Thank for the wonderful instructions…I’ll give this a go this afternoon!
Thanks for another clear, easy to follow tutorial! I’m off to make one!
I have made this design before. I really like your way of securing the flap though. I used ribbon on mine and it made it a little user confusing. LOL!!! Again, I have to mention how awesome that card turned out. I love everything about it!
HUGS
Thanks for sharing Beate! Your tutorials are so awesome, easy to follow!
Thanks for the Tutorial Beate! This was one card that I always wanted to know how to make (I tried making one, but it just didn’t come out right).
Linda
Thanks for the tutorial! I tried one yesterday and love how it came out!
Thank you for such a great tutorial, Beate! I will try this out next week! 😉
Wow!! I’ve been loving your work forever…thank you for sharing so feely!! We all benefit from your creativiy!! And I’ll add my thanks for your fantastic tutortial!!
Hi,
I am new to splitcoasters. I like the cards and demos; however, I can’t find the “more” for the printing the tutorials. Please help.
Thanks,
Grizz
[…] I’m trying new things this week! This is my first “Joy Fold” card. I got the tutorial from Beate’s blog, Fresh and Fun. She is one talented lady, I’m tellin’ you […]
[…] If you need help with this card fold, check out my tutorial here. […]
Thanks for the tutorial. I love this fold. I’ll be trying it out as soon as I have a chance and hopefully get in on the challenge.
Hi, Beate! Just wanted to thank you for a great tutorial. I appreciate all of the information you share on Splitcoast and will be bookmarking your blog. You do beautiful work.
Hi there, I have gone crazy making the “Joy fold” Card. I love this card and it helps me incorporate all the patterened paper that I have!! Thank you!! Dannette
OK, now I have it straight — this is what I thought you meant — thank you for educating me today — LOL!!! I need lots of it!!
Thanks for the step by step! I so have to try this!!!
Great tutorial….I am right off to try that out!
Wowsa, me likey! I NEED to make one of these … soon!
Thanks for sharing, you rock!
Liebe Beate
Diese Kartenform ist die weekstamp Challenge bei den Stempelhühnern und ich find die Form so toll, daß ich die nachgebastelt habe!
Dein Blog gefällt mir sehr gut und ich werde bestimmt öfter reinschauen!
Danke übrigens für den Kommentar auf meinem Blog.
LG, Heike
Beate – Great tutorial (as always!) do you have a pic of the inside?
[…] you’d like to make one yourself, head over to Beates blog and you’ll find it here. Once you’ve got the general gist of it, it’s easy enough to alter to make it any […]
hi, you have a nice blog here. keep up the good work. 🙂
This is such a cute card! I used to be a scrapbooker, but I faded out of it. Then I had all these supplies left over, so I started card making just last month, and I love your card! Such a cute idea, thanks for the tutorial!
Hi Beate,
Thank you for this great tutorial! I made a card inspired by it at http://itsallinthecards.blogspot.com/2011/08/ballerina-thank-you-card.html
Have a wonderful week 🙂
[…] Beate has a Fun & Easy Card fold tutorial HERE. […]
Great tutorial, Thanks!