
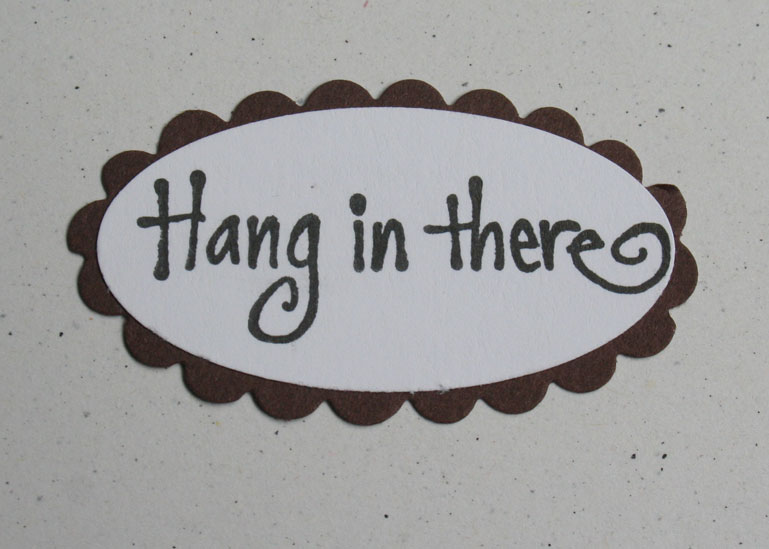
I have been asked several times how I get such an even scallop with decorative scissors. My answer would have to be, I cut REAL slow. Here is a a quick tutorial for it.
Click on more if you are interested in checking it out.
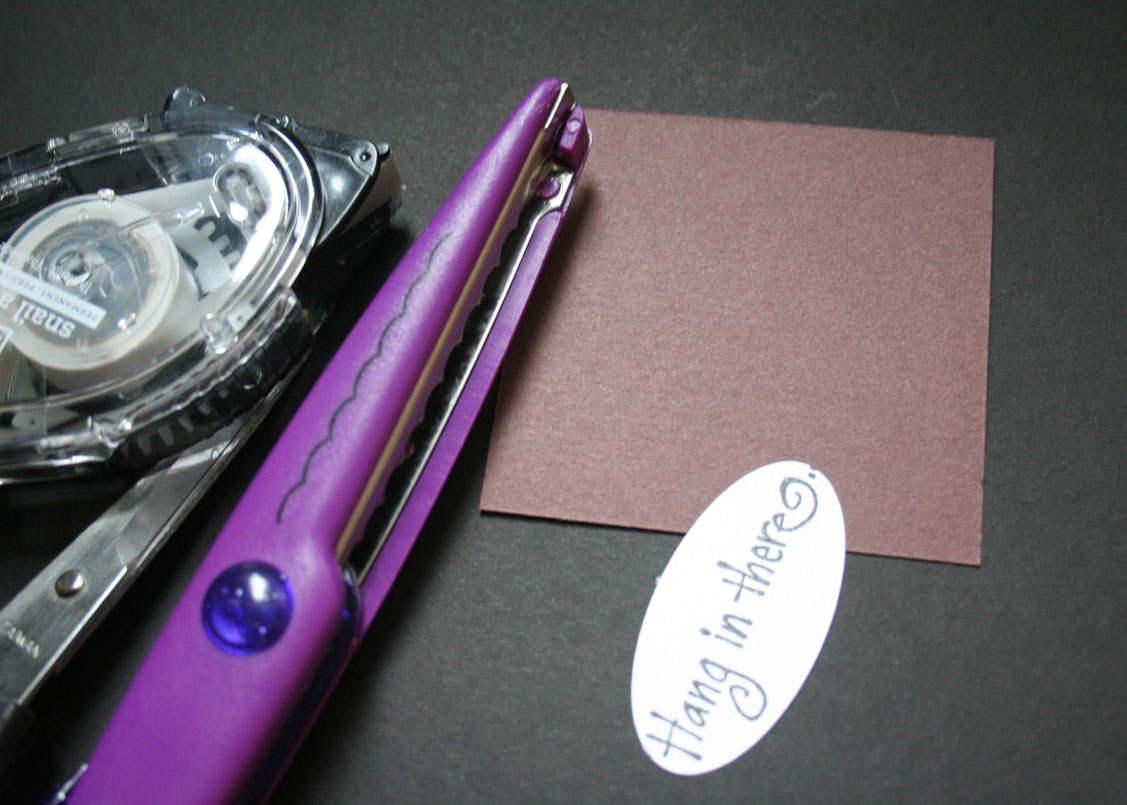
Supplies:
- Punched out saying or image
- Decorative scissors
- Cardstock for layer
- Adhesive
- Regular scissors
Step One:
Tape your punched out cardstock on coordinating cardstock.
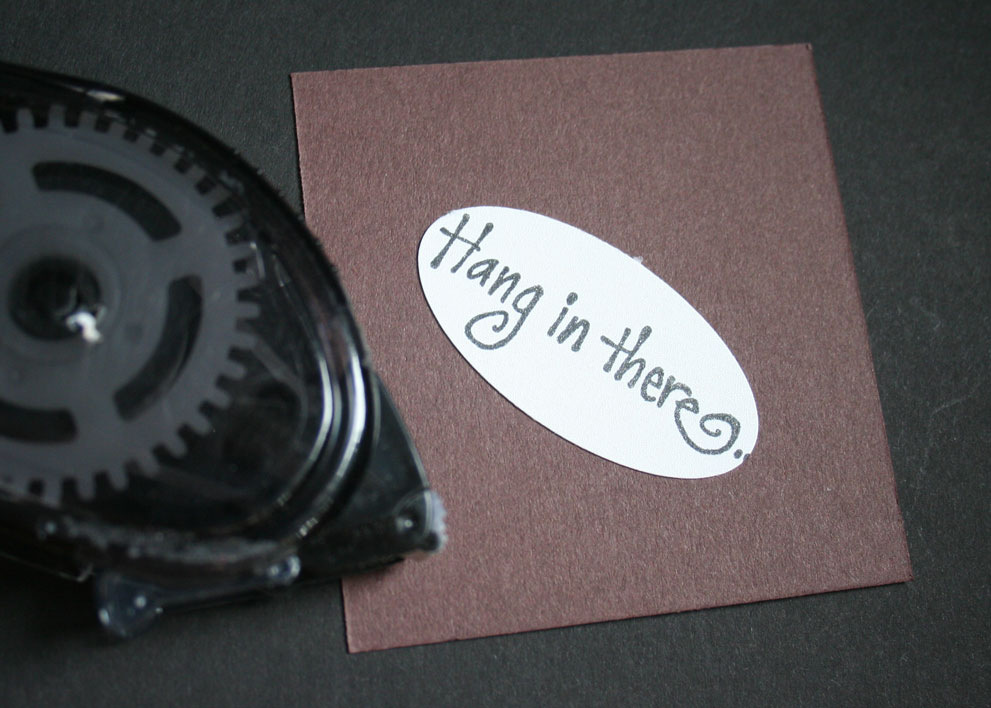
Step Two:
Use your regular scissors to cut a straight line right up to your main cardstock.

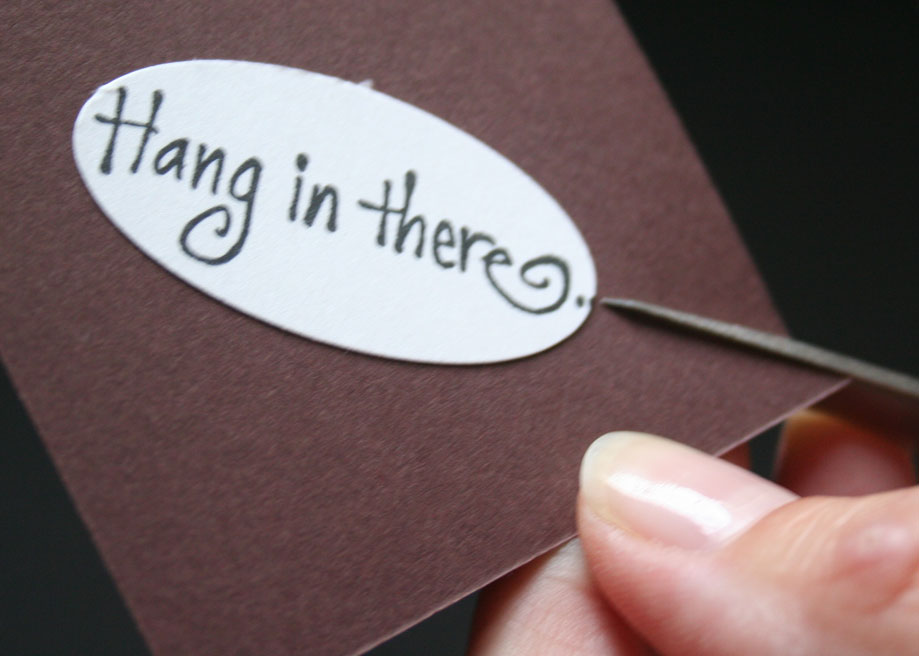
Step Three:
Insert your decorative scissor, line the end of the scallops (or whatever you design you choose) with your cardstock and start cutting.
Step Four:
Continue to cut slowly around the cardstock. Make sure you keep lining up the end of the scissor decor with the beginning of the cardstock.

Step Five:
Go super slow around the corner, repositioning the scissor often.

Step Six:
At the end, try to line up your last with your first scallop. It doesn’t always work perfectly. You might have to use the regular scissors to cut the last bit off.
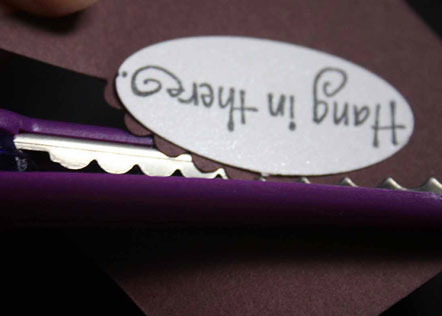
With the large Oval Punch from Stampin’ Up! and my no brand Scallop Scissor (from Michael’s I believe) it matches up great.
Beate
28 Responses to “Scallop borders with Decorative Scissors”
Sorry, the comment form is closed at this time.


Thanks for another great tutorial, Beate! You rock!!! 😉
Thanks for posting that! I have some of those no-name scissors from M’s and they don’t seem to work as well as yours – I wish SU still made theirs, they seem to be better from what I’ve seen folks do with them. I will keep practicing.
Thanks Beate!!!!!
Very cool tutorial. I’ll have to try this when I get home tonight.
Once again – you ROCK!
http://stamps-n-inkspot.blogspot.com/
Great tutorial, thanks! I cut only one or two scallops at a time. (Thank goodness my scallop punch finally arrived in the mail!)
Thanks for the info! I will have to try this! Thanks for all your kind comments!
This is a great tip. I just found your blog. I will definitely be back!
you are such a gem!! i just pulled out a set of scalloped scissors today…wow!! haven’t used them in forever…but i struggled…thank you…you make everything look so easy!! thanks!!
oh, wow….. eine tolle Idee, so eine Schere habe ich auch… das wede ich mal testen…..
Oh, man! I look at your tutorial and think…
why didn’t I think of that?
Such a simple solution, but it never crossed my mind.
Thanks, Beate!
You always seem to know just what we need 🙂
wow…who needs scallop punches. Now if I can just cut straight and even lines! ha!! I’ll give this a try!
Thanks for the tutorial Beate! Now just need to practice!
Thanks Beate!! My fiskars must be dull!! I can’t get them to cut through SU! cardstock without fraying the edges!! You and Piris make this look so easy!!
Seriously, you make everything look so easy.
Beate thanks for the great tutorial…I have so many decorative
scissors and can never line it up properly. I used a pencil line
and screwed it up….I’ll have to try this. You ROCK!!!
Thanks for sharing with us. I am going to do a card today and try to line up.
Funny, the reason I’ve never used these scissors was that I never got even lines. This is awsome, at least now I don’t have to stick with standard punch sizes!thanks allot
You are too talented! Thanks for the tip!
This is great since I can’t seem to get these punches anywhere!!!
Thanks for the great tutorial.
Thanks for the great tutorial! I’ve been wanting to copy the scalloped punch look without spending the bitty cash that I have, on something I can’t demo as a demo…this is a much cheaper alternative for something to play with on my own & not worry about spending a fortune on punches!
what a great idea for the decorative scissors, do you have any ideas on what to use the other decorative scissors for? i have so many of them but just don’t know how to use them.
again thanks for the great tutorial
[…] The image is from Little Hello’s, another cute set that will retire next month. I stamped it with Black Palette ink on shimmery white cardstock and colored it in with Aqua painter and classic inks: Apricot Appeal, Pumpkin Pie, Certainly Celery, Close to Cocoa and Bashful Blue. I punched it out with a 1 1/2″ circle punch and taped it on to a scrap piece of black cardstock. I used my decorated scissors to make the scallop border. […]
What a fantastic tutorial!! It’s too bad I didn’t read it before I used up a SHEET of cardstock trying to do this, lol. TFS.
[…] Palette ink and colored with Rose Red and Certainly Celery ink pads and aqua painter. I used my decorative scissors to make the scallop border around […]
This is so wonderful, thank you for the tutorial. I just tried it and it actually worked! I was shocked that I was able to do it! Thanks for the guidance!
Hope you had a wonderful trip home. I just wanted to tell you how great this tutorial is and that I successfully, well almost, cut out a circle. I didn’t figure the last scallop out because, as is my habit, I didn’t read the final instructions. BUT having said that I used it to do a card for SC129 and it turned out great. Thanks for blessing my day.
I found that you make scissor for scalloped shape. You show it is simple to make beautiful oval scalloped. Thank you for your sharing
Smile